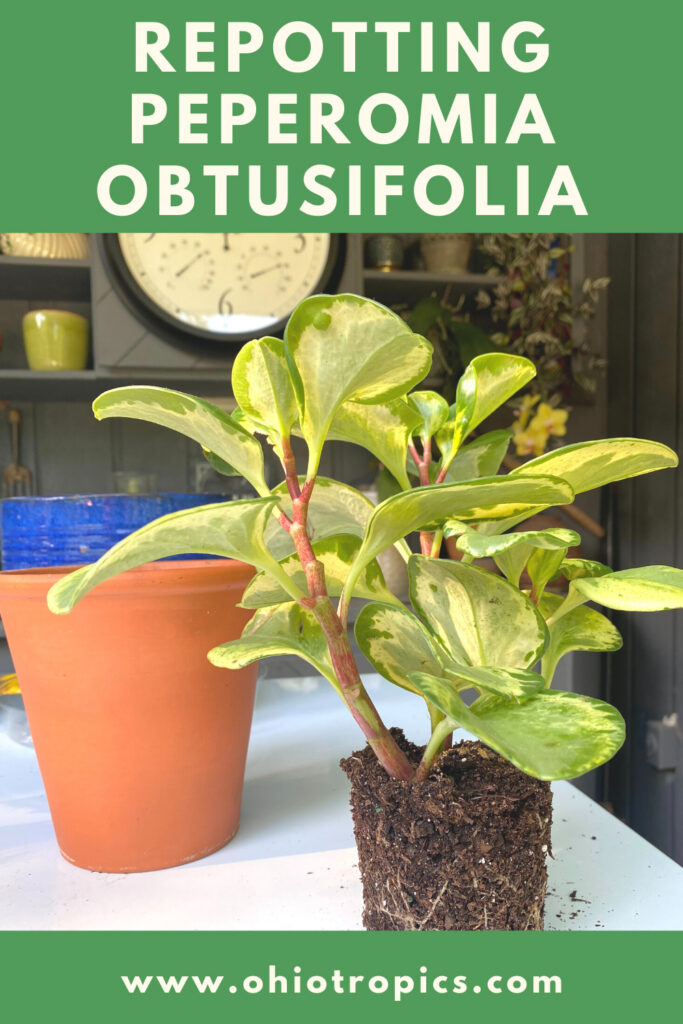
Is your Peperomia obtusifolia (also known as "Baby Rubber Plant") ready to be repotted? If you want to make sure you're doing the absolute best job you can, keep reading. I will show you 3 simple steps (with photos) so you can ensure that you have success!
You'll want to do this the right way so that you can ensure your Peperomia will thrive.
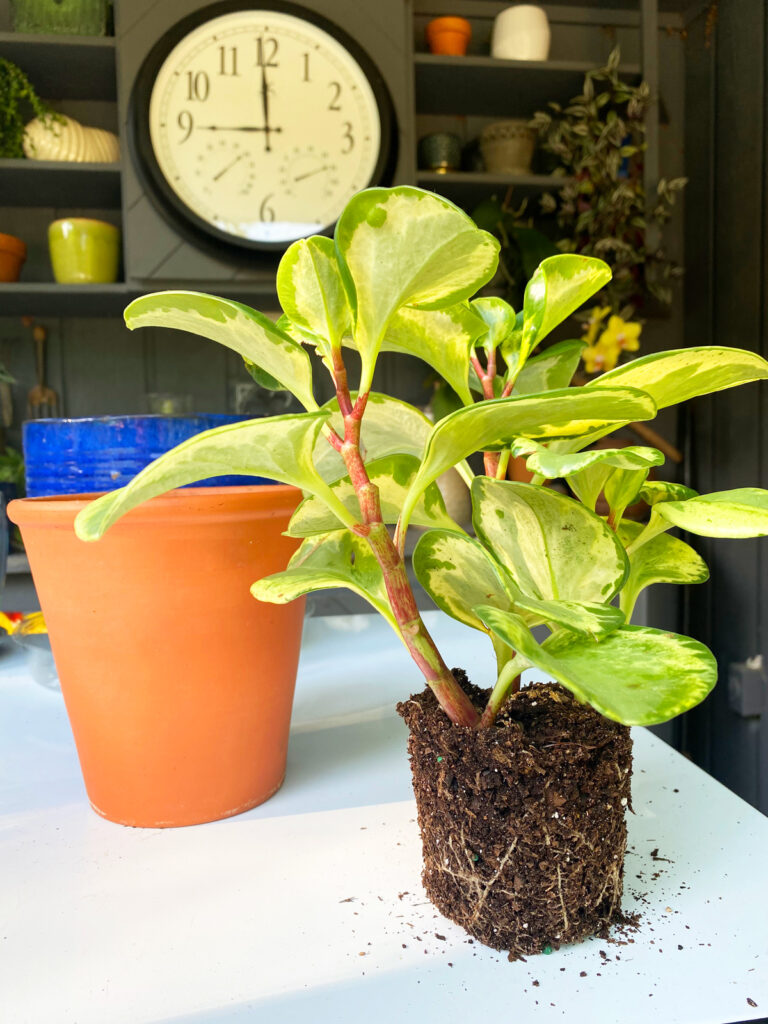
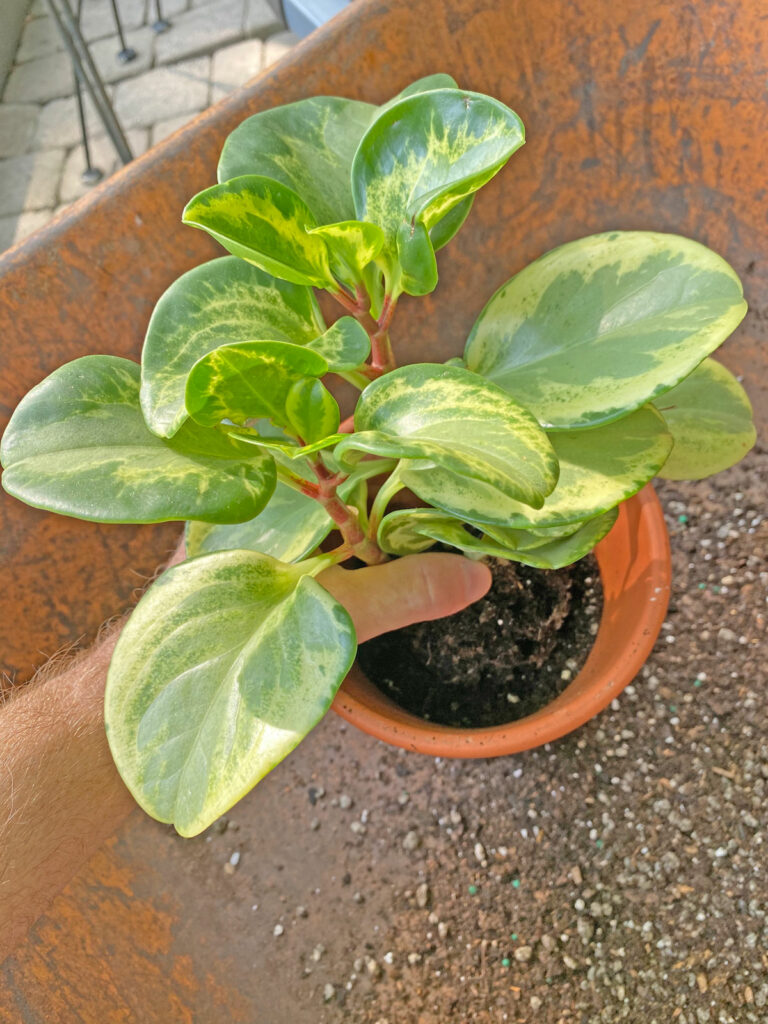
First off, when should you repot your plant? In my case, I was watering my variegated Peperomia obtusifolia that I had purchased in a 4 inch pot and it was drying out extremely quickly in between watering.
My plant also had quite a few roots on the surface of the pot.
Once I took it out of its pot, everything came out in one piece.
Although it wasn't horribly root-bound, I decided to place it in a bigger pot. It's easier to repot at this stage of the game before the roots become a tangled, matted mess.
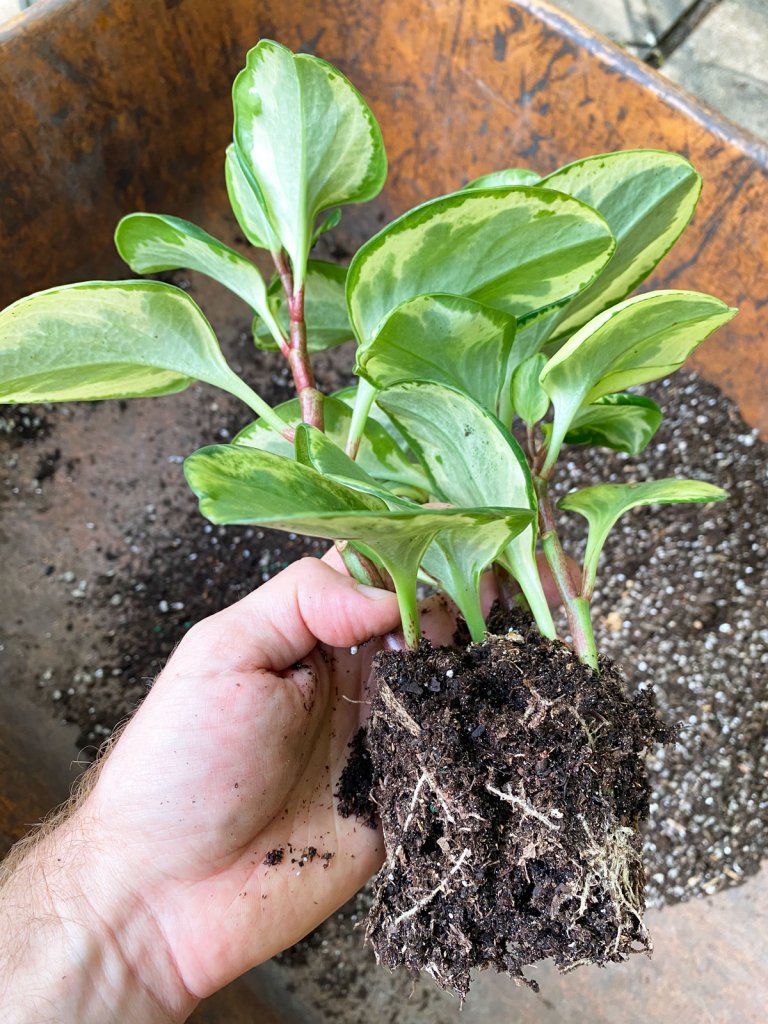
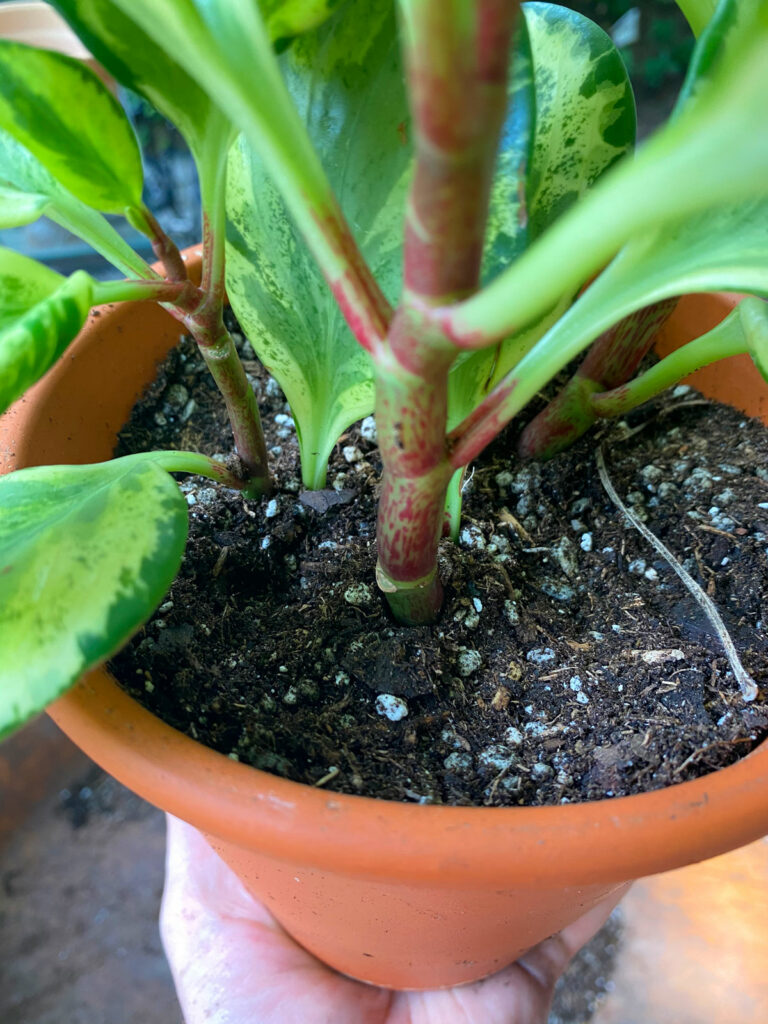
1. REMOVE FROM POT AND LOOSEN ROOT BALL
The first step is to loosen your root ball a bit. You don't have to go crazy, but it helps to gently loosen the roots up a bit.
Whatever you do, do not remove all the potting mix. I've heard so many people mention this and then wonder why their plants did not take well to repotting. I'm not sure where this practice came from.
Not only is it completely unnecessary, but it can cause your plant to go into shock.
In the photo above, you can see I gently loosened the bottom as well as the sides a bit. This is all you need.
Pro-tip: I like to repot outside in a wheel barrow. It is so much easier and leaves the mess outdoors!
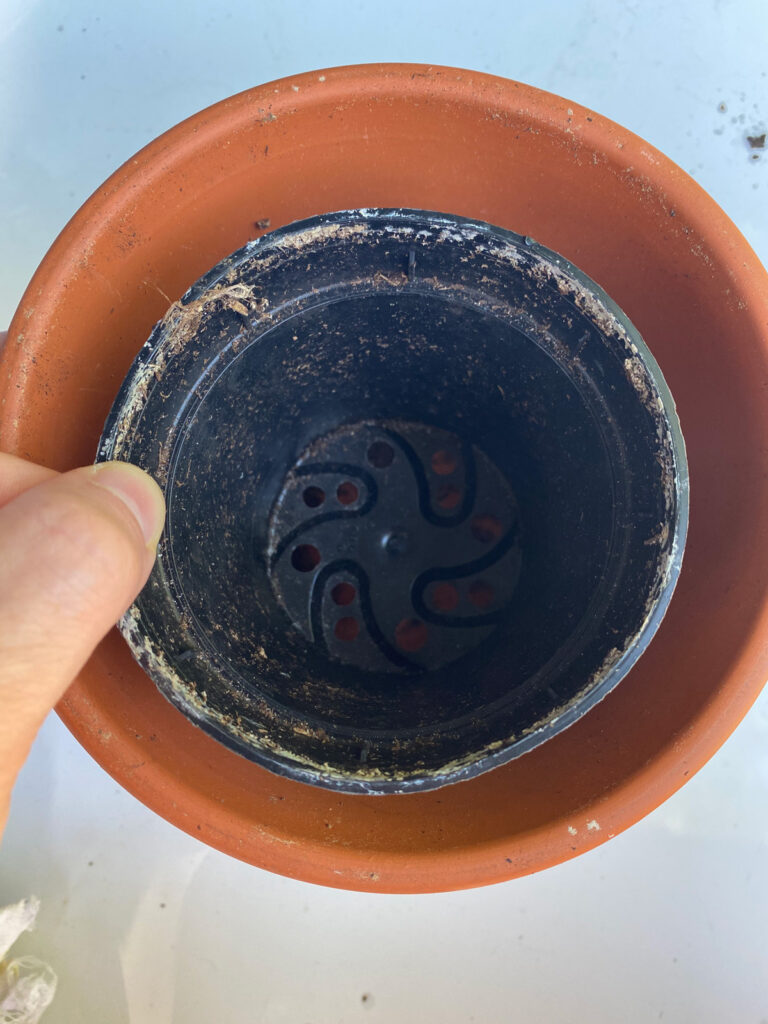
2. CHOOSE AN APPROPRIATELY SIZED POT
Choosing the correct size of pot is extremely important. As a general rule of thumb, I only go up one pot size when I repot anything.
For example, from a 4 inch diameter pot to a 6 inch diameter pot.
In the photo above, you can visually see the old plastic pot in the middle and the new terra cotta pot.
Would you like to save this post?
Enter your email, and I will send this link straight to you!
The reason you don't want to go too big when selecting a new pot, is because you'll risk the potting mix taking too long to dry out, and thus increase the risk of root rot.
3. USE A SUITABLE POTTING MIX AND PLACE IN NEW POT
My special potting mix that I use for repotting Peperomias is 2 parts of a succulent/cactus mix plus 1 part pumice.
In this case, I purchased the following from Amazon:
Cactus soil and pumice before I blended them together.
Simply blend the cactus mix and pumice together until it is uniform and it is ready to use.
I exclusively use this ¼" pumice because it's always consistent and pretty uniform in size. This really helps improve the drainage, prevent compaction, aerate the mix and allow it to dry out more quickly.
Pumice also has an advantage over perlite in that it doesn't float to the top when you water.
If you're looking for an amazing potting mix that you can use straight out of the bag for your Peperomia obtusifolia, check out the Tropical Succulent soil blend from Oh Happy Plants. This is an amazing mix and you will get 10% off at checkout automatically if you use my link.
Next, I placed some of my blended mix at the bottom of my new terra cotta pot, and set my plant in to test the level.
You'll want to keep the plant growing at the same level that it was previously.
Once you have your plant in a spot you're happy with, go ahead and add more potting mix and gently press down so that there are no air pockets.
Lastly, I like to leave about a ½ inch or so of space between the top of the pot and the soil level. This acts as a water reservoir so I'm not making a mess when I'm watering.
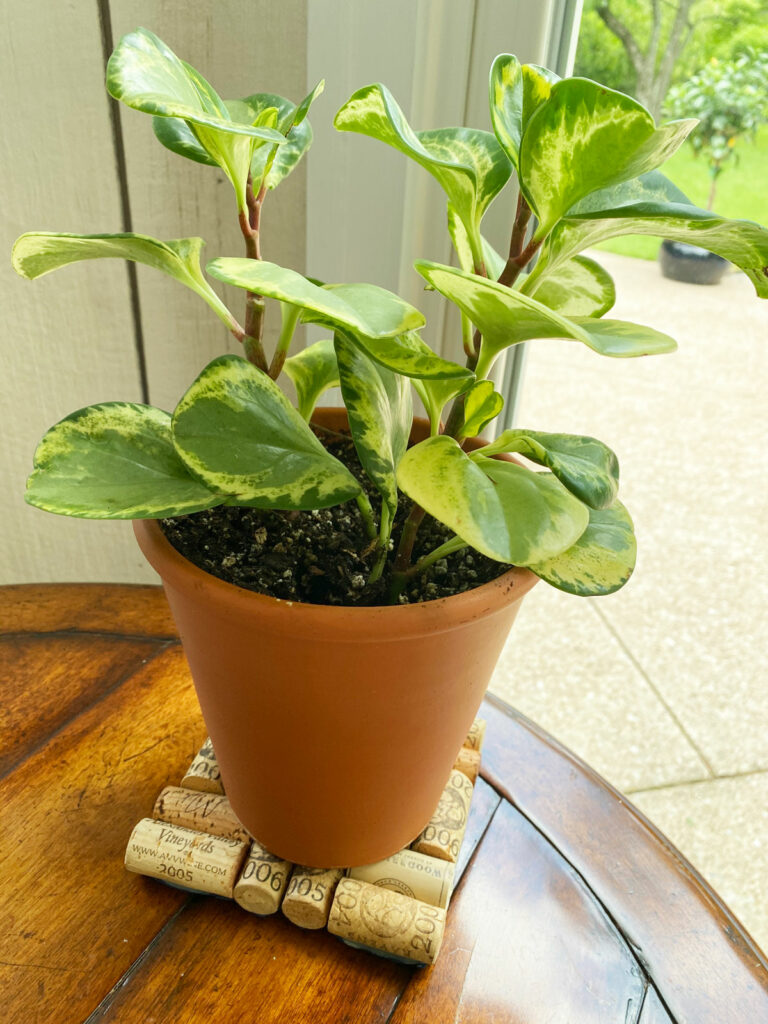
Lastly, give your plant a nice watering, and place it back in its growing spot!
It should be happy in this pot for at least a couple years, if not longer.
For more details on how to grow Peperomia obtusifolia, commonly known as Baby Rubber Plant, be sure not to miss my Peperomia obtusifolia care post.
That's all folks! It's as simple as that. Hopefully this will post will help make repotting your Peperomia a cinch. Do you have a Peperomia obtusifolia? Comment below. I'd love to hear!
I repotted a Peperomia Rana Verde today. I saw while repotting that the soil was very tightly compacted around the roots, so much so that even after teasing the roots and trying to wash/soak soil away I was still left with a hard ball with just a few loose roots. I planted it in the new pot like this. I was afraid to get too drastic with it. Should I have been more aggressive?
I’m very happy for you information about the baby rubber plant. I am a beginner OS plant and I bought it at the Omni pod very small. It has this yellowish whitish you know look to it I know it is growing beautiful. I repot it and it’s a beautiful green plants in the leaves are very shiny. Very beautiful. I saw on YouTube to use onion peel water to water my oats plants they are striving beautifully. I love it. Thanks for your tip of old to take care of my rubber plant.

")
")


I repotted a Peperomia Rana Verde today. I saw while repotting that the soil was very tightly compacted around the roots, so much so that even after teasing the roots and trying to wash/soak soil away I was still left with a hard ball with just a few loose roots. I planted it in the new pot like this. I was afraid to get too drastic with it. Should I have been more aggressive?
I’m very happy for you information about the baby rubber plant. I am a beginner OS plant and I bought it at the Omni pod very small. It has this yellowish whitish you know look to it I know it is growing beautiful. I repot it and it’s a beautiful green plants in the leaves are very shiny. Very beautiful. I saw on YouTube to use onion peel water to water my oats plants they are striving beautifully. I love it. Thanks for your tip of old to take care of my rubber plant.
You're very welcome!