There are many ways to propagate String of Hearts, and I've detailed several methods of propagation in a separate post, but perhaps the most efficient way is what is commonly called the "butterfly method" of propagation.
I've created a separate post on the butterfly method so I can go a bit more into detail, so let's get to it.
Table of Contents
WHY THE BUTTERFLY METHOD?
Why would you use the butterfly method of propagation for String of Hearts?
The main reason is that you will be able to maximize the plant material that you have. Every single tiny cutting will produce vines.
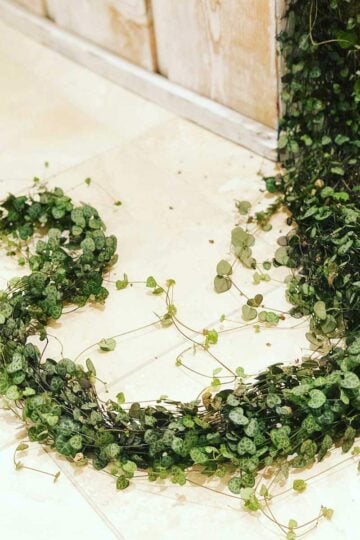
With less plant material, you will be able to get a much fuller plant.
Although it requires a little more effort versus just snipping some cuttings and placing them in water, the results will be worth it! I promise you!
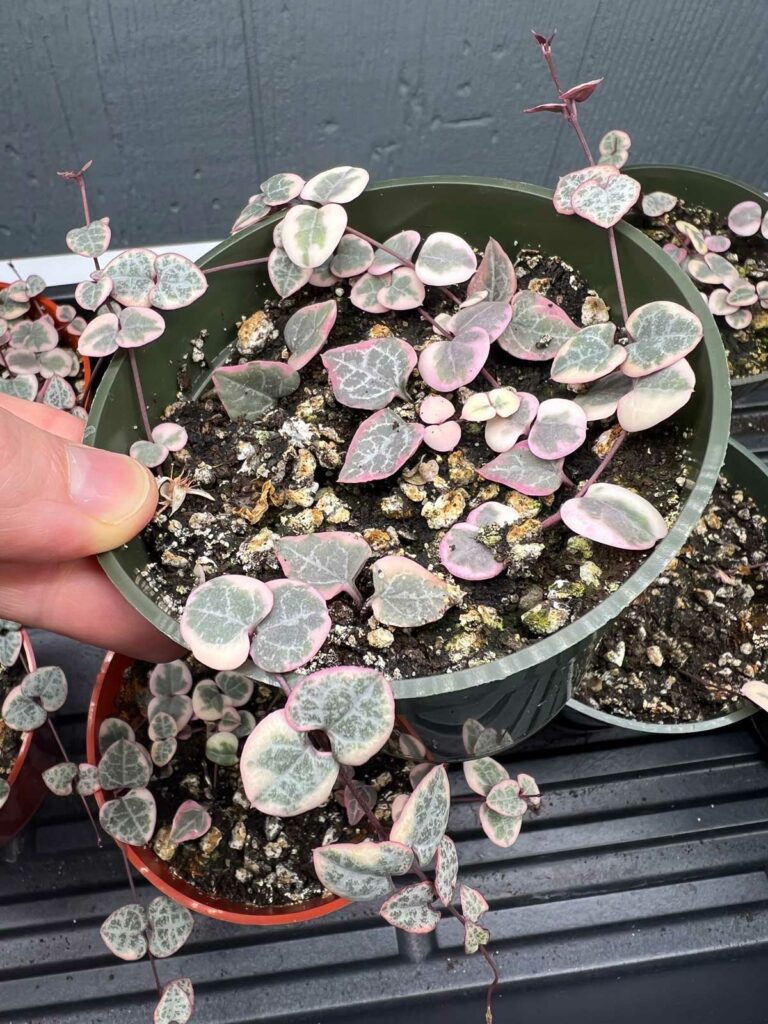
It's also an amazing method to use for the harder to obtain variegated string of hearts because you can make more plants using this method.
PROPAGATING STRING OF HEARTS USING BUTTERFLY METHOD
STEP 1: MAKE YOUR "BUTTERFLY" CUTTINGS
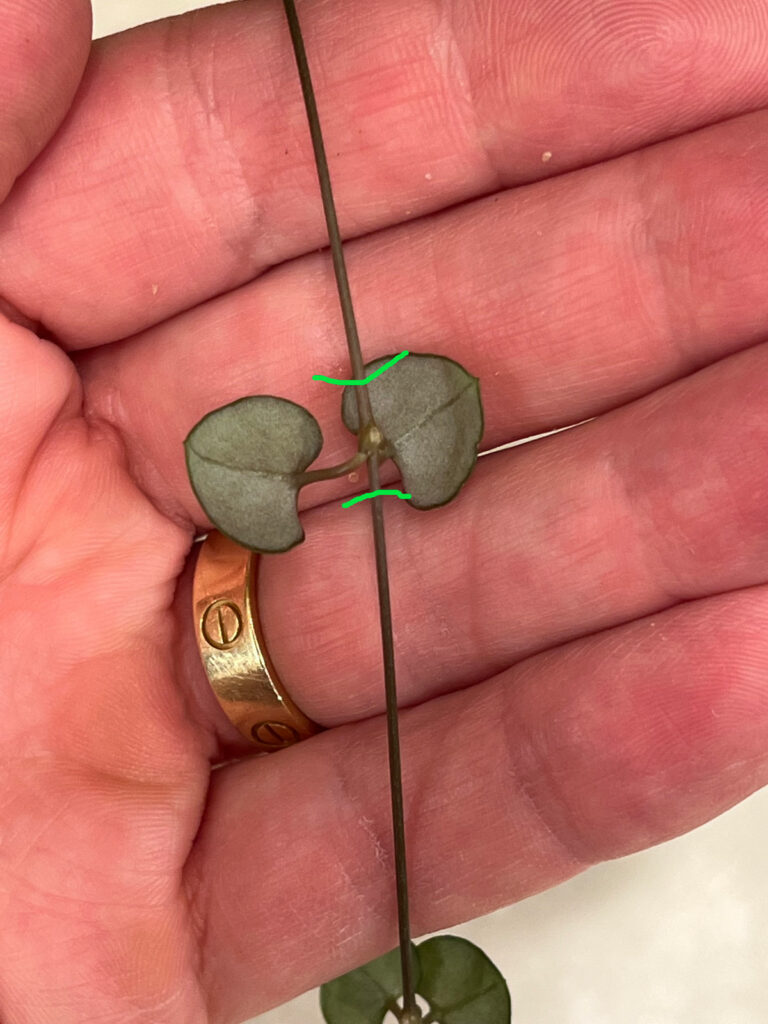
You can see why it's called the butterfly method. String of hearts grows with leaf pairs all along the vines.
Simply find where each pair of leaves meets the vine (this is the node) and snip on either end of the vine.
Snip approximately ⅛ to ¼ inches on either side (see the green lines in the photo below) and make as many cuttings as you desire.
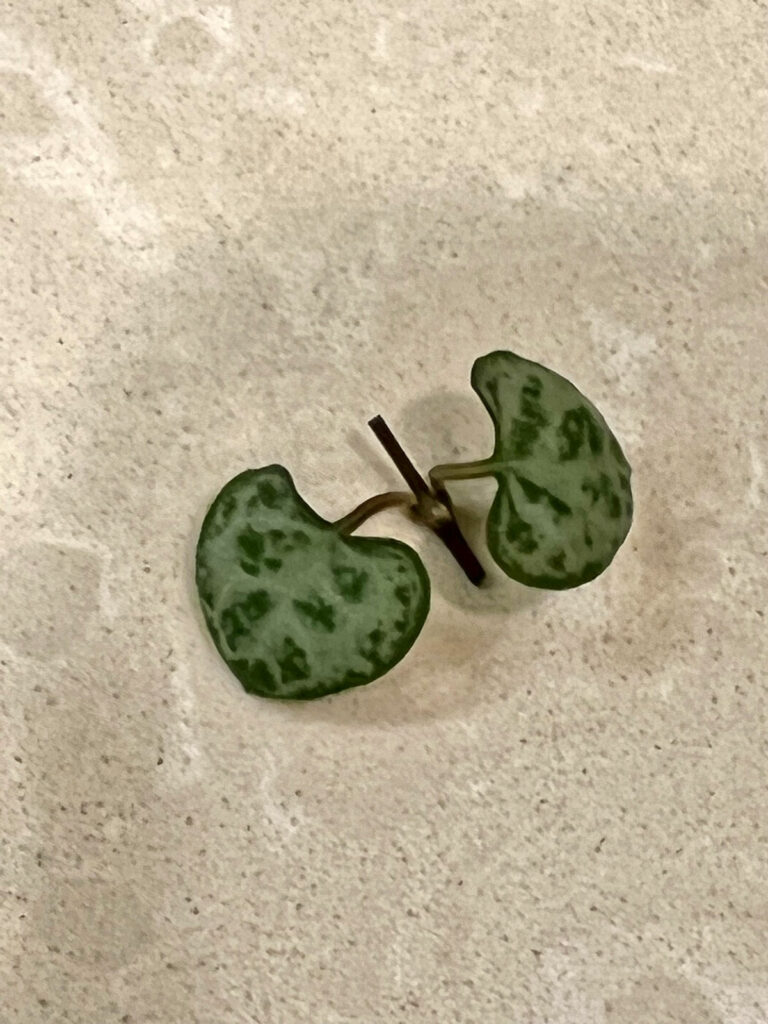
Here is one completed cutting:
STEP 2: PLANT YOUR CUTTINGS
Part of the fun of propagation is that you can use quite a variety of substrates. I've seen many people use sphagnum moss for this step, and I will show you this as well, but I prefer to place directly in soil.
Why? For me it's easier, because when you place the cuttings in sphagnum moss and root them, you'll have to transfer them to soil anyway so it's easier if you place them directly in soil to begin with.
But don't be afraid to experiment and see what method you like the best.
SPHAGNUM MOSS METHOD
For this method, you will need some sphagnum moss and a container with a clear lid. Carryout containers with clear lids work perfectly!
You can also place the sphagnum moss in a small plastic pot and then place that in a clear ziploc bag.
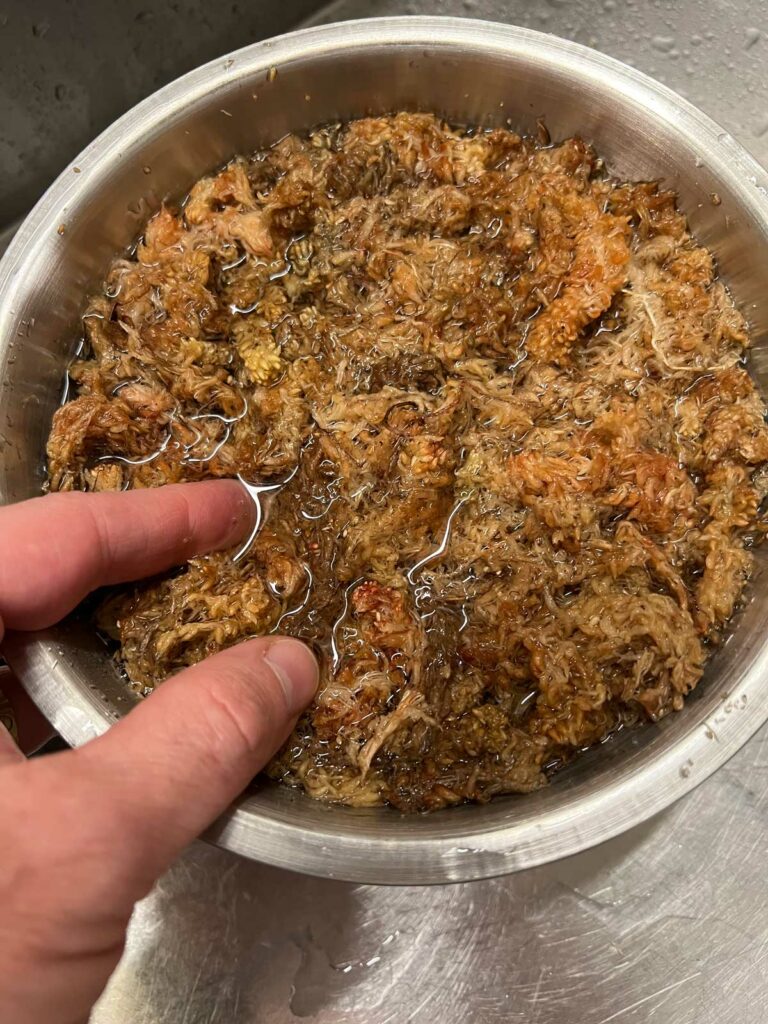
To start, simply add some dry sphagnum moss in a bucket or bowl, submerge in warm water, and let it soak for 5 minutes or so.
Soaking sphagnum moss in warm water
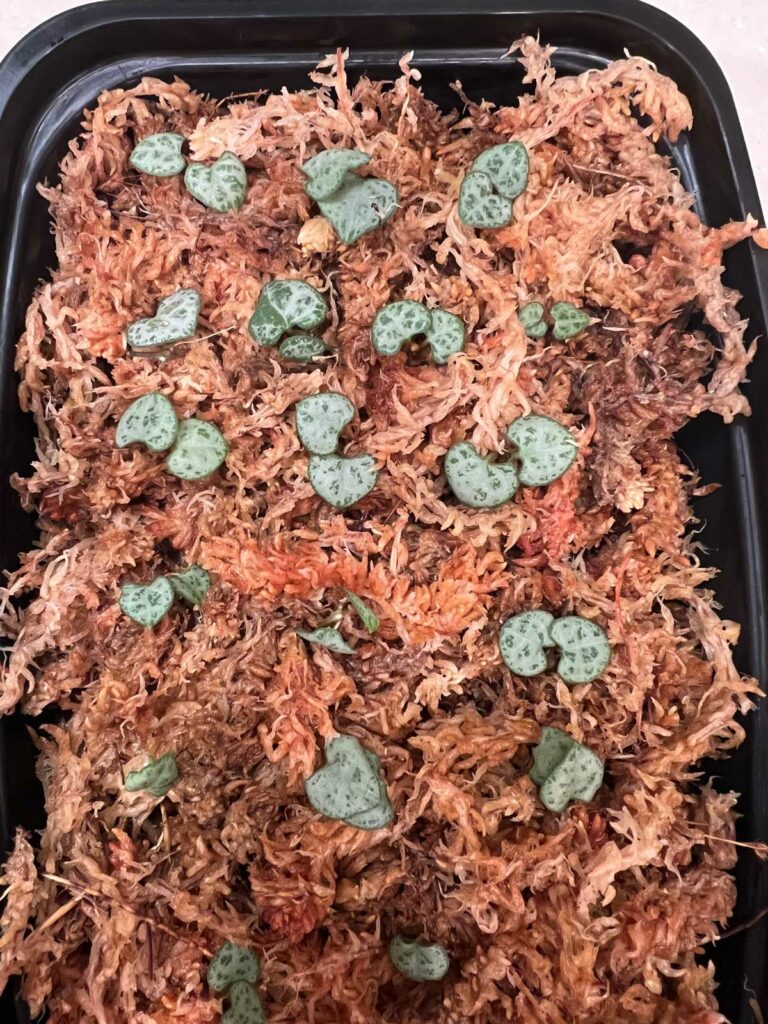
Take the moss out, squeeze out excess water, and place the moistened sphagnum moss in your tray.
Then gently place each cutting so that the nodes (where the leaves meet the vine) are in contact with the moss, and the leaves should be gently resting on top.
Would you like to save this post?
Enter your email, and I will send this link straight to you!
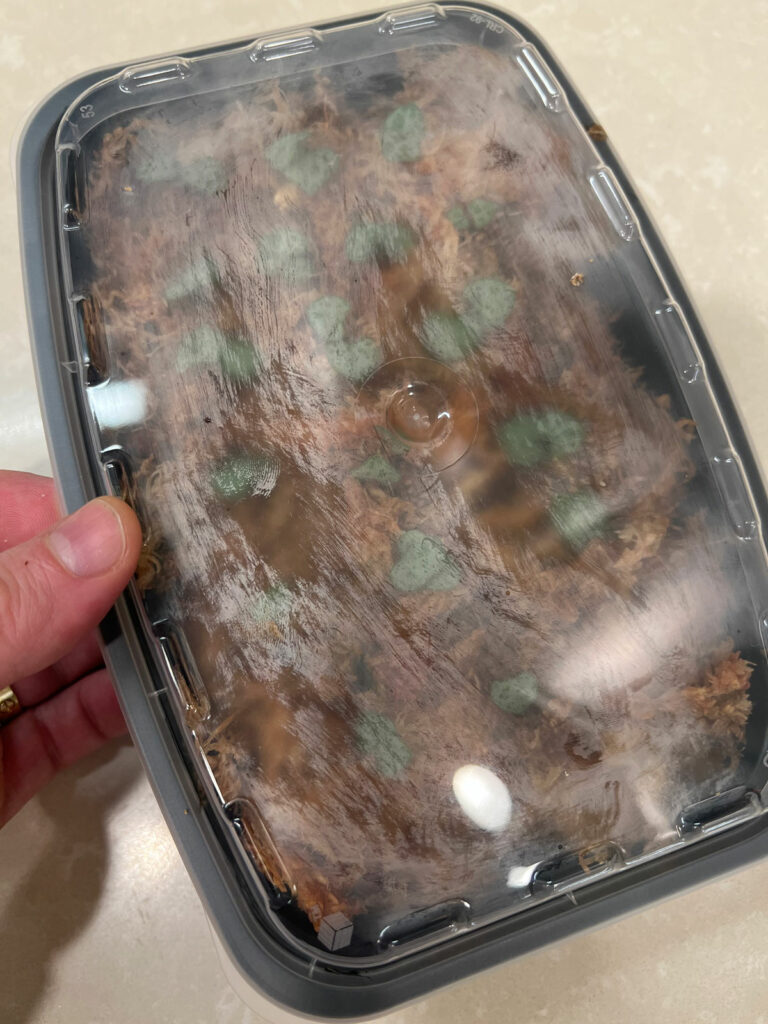
Lastly, place the clear lid on top and place your container in a bright location, but out of direct sun otherwise your cuttings will cook.
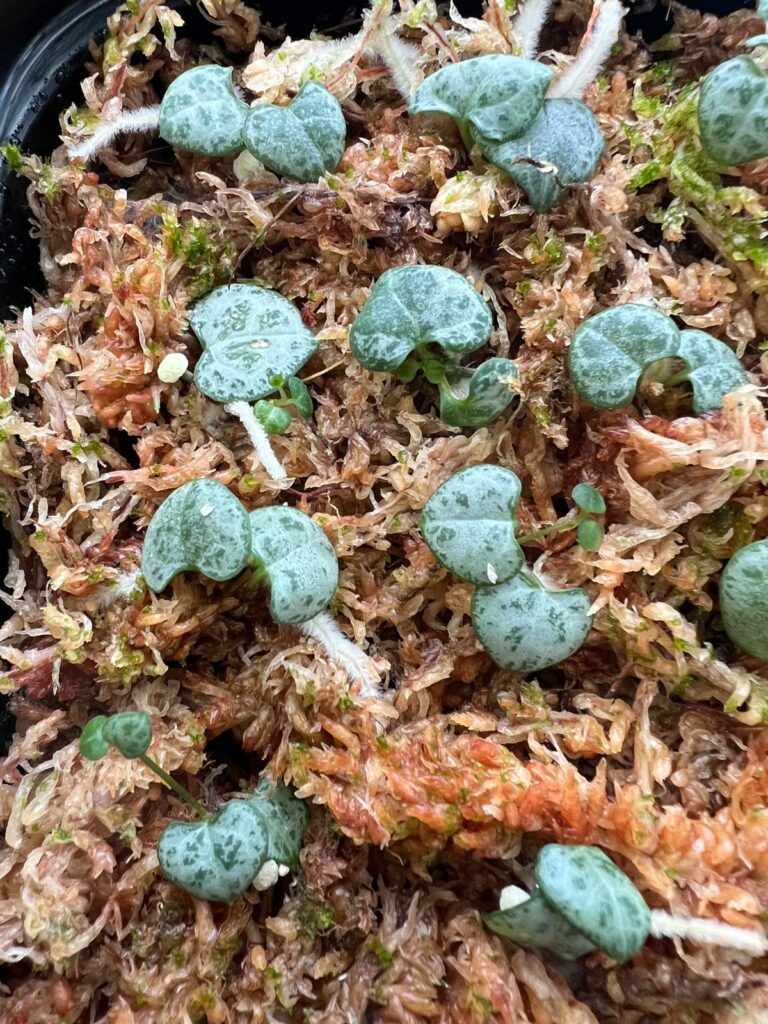
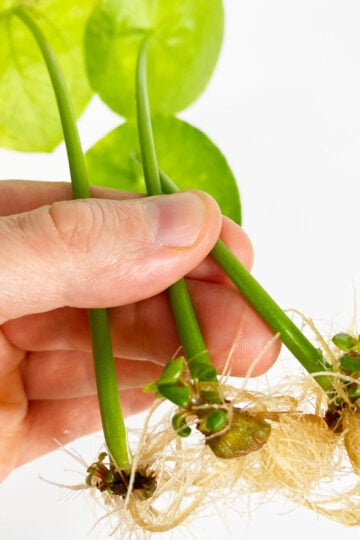
And here are some new vines starting to form.
SOIL METHOD
If you don't want to use sphagnum moss, you can plant your "butterfly" cuttings directly into a soil mix and keep them growing there.
This saves a step because you won't have to pluck the rooted cuttings out of sphagnum moss and transfer them to soil.
For my potting mix, I used 2 parts of Espoma cactus mix plus 1 part of ¼" pumice (links to Amazon). This is a general mix that I like to grow String of Hearts in.
I like to use 4 inch plastic nursery pots and fill them with this mix.
Then, simply bury each node in the mix. I would say 5-7 cuttings in each 4 inch pot is plenty. Remember, each cutting will produce vines.
Lastly, give your pots a good, thorough watering.
For my set up below, I placed all my pots in an annual flat tray, placed a humidity dome on top, and then placed it on a heating mat that is meant for plant propagation.
If you don't have this handy or don't want to buy the equipment, you can just place the small pots in a clear ziploc bag.
I chose to place everything under a grow light which is on for 12 hours, and off for 12 hours, and use an automatic timer to control the light.
You don't have to keep them under a grow light. You can just place them in front of a nice, bright window, with no direct sun at this point otherwise it will heat up too much and cook your cuttings.
The heating mat is optional, but it will help speed things along.
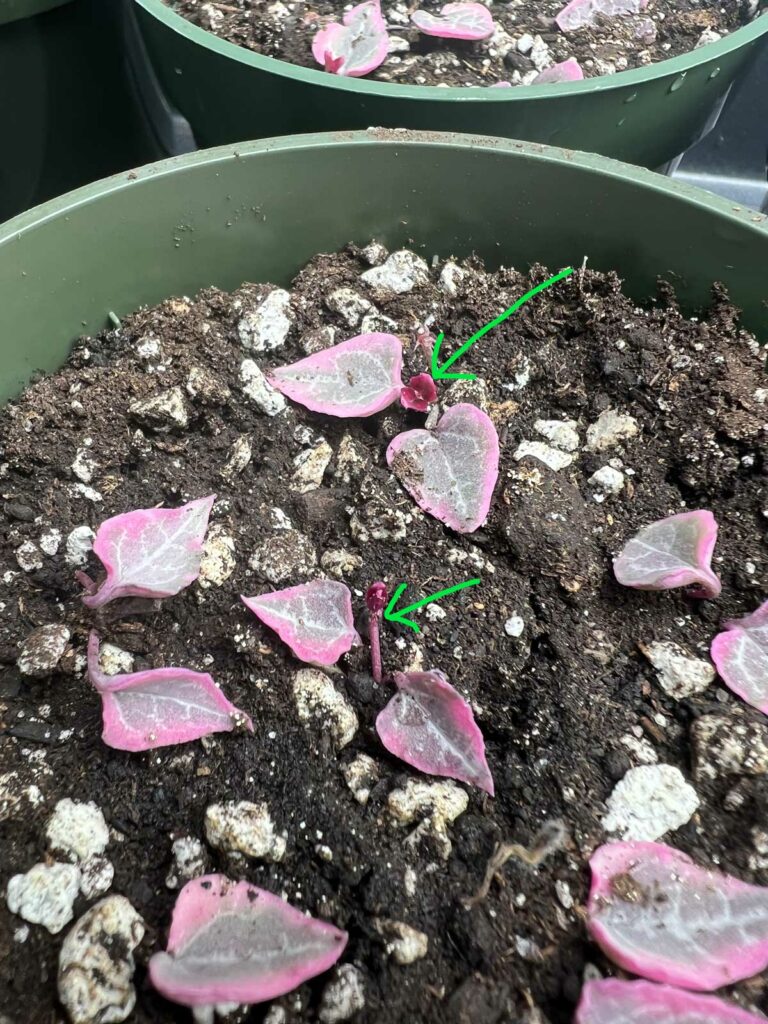
After just one week, some of the cuttings already had produced new growth! (See the green arrows in the photo below).
And just a couple more months later, the plants are vining out nicely.
TIPS FOR PROPAGATION
Check on your setup every day or two if you can. If anything is dried up, make sure to water. You'll need to keep things moist for rooting to occur.
If you are using a clear plastic top/humidity dome, or place anything in a clear ziploc bag, open things up every 3 or 4 days or so to air things out. Let it air out for a few hours. Increasing humidity greatly helps propagation along.
Warmth also will speed up the rate of propagation. Although a heating mat is not required, it will certainly speed up the process.
Once you see that all your cutting have started to produce new vines, you can ditch the humidity dome or plastic bags and grow your plants like "normal".
Keep in mind that while your plants are still small, the potting mix should be kept fairly moist. Water as soon as the surface feels dry. Once the plants get larger and more mature, you can allow the mix to dry out a bit more.
Have you tried the butterfly method before? Comment below. I'd love to hear! If you want to try other methods to propagate, check out my post that shows 5 other methods of propagation for String of Hearts.
Be sure not to miss my String of Hearts care post as well so you know how to care for your plant.
I've had great success using the butterfly method for my String of Hearts. The first time I did it in spaghnum, but... I used a thinnish layer of moss shaped into the general size of the pot I planned to use once the plants rooted. Once the roots were going strong I plopped the moss and cuttings directly on the moist soil mix and kept a close eye on it till well established. Since the moss wasn't super thick it nestled nicely into the soil and the roots got busy getting established. I eventually sprinkled additional soil on top of the moss and now you can't even tell I used spaghnum.
Hi! I have read several of your posts about string of hearts and I think I’m finally ready to propagate mine. I did want to ask you one thing though, once I cut pieces off of a long strand will that strand stop growing?
Thank you for taking the time to write these posts! I have found them very helpful!
Hi Jess! I'm very happy that you enjoyed the posts! Your plant will continue to grow even after you cut a strand. I couldn't cut it all the way off though. Maybe leave 1 or 2 sets of leaves at the base. Good luck!
I cut my string of Hearts up to the pot edge, then planted all the heart nodes in a ring. There were so many that I had to use two other 4" pots. One pot failed, but the big 10" cactus pot is a grand success, the other 4" pot is also doing very well. I forgot to take pictures during the process but I have after pictures. I just don't know how to attach them.
That's wonderful! I don't allow attaching photos in the comments for website speed issues, but that's great! I'm glad you had success 🙂 It's a fun process to watch.


I've had great success using the butterfly method for my String of Hearts. The first time I did it in spaghnum, but... I used a thinnish layer of moss shaped into the general size of the pot I planned to use once the plants rooted. Once the roots were going strong I plopped the moss and cuttings directly on the moist soil mix and kept a close eye on it till well established. Since the moss wasn't super thick it nestled nicely into the soil and the roots got busy getting established. I eventually sprinkled additional soil on top of the moss and now you can't even tell I used spaghnum.
Hi Vicki, that sounds like a wonderful tip! Thanks for sharing 🙂
Hi! I have read several of your posts about string of hearts and I think I’m finally ready to propagate mine. I did want to ask you one thing though, once I cut pieces off of a long strand will that strand stop growing?
Thank you for taking the time to write these posts! I have found them very helpful!
Hi Jess! I'm very happy that you enjoyed the posts! Your plant will continue to grow even after you cut a strand. I couldn't cut it all the way off though. Maybe leave 1 or 2 sets of leaves at the base. Good luck!
I cut my string of Hearts up to the pot edge, then planted all the heart nodes in a ring. There were so many that I had to use two other 4" pots. One pot failed, but the big 10" cactus pot is a grand success, the other 4" pot is also doing very well. I forgot to take pictures during the process but I have after pictures. I just don't know how to attach them.
That's wonderful! I don't allow attaching photos in the comments for website speed issues, but that's great! I'm glad you had success 🙂 It's a fun process to watch.