How to Propagate Umbrella Plant: 3 Easy Methods
Some of the links in this post may be affiliate links.
Are you wondering how to propagate umbrella plant? In this post, I'll show you exactly how to do this with 3 different ways: with stem cuttings in water, stem cuttings in soil, using cuttings in sphagnum moss, or using a bonus method at the end of the post that may surprise you!

Would you like to save this post?
ABOUT SCHEFFLERA PLANTS
There are two commonly sold species of umbrella plant (this is the common name for the genus Schefflera). Both of them can be propagated using the methods in this post.
Schefflera actinophylla is the larger leaved Schefflera. Schefflera arboricola is the smaller leaved species, which is a dwarf Schefflera and also goes by the common name, dwarf umbrella tree.
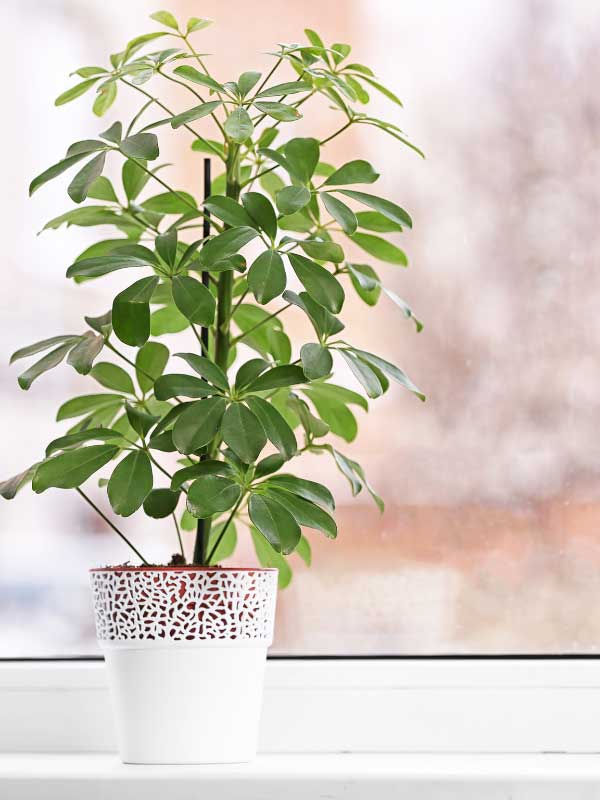
Here is the common, non-variegated, small leaved umbrella plant.
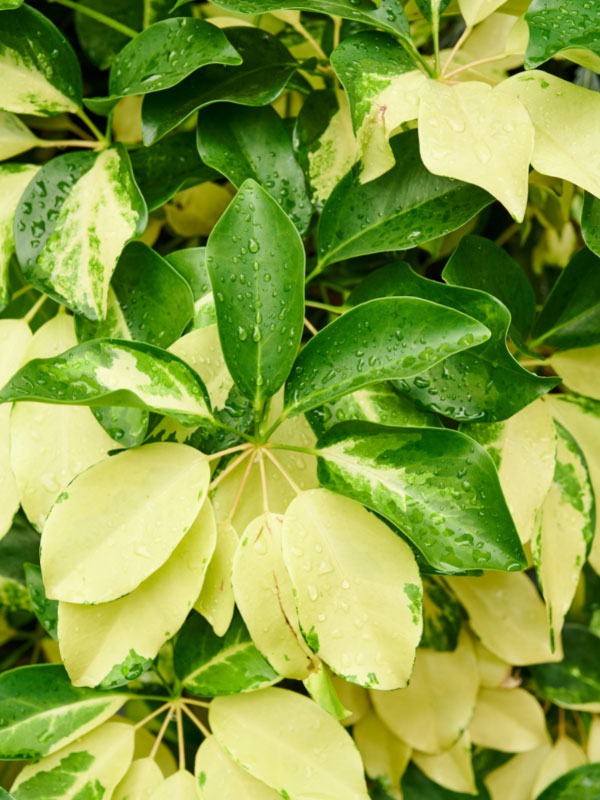
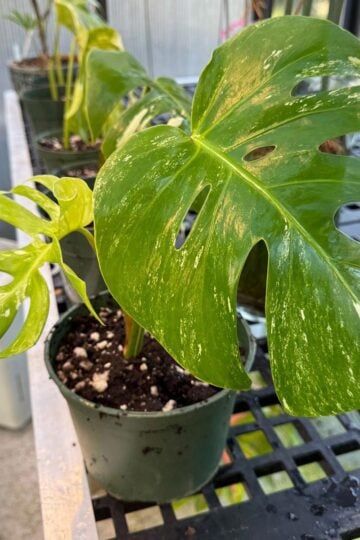
There is also a variegated umbrella plant.
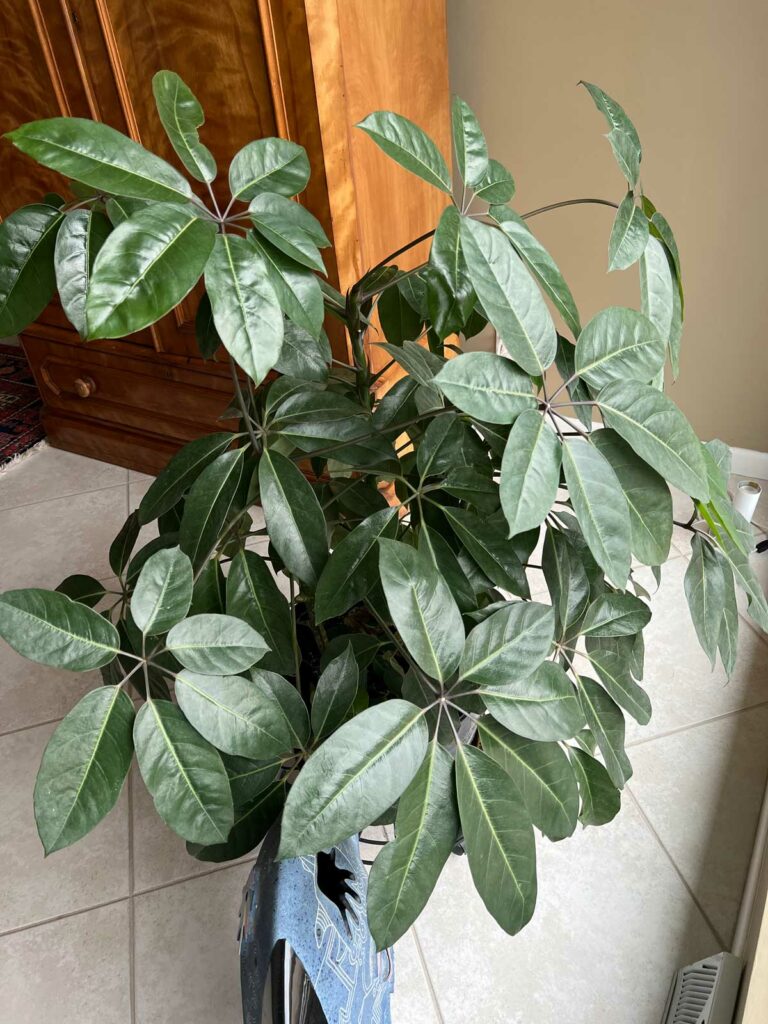
And finally, here is a potted, large leaved umbrella plant (Schefflera actinophylla). The true, accepted name of the species is actually Heptapleurum actinophyllum.
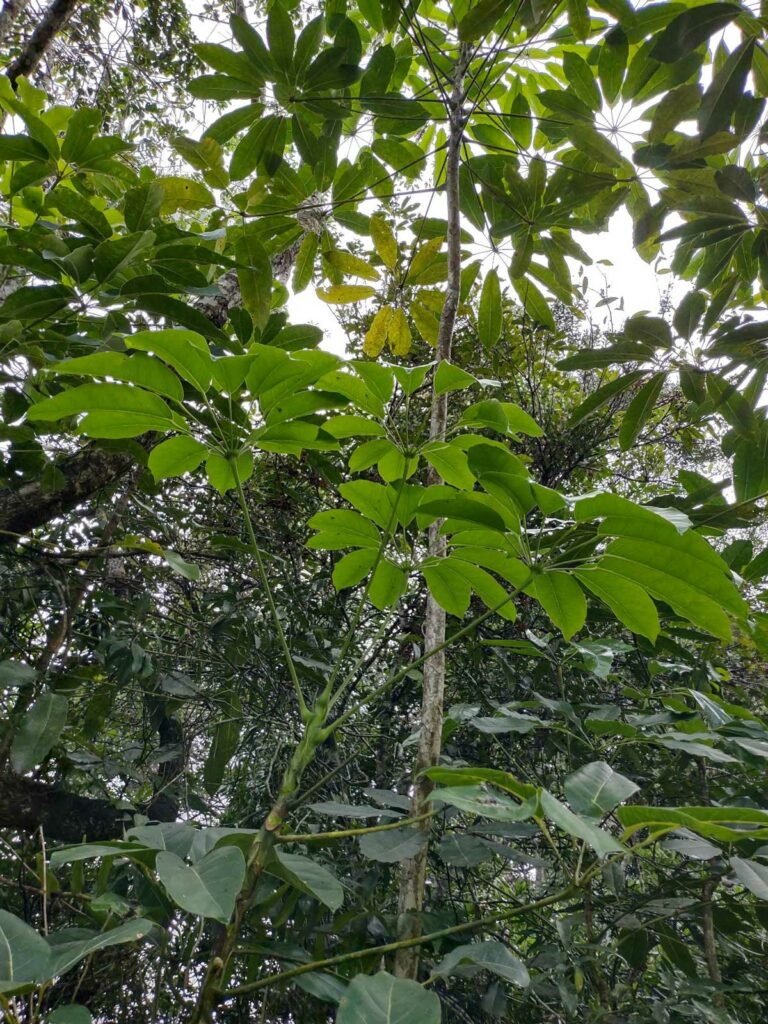
Did you know that these plants grow into large trees in nature? Take a look below at how large they get outside in the tropics.
Whether you want to simply propagate more plants to share with friends, or completely rejuvenate your parent plant from scratch, here are a few different methods that you can use for umbrella plant propagation.
The process is the same for all of these plants, but I'm going to demonstrate below with my variegated dwarf umbrella plant.
HOW TO PROPAGATE UMBRELLA PLANT
Umbrella plant propagation is easy to do using:
- Water propagation with stem cuttings
- Soil propagation with stem cuttings
- Sphagnum moss propagation
BONUS METHOD: Air layering
Let's take a look at how to conduct each method.
1. WATER PROPAGATION WITH STEM CUTTINGS
For many people, water propagation is the simplest of the propagation methods, and is also gratifying because you can see the root growth.
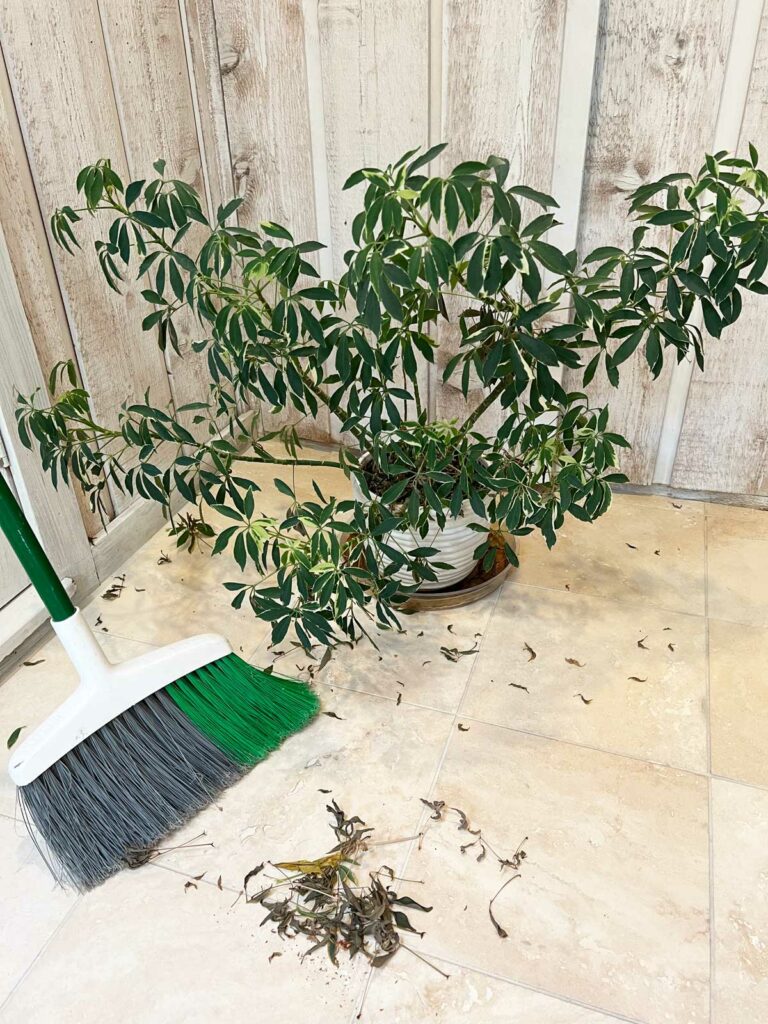
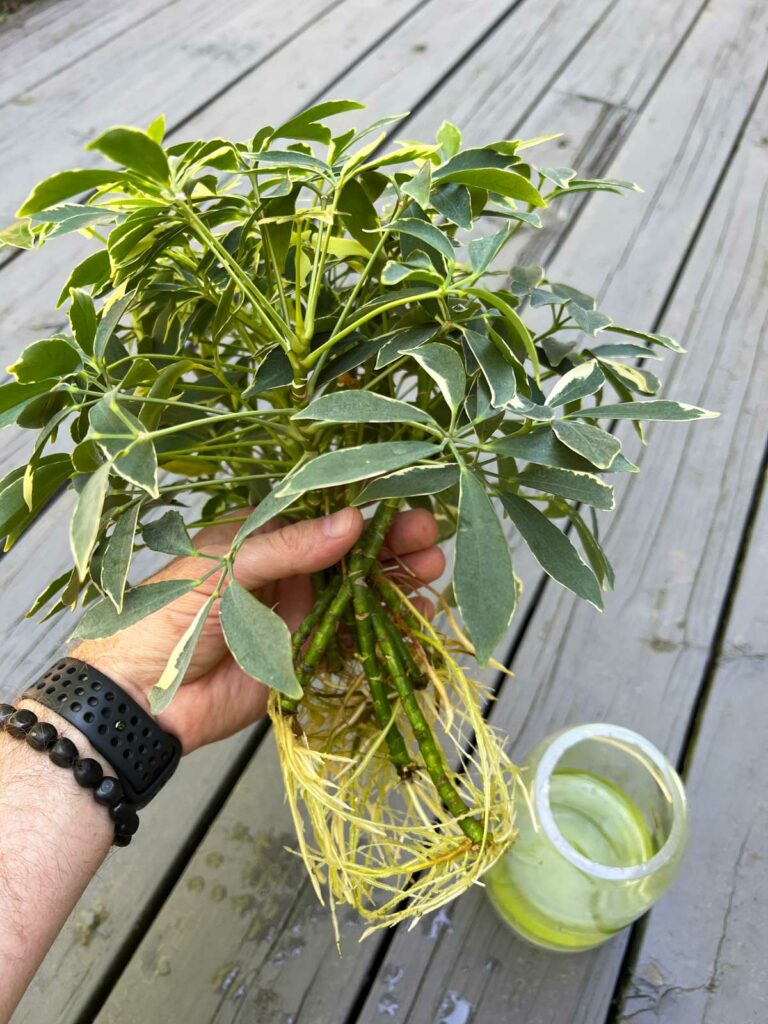
First you'll want to take as many Schefflera cuttings as you'd like. I had unintentionally neglected my parent plant for a while (see photo below) and it lost a lot of the lower leaves because it dried out too much.
Simply use a sharp knife or set of pruners to snip off the growing tip of each branch and make as many cuttings as you'd like.
I like to sterilize the knife or pruners with 91% isopropyl alcohol (link to Amazon) to avoid any fungal infections and other diseases from spreading from other plants that you may have used the tools on.
Don't make the cuttings too long. I'd recommend no longer than 6-8 inches of stem.

Keep your end goal in mind. Do you want a single stemmed plant? If so you're good with one cutting. If you want a bushy plant, root at least 2 or 3 cuttings to place in the same pot when that time comes.
Although you can propagate at any time of year, the best time to take cuttings to root is during the growing season in Spring or Summer.
You can propagate during the winter months too, but it will likely be much slower.
After you have snipped a few umbrella plant cuttings, strip off any of the lower leaves if you need to.
You'll want to have about 2-3 inches or so of the bare stem in a vase or glass of water.
Finally, place your container of cuttings in a nice, warm, bright location for rooting to start. Right in front of a window would be great, and even windows that get a few hours of morning sun would be beneficial.
Warm temperatures will definitely speed up the rooting process, so place your plant in a nice, warm room.
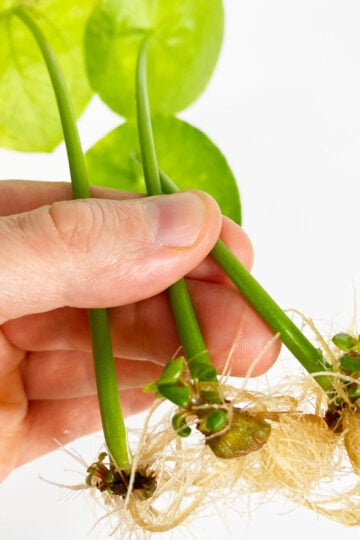
The rooting process can take a few weeks or more to begin to notice any new growth. And the new roots will look unusual at first and appear like numerous white, irregular, bumpy stubs.
The brand new root growth will look different that what we're normally used to, so don't fret! As they grow longer, they will look more normal.
Be sure to change the water at least weekly, and more frequently if you see any cloudiness in the water from any decaying leaves, etc. Changing the water also introduces more oxygen back into the water.
When the roots grow more, they'll look like what you'd expect. Allow the roots to grow about 1-2 inches long or so, and then you can go ahead and pot them up.
And if you love water propagation, don't miss my post on the best plants to water propagate.
Once your rooted cuttings are ready, you can plant one or more into a pot. I like to use 3 parts of a good all-purpose potting mix and 1 part perlite.
I recommend not using too large of a pot. If you have just one small cutting, start with a 4 inch pot and up-pot to a larger pot when it is root bound.
If you are planting 2-3 cuttings, you can use a 6 inch pot.
Always plant directly into pots with drainage holes in order to avoid excess water from sitting at the bottom and potentially causing root rot.
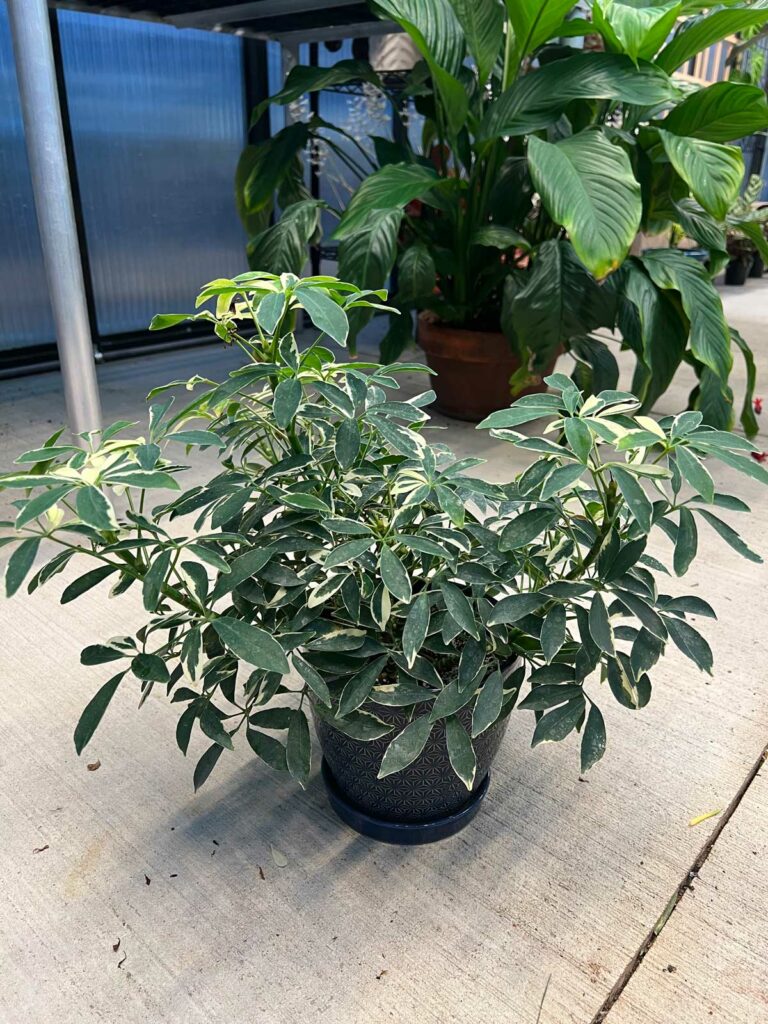
Here is what my brand new, propagated plant looks like after it has grown a bit.
2. SOIL PROPAGATION WITH STEM CUTTINGS
This method is the most efficient way because your cutting will root directly in the pot that it will be growing in.
For this process, you will start off with taking cuttings exactly as described in the previous section, but instead of placing the cuttings in water, you will just insert them directly into a pot of moist soil.
Take the cut end of the Schefflera cuttings, dip it in rooting hormone, and insert it into a small pot with moist soil.
The rooting hormone is not completely necessary, but it will help speed up the rooting process.
One really useful growing tip for soil propagation is to use a heating mat. They are inexpensive, and you simply plug them in and place your pot on top.
The bottom heat increases the temperature of the potting mix, and speeds up the rooting process. If you love to propagate, I highly recommend getting one. Heating mats also amazing for seed starting.
When you are conducting soil propagation, it's always helpful to increase humidity levels. It helps to lessen the stress on the cutting and helps it along.
You can do this simply by placing a couple of bamboo sticks into the pot, and covering the pot up with a clear plastic bag.
Keep the soil relatively moist. When the top inch or so feels dry, go ahead and water.
Maintaining a relatively moist potting mix is important, so make sure you don't let your potting mix dry out completely. Moist potting mix will encourage root formation.
When soil propagating, it's more difficult to know when rooting has started, but you will eventually start to see new growth at the growing tip of the cuttings.
If you'd like, you could even lightly tug at the cuttings to see if there is any resistance from roots forming, or you can gently dig up the cuttings and inspect. It's best not to disturb the cuttings though, so try and be patient.
You will start to see good growth and new leaves once the cuttings are rooted.
3. SPHAGNUM MOSS PROPAGATION
With this method, proceed exactly as described in the soil propagation method, but instead of inserting the cuttings into potting mix, use moist sphagnum moss.
I really like to use Better-Gro premium grade orchid moss.
Simply soak the sphagnum moss in warm water for a few minutes, and then wring out the excess water with your hands. Place the moistened moss in a pot and insert your cutting(s).
Using a humidity tent and propagation mat as described in the previous section is also a great idea.
Sphagnum moss is nice and open and airy, so you can keep it moist without fear of your cuttings rotting since there is ample air and oxygen present. Many people have better success with using sphagnum moss vs. soil mixes because the moss takes longer to dry out and is easier to manage.
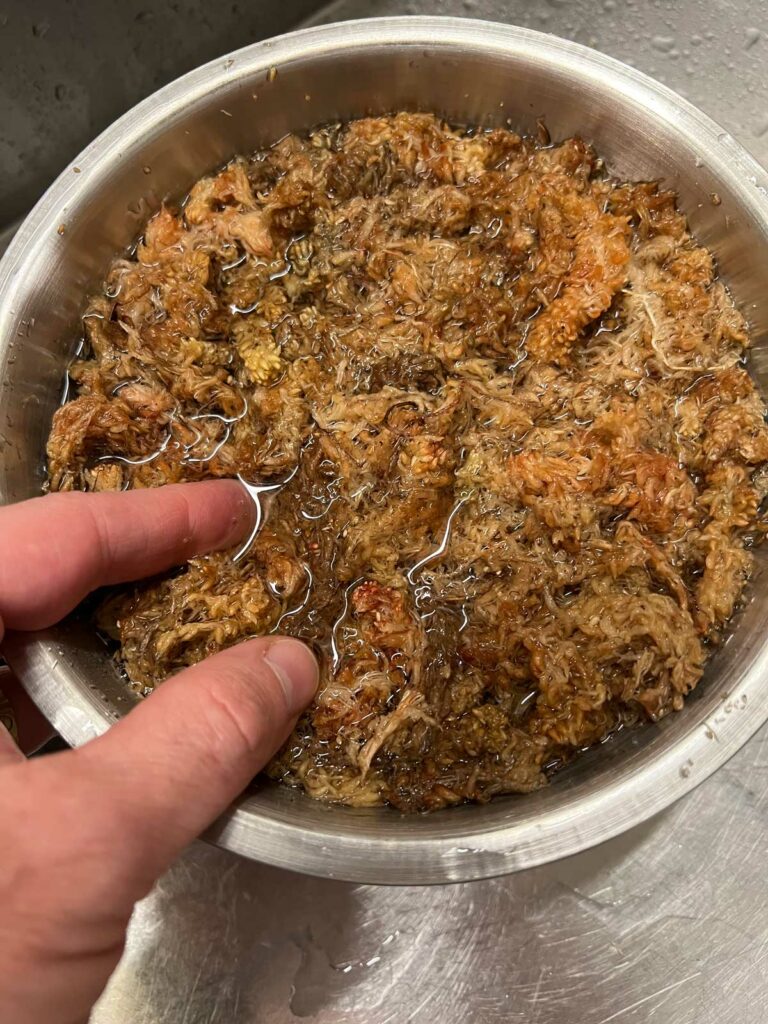
After a few weeks, check on your cuttings. Gently lift your cuttings out of the moss. Once roots are half an inch to an inch long or so, gently remove any of the moss from the cutting, and plant into potting mix.
BONUS METHOD: AIR LAYERING
If you have not tried air layering, I recommend trying it because it's a great way to propagate and it places much less stress on your plant and will help to ensure successful propagation of a new umbrella plant.
This method is particularly useful if you have a plant that has pretty mature, woody stems. With this method, you don't make any cuttings, but rather, you'll allow the new plant to root while still attached to the mother plant.
The process is slower then the other methods in this post, but once you set it up, you can forget about it for a few months.
Here are the materials you'll need:
- Sphagnum moss
- A sharp knife
- 91% Isopropyl alcohol
- Plastic wrap
- Twine or twist ties
- Rooting hormone
And here are the simple steps:
- Remove any leaves from your Schefflera stems because you'll need a bare area of stem that is about 4-5 inches long.
- Sterilize a sharp knife with isopropyl alcohol.
- Take the knife and carefully remove a thin outer layer of bark around the whole perimeter of the stem. Remove an area about half an inch tall or so, but remove it around the entire perimeter of the stem.
- Take a Q-tip ,dip it in rooting hormone and dust the exposed wound on the stem.
- Then take some pre-moistened sphagnum moss (let it soak in water for a few minutes and wring out excess water) and wrap the entire perimeter of the stem (where you removed the bark) with the moss.
- Then wrap the sphagnum moss completely with clear plastic wrap. Secure both ends of the plastic wrap with twist ties or twine.
Over the period of a few months, roots will start to grow into the sphagnum moss. The benefit of using clear plastic wrap is that you will eventually see the new roots through the plastic wrap.
Once it has rooted, you can remove the plastic wrap and completely cut the stem right below where the roots have formed, and then go ahead and plant into a well-drained soil.
I hope you've enjoyed this post on how to propagate umbrella plant. Have you tried it before? Comment below. I'd love to hear!


Thanks for the pointers on rooting a umbrella plant in water!! Easy to understand and makes sense. Thanks again.
You're very welcome Christine!
Thank you for your informative article. If you please, I have a couple of questions:
1) when removing the leaves from the stem, does it matter if they are cut or pinched off?
2) will roots sprout from where the leaves were removed or just random?
3) does it help to place the root hormone where the leaves were removed?
Thank you!
Glad you enjoyed it Dennis!
1) It doesn't really matter. Just make sure it is cut or snapped off cleanly.
2) Roots will grow at the nodes (so where the leaves were removed).
3) Rooting hormone will help speed things up, but it's not necessary.
@Raffaele,
I have never used rooting hormone, and I have success, especially with the Trinette arborocola schefflera. my friend, though she uses aloe vera gel from the aloe vera leaf as a rooting hormone. She also uses Pothos water which is water that the Pothos have been rooting in and she also believes that you can just put a Pothos cutting in with the other cuttings, and they will route faster, she has a lot of time on her hands lol