Depending on where you live, it's either time to start growing your prized annuals or vegetables from seed, or it will be soon! In this blog post, I will discuss how to germinate seeds quickly indoors, and how to plant a seed step by step. Starting seeds indoors in winter or in the spring is easy!
Table of Contents
Growing Plants From Seed Indoors
There are numerous advantages to growing from seed:
You have a MUCH larger variety of plant varieties available if you start with seed, versus going to the garden center and buying plants. Nurseries tend to have the SAME VARIETIES every year available as plants and I quickly get bored with the varieties available. Also, even if they have the variety you want, they may have very limited quantities and another gardener may snatch your plants up and then you are out of luck! If you grow from seed, your options are endless.
It is also must cheaper to grow from seed, especially if you are a plant hoarder like me and need a lot of plants.
The plant that you want to grow may not be available at ALL to purchase as a plant. So just grow it yourself from seed!
Determine your last frost date
The first thing you'll need to know is when your last frost date is for your zone. An easy way to determine this is to go online and look up the data for your zip code.
Simply enter your zip code, and the site will then return your data on last frost date using historical data for your area. If you are outside the U.S., just go on Google and find a similar site.
There are many out there, but just make sure that the site uses actual historical climate data. For my zip code, the last frost date (sadly) is usually in May.
But please keep monitoring the weather forecasts for any unexpected frosts and cover or bring any plants inside as needed if it gets too cold or if there is a threat of frost!
I like to evaluate conditions year-by-year and adjust according. Every year is different so use these dates only as a guideline.
Let's get growing!
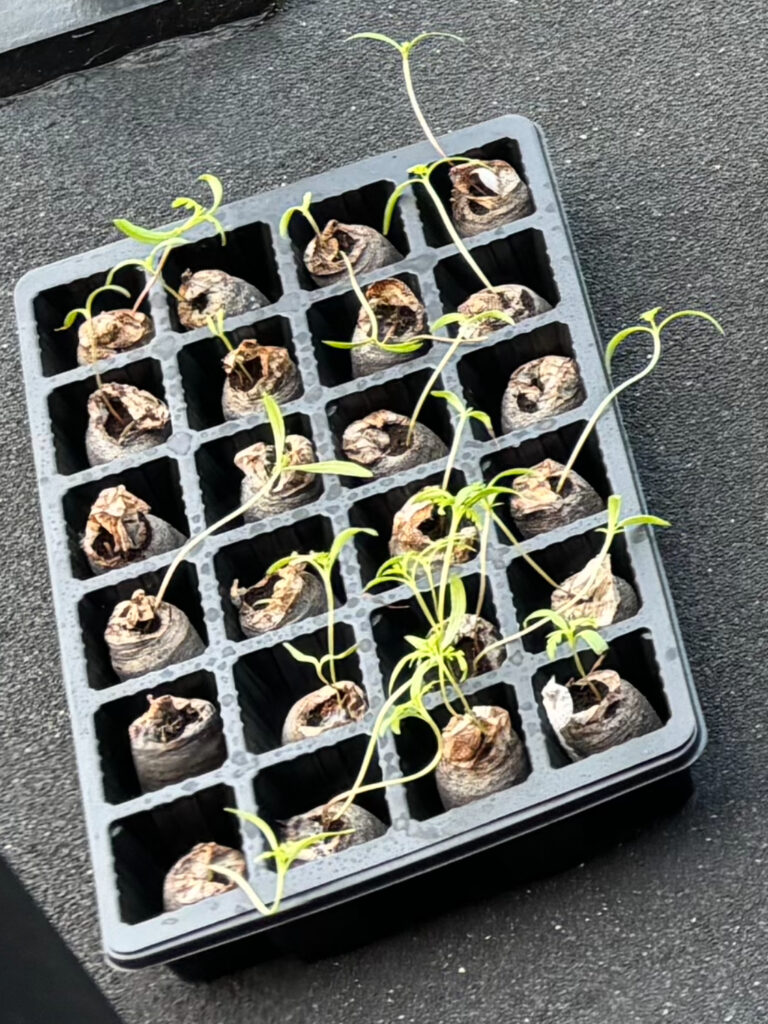
You may be reading in a book somewhere that you can grow your annuals from seed on a windowsill. Just don't do it.Stop the fake gardening news.
I don't like this method because your plant will grow tall, weak and spindly from the beginning and your chances of failure will increase exponentially. Here an example below from a friend of mine that started some seedlings on a windowsill. Look at how weak and lanky they are.
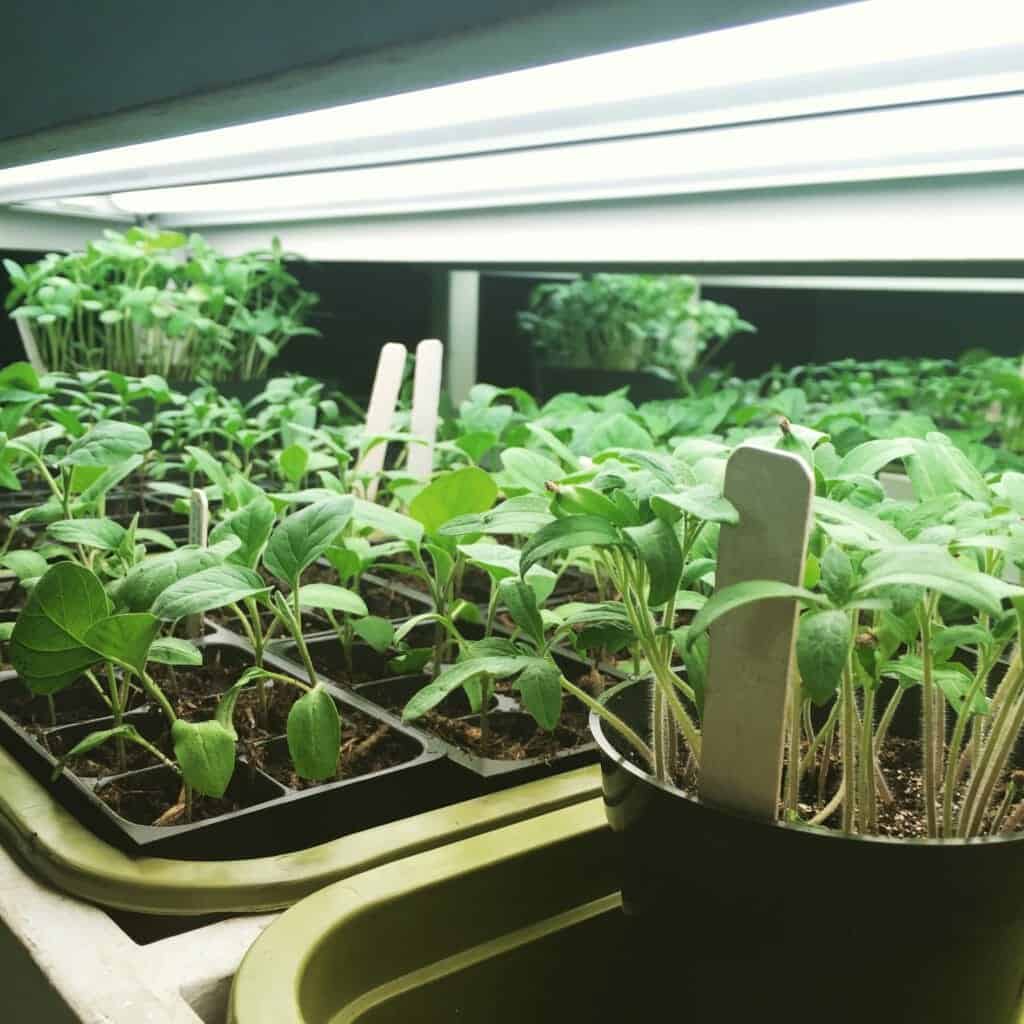
Depending on the window, there simply isn't enough light in most cases to produce strong seedlings. I prefer to use a light stand. Either purchase one or make a setup yourself.
I have a great old one that a friend gave me years ago. Her grandfather built it, and it has adjustable shelves that uses shop lights fixtures with special grow bulbs.
Find what works for your budget, time and patience. Here is my setup and some seedlings I was growing 2 years ago:
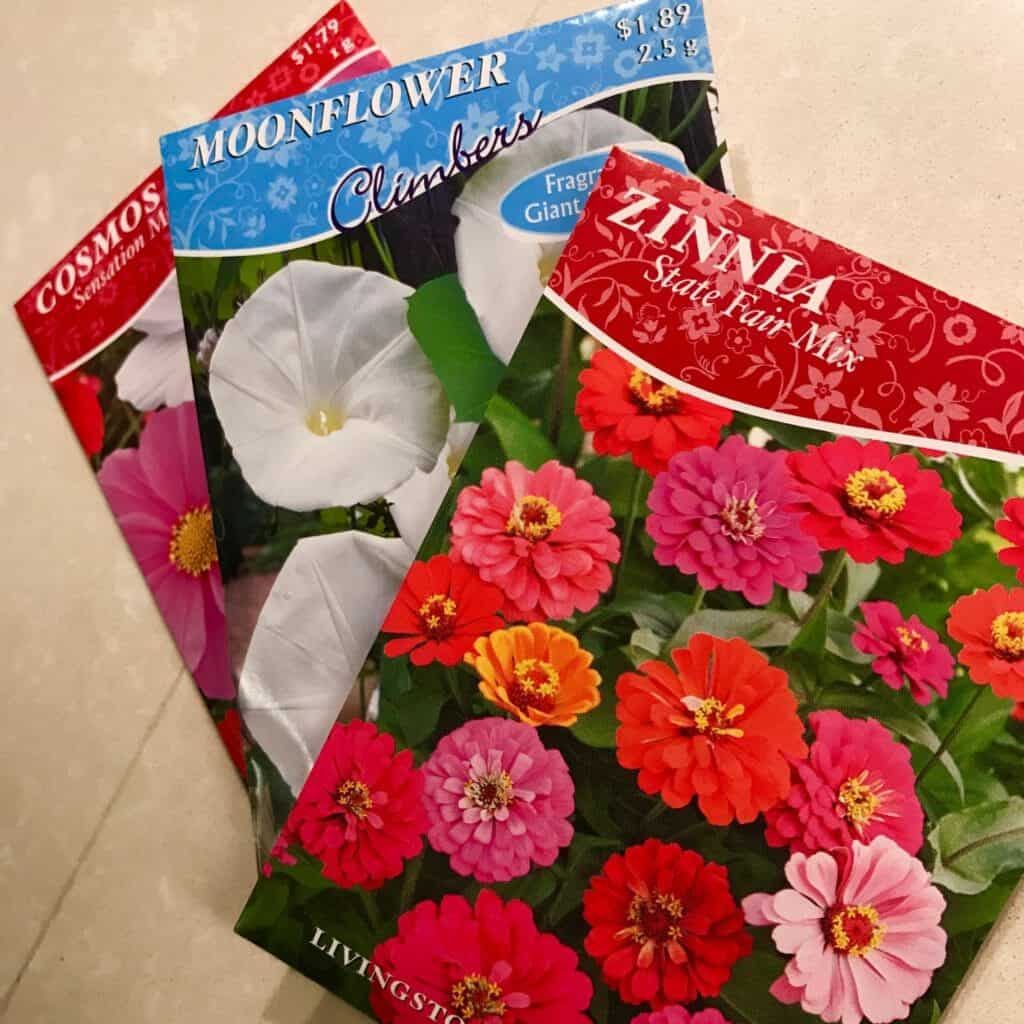
Visit your garden center or buy any seeds online. Follow the directions on the seed packets, but do your research ahead of time! I like to start researching in January.
As the bitter cold and snow rages on, I need to start dreaming of my garden so I can start planning. Some plants need much more time to grow than others.
Also some seeds need light in order to germinate, so read the directions on the seed packet! Please note that some seeds are best sown directly into the soil outdoors because they detest transplanting. Do your research and read the seed packet instructions.
Here are some tips to help you out
1. Purchase some soilless potting mix or one that is labeled for use to start seeds. Make sure you pre-moisten the soilless before you sow your seeds! These mixes contain peat moss which is difficult to wet sometimes.
Would you like to save this post?
Enter your email, and I will send this link straight to you!
So get a bucket or a big pot with drainage holes, and give it a good water and let it sit for a few minutes. Mix if needed with your hands to ensure a uniformly moist soil.
Please don't ignore this step! If you don't do this, when you plant your seeds and water, sometimes the water will just sit on top or it may even move the seeds around.
You also may not get all the soil mixture fully wetted out and you'll get pockets of dry soil, etc.
2. Choose a container to plant your seeds in. You can use small pots, sow directly into plastic trays (the same ones that nurseries use when you buy flats), peat pots, etc.
Personally, I like to start by sowing several seeds in a bigger pot. Just be sure that your container has holes so the water can drain. DO NOT use containers with no holes to sow seeds.
Follow the specific directions for each type of seed as far as depth to sow. Once the seedlings germinate and have their first pair of leaves (first pair of real leaves, not the "seedling" leaves that emerge first), then you can gently transplant them into small individual pots, or the 3-pack or 4-pack flat trays.
3. As far as lighting goes, turn on your light stand as soon as you sow the seeds. You don't want your seeds germinating in the dark and then risk them becoming weak and spindly because there is no light!
Ideally, you'll want an adjustable light stand so that you can adjust the distance between the bulbs and your seedlings as they grow. Another option is to hang your fixture on chains and you can adjust it that way. I like to keep the grow light approximately 4 inches or so above the seedlings. You want them close to produce strong growth.
Otherwise, you can also elevate your containers with something underneath them as a last resort. You want your light bulbs to be as close to the tops of the seedlings as possible, but without touching them!
This will ensure stronger, stockier seedlings. You will have to monitor growth daily and adjust as needed. Also, a timer is a good investment so that you won't have to remember going to turn the lights on and off every single day. Your lights should be set up to be on for 14-16 hours a day.
4. Choose an area that is between 65F-75F or so to grow your seedlings. If your area is too cold, it will just delay germination. Keep the soil well drained and don't let anything sit in water for any extended period of time!
The soil should be consistently moist while you are waiting for germination, but it should not be wet. Be careful while watering your seedlings before they germinate.
You don't want to disturb your soil too much and move the seeds around and wash them away. I like to use a watering can and place my finger at the tip of it so I can slowly control how much water comes out. This way, I can very gently water the soil without disturbing anything too much.
5. Check on your plants every day! You can start to give them dilute fertilizer after you've transplanted them into trays or small pots.
6. Avoid the temptation to sow seeds too early indoors! You want to try and balance getting a head start versus sowing too early, which would result in weak seedlings. Resist the temptation!
Earlier is not always better. As a rule of thumb, if your seed packet says to sow 4-6 weeks before the last frost, go with the 4 weeks instead of the 6.
7. The goal is to get your plants outside as soon as the temperatures and climate allows. This process is called "hardening off." As soon as you have a nice, warm day in the 60s or 70s, take your seedlings outside! Place them in a spot that is protected from any high winds and make sure you place them in complete shade at first!
Your plants will be weak at first from growing inside, so they'll need to slowly get accustomed to being outside. If you plop them outside into full sun immediately, they will roast and die. Don't get overly confident and let nature do its thing.
If the evenings stay consistently in the 50s F, you can leave your seedlings outside. Monitor your weather forecast closely and daily. If there is any chance of frost, or the temperatures get too cold and dip below the 50s, bring your plants inside for the evening and return them to your light stand.
I will bring my plants in and out a few times, depending on the temperatures, wind, excessive rain, etc. The air movement outside and brighter light will slowly start to produce stronger seedlings.
After your plants have been outside in complete shade for a few days, you can move them to an area where they get a little sun (morning sun is best), to continue to harden them off. Do this very gradually.
If you start to notice any bleaching of the leaves, you know that the plants are not hardened off yet. Return them to the shade. You must introduce brighter light very gradually.
8. Monitor your weather closely and plant when the forecast looks promising. I often plant things before the last frost date, but I will look at the forecast and sometimes need to cover up the seedlings if there is a threat of frost. Use your judgement, and if you're not sure, send me a message and comment on this post!


")