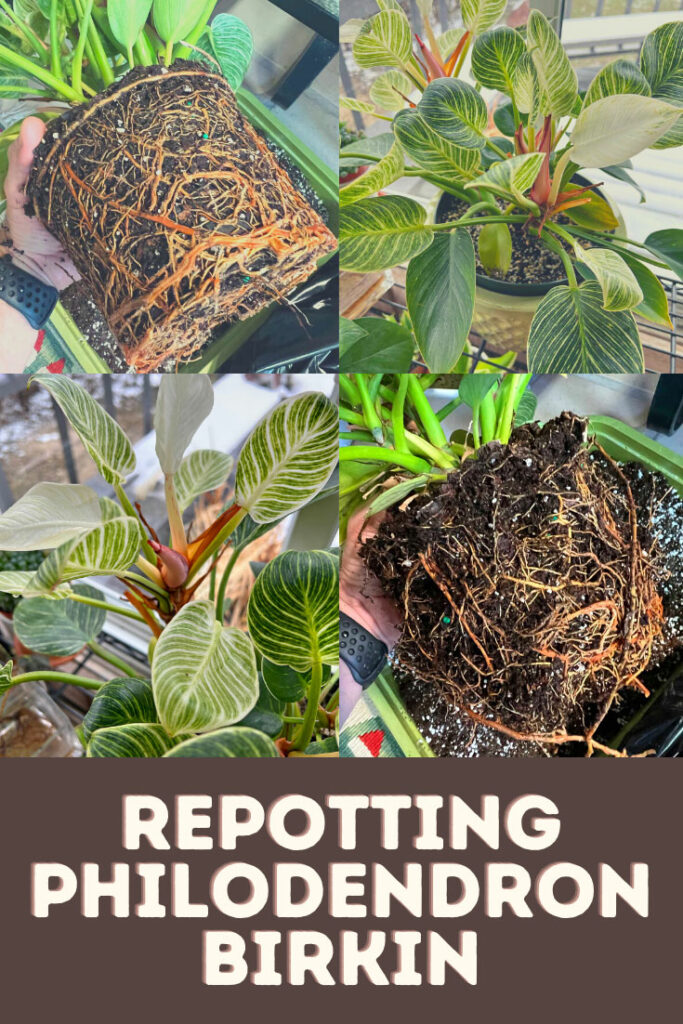
Repotting Philodendron Birkin does not have to nerve wracking. Follow these simple, yet very important steps, to help your Philodendron Birkin thrive in its new pot.
Would you like to save this post?
Enter your email, and I will send this link straight to you!
Before I get into the actual steps of repotting Philodendron Birkin, how do you even know if it needs to be repotted?
These are the things that I look for that will usually indicate that a plant is root bound and needs a bigger pot. You may see one or more of these things:
Your plant may have a hard mat of roots on the surface of the pot.
Your Birkin may have roots growing out of the drainage holes at the bottom of the pot.
You suddenly find yourself needing to water much more frequently since the potting mix is drying out more quickly than it used to.
Your plant's growth may have slowed down dramatically, and any new growth is smaller.
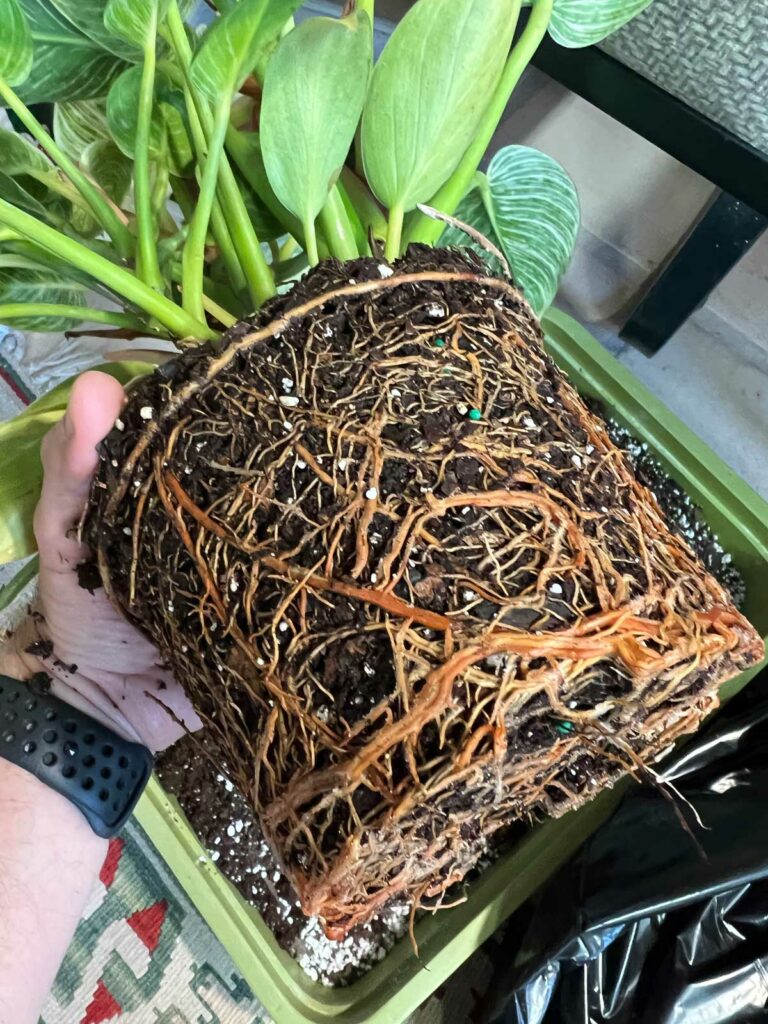
Of course you don't really know if it is root bound until you take it out of its pot and visually inspect it.
This is what my plant looked like when I took it out of its pot.
It was still in its original 6 inch nursery pot from when I purchased it. Time for a bigger pot!
3 Steps to Repotting Philodendron Birkin
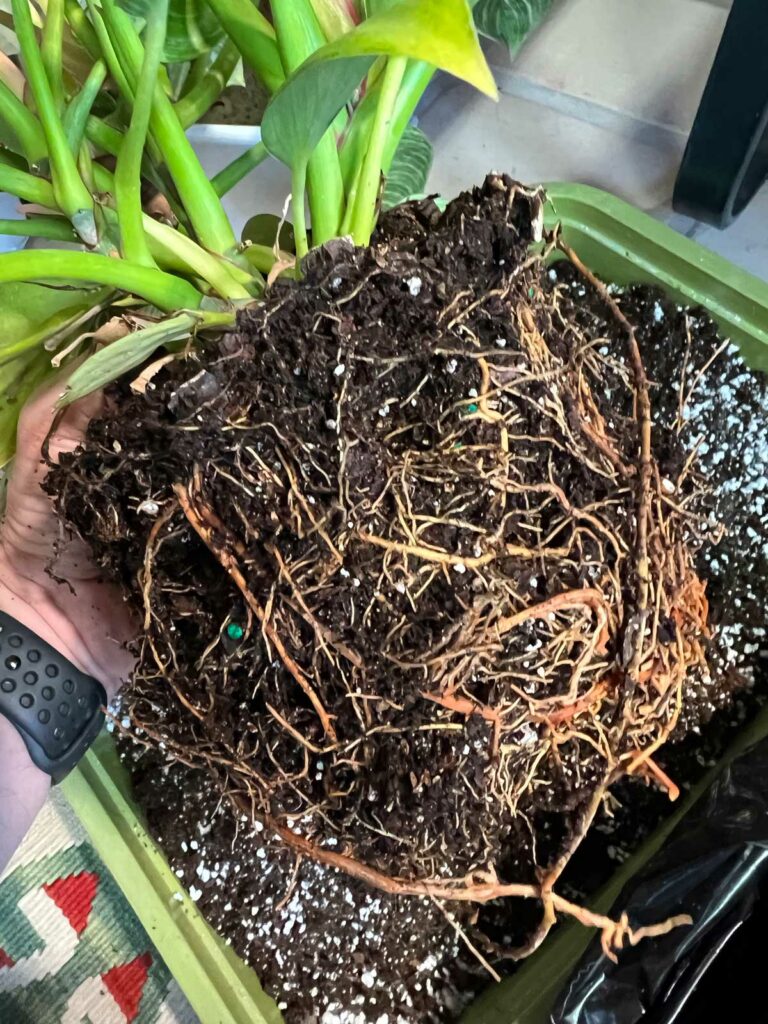
1. LOOSEN THE ROOT BALL
In some cases, you can get away with not doing this (if your plant isn't particularly root bound, but in that case, you may not want to repot at all).
Loosening your roots will allow the plant to more easily grow new roots in it's new, bigger pot.
What I typically do is give my plant a really good, thorough watering first, and then the next day, I'll take it out of its pot.
I'll grab the bottom of the root ball with both of my hands, and gently loosen the roots up a bit. Then I work around the sides until I've loosened the roots everywhere.
Philodendron Birkin root ball that I loosened.
Don't worry about breaking a couple roots here and there. It will not harm your plant!
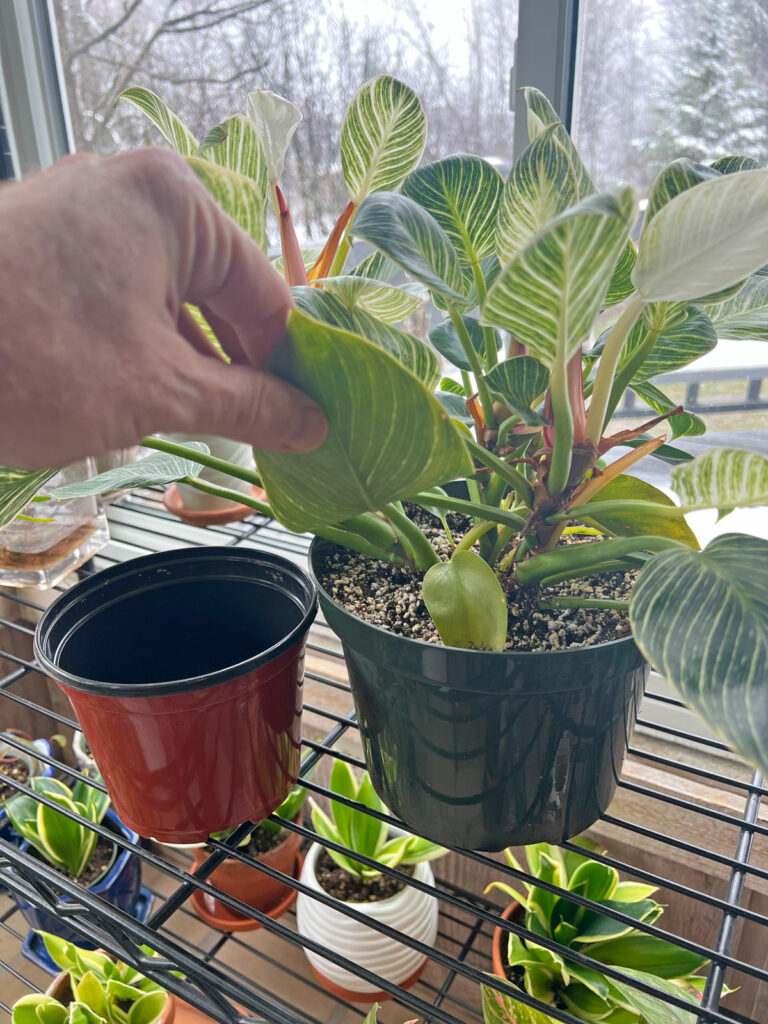
2. CHOOSE AN APPROPRIATELY SIZED POT
As a general rule of thumb, I only go up one pot size when I repot. This plant was in a 6 inch diameter pot and I placed it in an 8 inch diameter pot.
Don't go overboard and choose pots that are significantly larger than the previous pot that your plant was growing in. Why? The excess volume of potting mix will take much longer to dry out and potentially cause you some issues (like root rot if you go overboard with the size).
Left: The 6 inch diameter pot it was growing it Right: My Birkin in its new 8 inch diameter pot
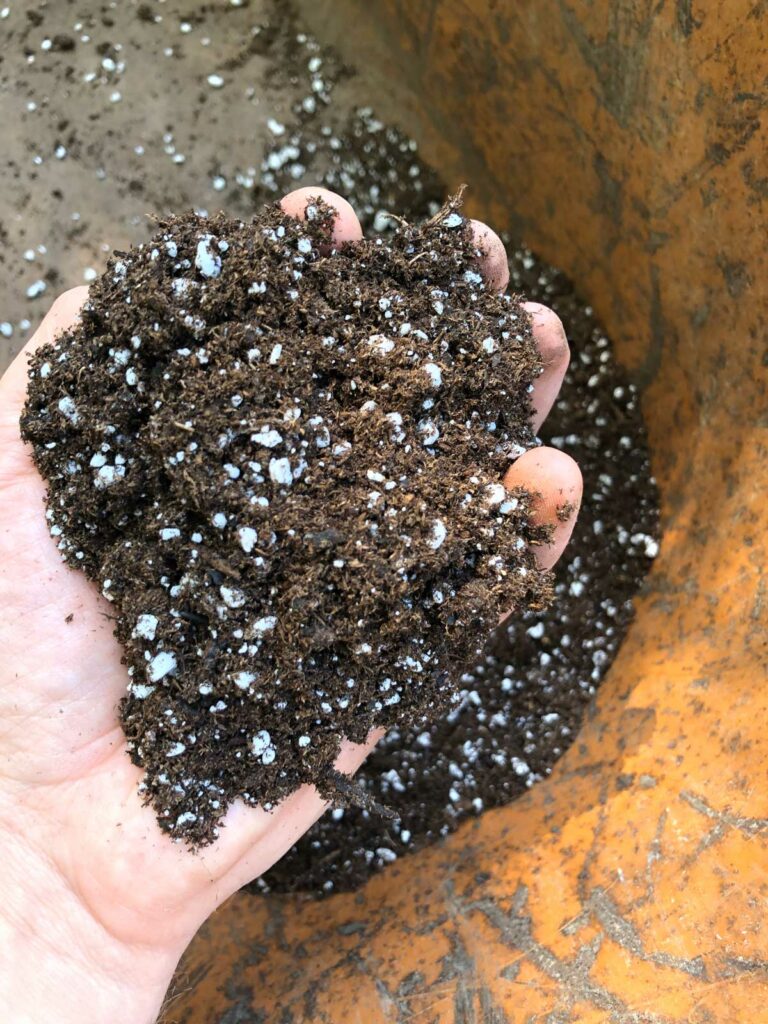
3. USE A VERY WELL DRAINING POTTING MIX
There are many types of potting mixes that will work for Philodendron Birkin. Like any aroid, as long as your mix is very well drained, you will be good.
Everyone seems to have their own potting mix recipes. I will share a couple sample potting mix recipes, but you can feel free to experiment and see what you like the best.
The one thing I will say, most indoor potting mixes out of the bag do not contain enough porosity and chunky material, so I always amend them.
Some people like to use equal parts of all-purpose potting mix, orchid bark and perlite. This is a great mix too. Just know that it will dry out much more quickly, but as long as you can keep up with the watering, you'll be great.
Once you have your potting mix selected and blended together, simply place your plant in its new pot. I like to leave about a half inch between the top of the soil and the top of the pot, so that I don't make a mess when I water.
It'll create a little reservoir and make watering a lot less messy, and you'll be able to water more effectively.
I try to plant inside of plastic nursery pots because it makes it so much easier when it's time to repot. Then you can slip your plant inside of a more decorative pot for aesthetics.
You'll have to play around with the level that you place your plant in its new pot. I typically add a little potting mix at the bottom of the pot first, place my plant in, and make sure that the top of the soil will be about half inch under the rim of the pot.
You may have to adjust the amount of soil you have at the bottom of the new pot in order to achieve this.
Once your height is good, add potting mix all around the perimeter of the pot and gently press down to make sure there are no air pockets.
Give your plant a good watering, and then you're done! I like to slip my nursery pot inside of a decorative pot at this point.
That's really all there is to it. I hope you've enjoyed this post on repotting Philodendron Birkin.
Lastly, don't forget to check out my blog post on Philodendron Birkin care tips to find out all about this remarkable Philodendron.
Do you have a Philodendron Birkin? Comment below. I'd love to hear!
Great info thank you! I have 2 birkins that I wanted to combine in one pot - they are both in their own 8” pots. Is it ok to do this and what size pot should I try? I also wanted to combine 2 silver sword philodendrons into one pot
Hi Danielle, you're very welcome! Yes absolutely, you can combine both in one pot. It's hard to say what size pot to use though because it'll all depend on how vigorous the root systems are of your 2 plants. As a rough recommendation, I wouldn't go any bigger than a 12-inch pot. You can even try 10 inches and if it seems too small and isn't supplying enough room for the roots, then go to a 12-inch diameter pot. It's hard to say until you take the plants out of their current pots. You want to allow some room for root growth, but not a lot. Hope this helps a bit.
I just received one and I am excited to start the journey with it. Thank you for this content. Definitely will be using some of your tips! Thanks again.
Good luck with the plant! 🙂
This is a great tutorial and I will follow your advice. Thank you for educating me!
Glad you enjoyed it Alison!