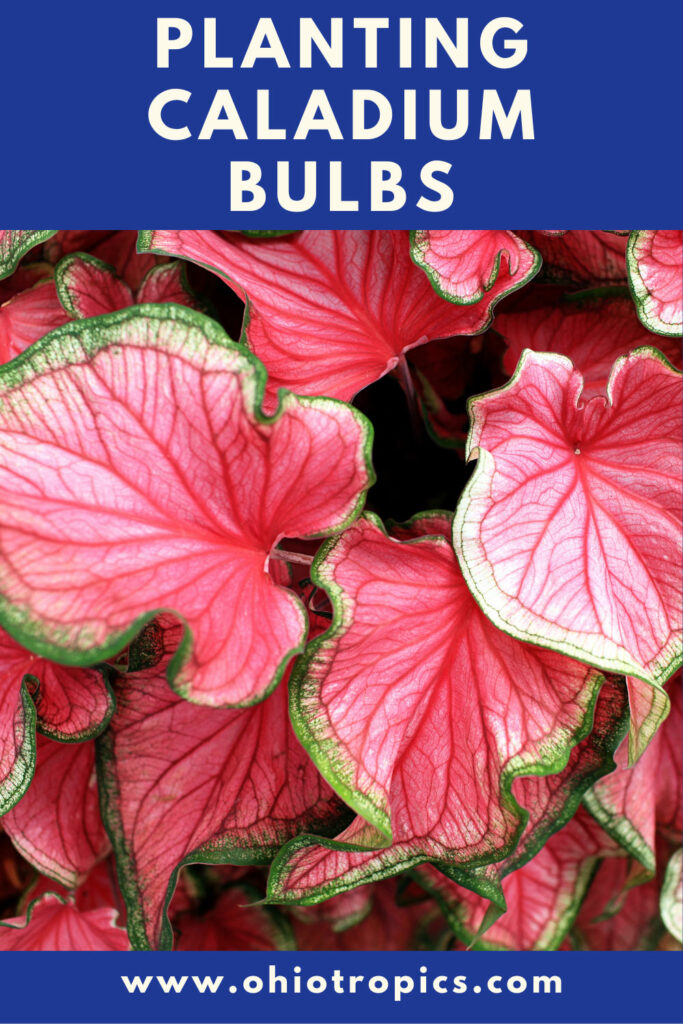
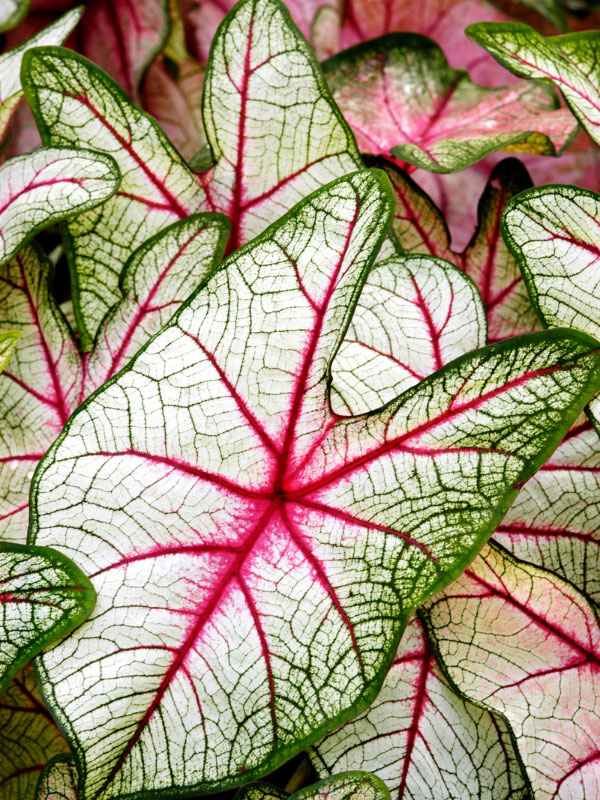
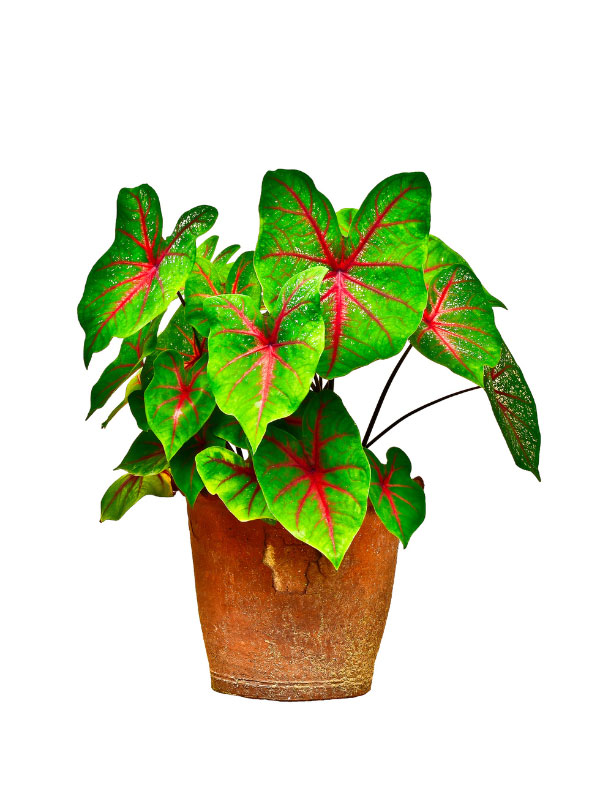
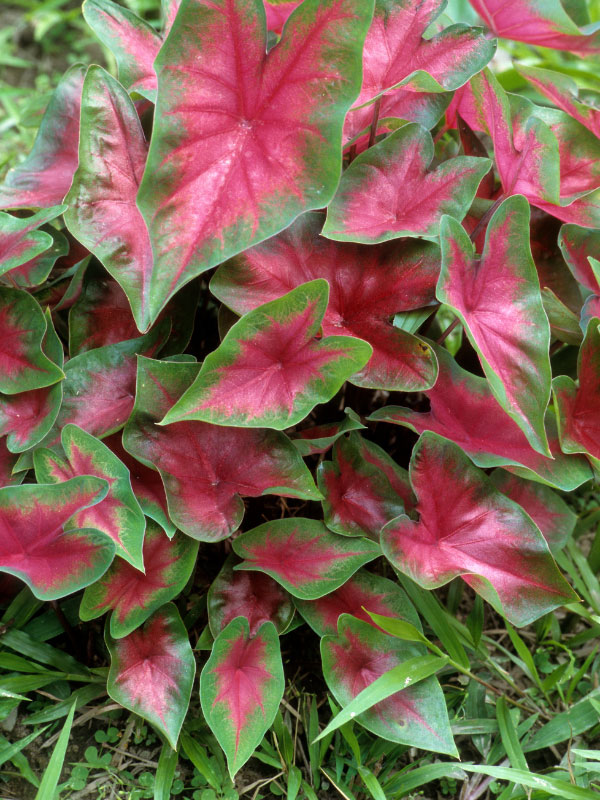
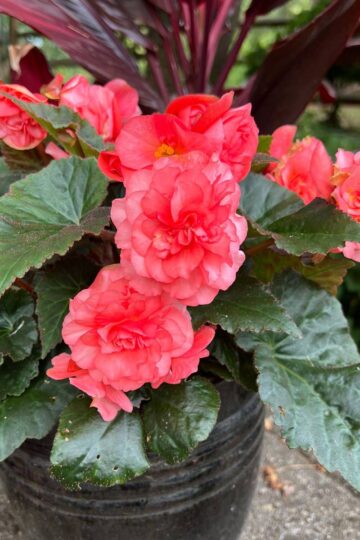
Few plants beat the foliage color of Caladiums! They come in a staggering array of colors, and offer a wonderful pop of color, whether you are planting them for indoors or outdoors. Planting Caladium bulbs can be a little tricky, so keep reading to find out all about how to plant them, how to tell which end is up, when to plant, and a lot more.
Caladium bicolor (sometimes known as Caladium hortulanum) is native to parts of Central America, and throughout much of South America, including Brazil.
Table of Contents
PLANTING CALADIUM BULBS
How do you tell which side is up?
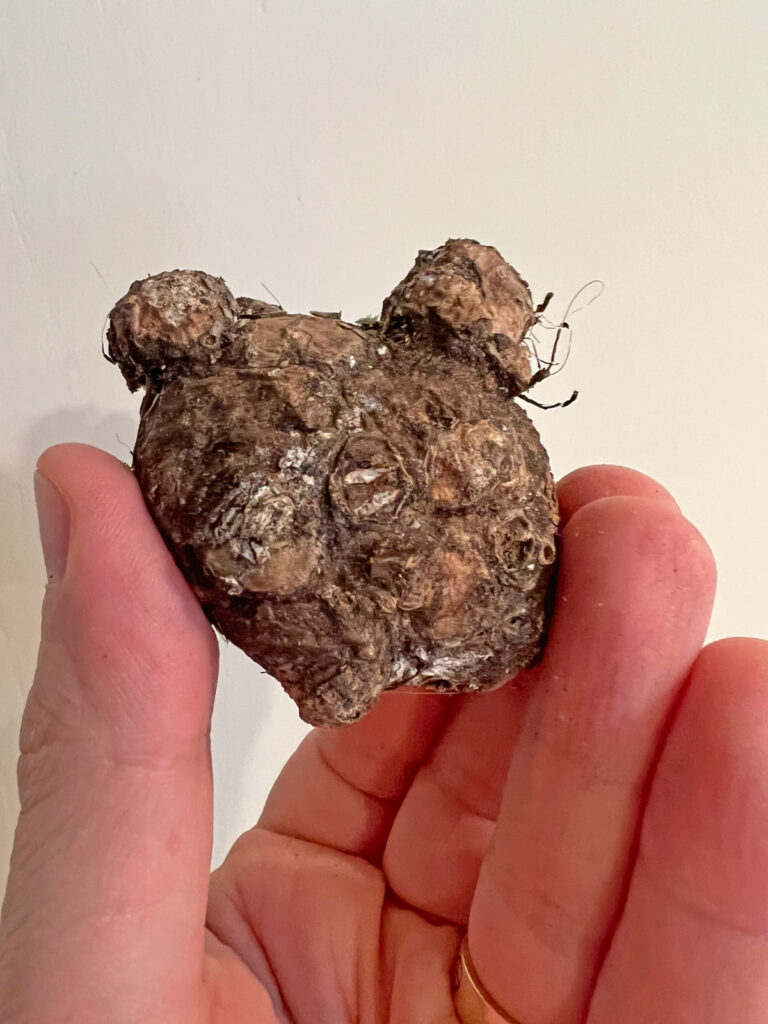
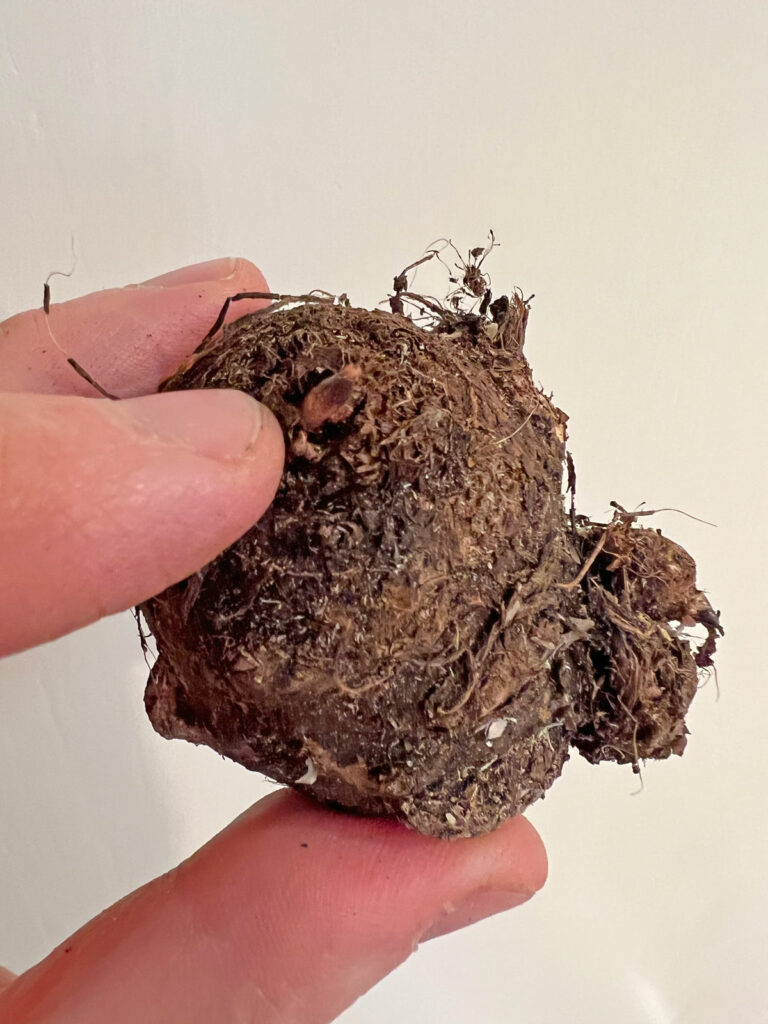
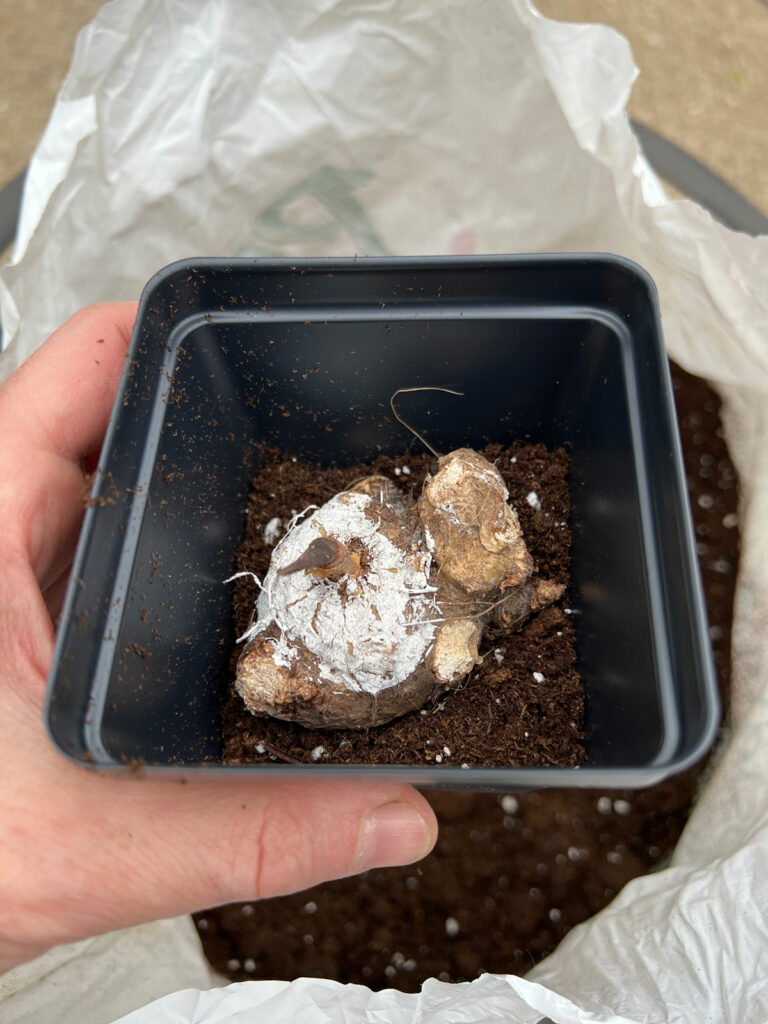
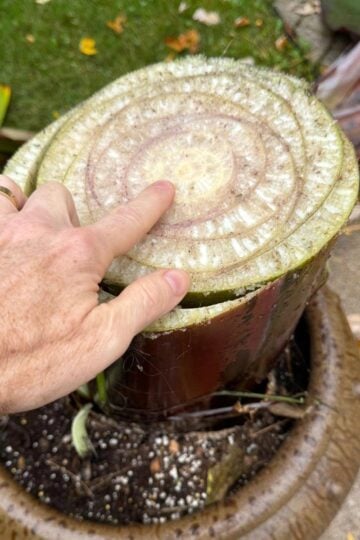
Sometimes it can be hard to tell which side is up, but I'll give some tips on how you can tell. Normally, the corms will have a smoother bottom, and the top side will have a lot of bumps or knobs.
The bottom of a Caladium corm
Many times, you can see the corm starting to sprout already, so it's easy to tell that this is the top of the corm. Here is the top end:
The top of a Caladium corm
You can see in the photo above, the eye is starting to sprout so this would be the end that is on top when you plant it in soil.
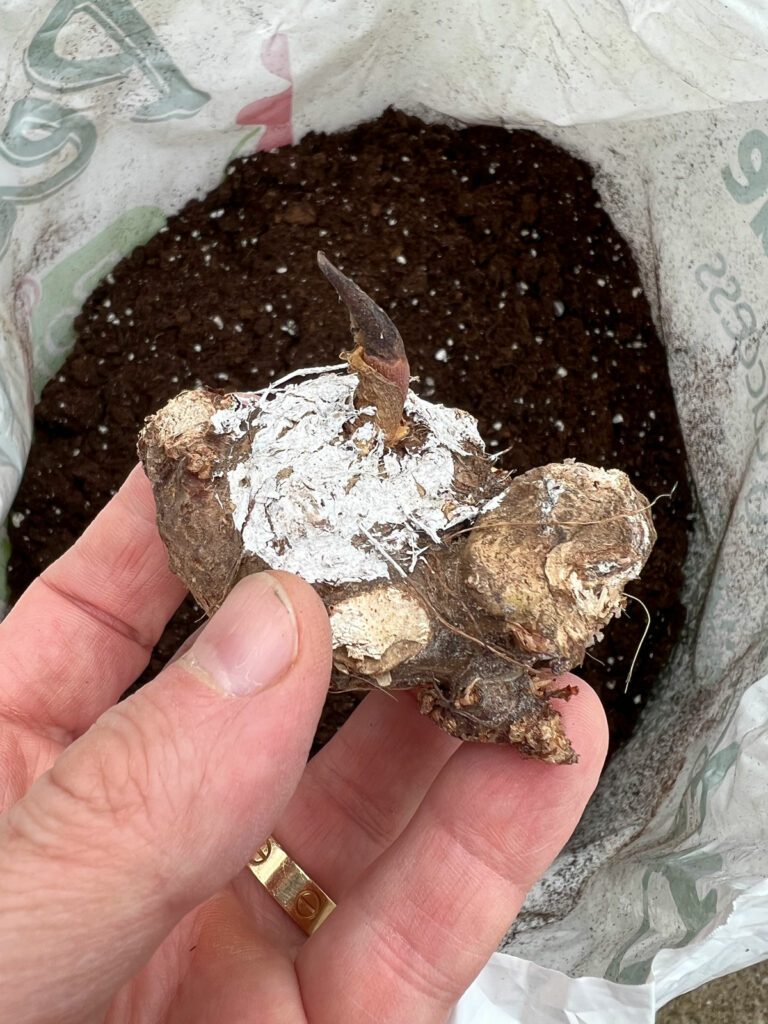
Let's take a look at another example below. In this Caladium corm, you can clearly see the sprout, and this corm has been painted white by the grower so that you know that this end goes up.
A Proven Winners Caladium corm that has been painted white so you know that this end goes up.
Proven Winners has an amazing line of Caladiums, and they paint the top end of the corms white so it is super easy to know which end goes up!
The eliminates all the guess work!
If you accidentally plant them upside down, chances are that they will still probably grow, but they will take much longer to come up.
Caladium bulbs arrived too early. How to store until planting time?
If you're not ready to plant yet (or if it's still too cold to plant), make sure your corms are taken out of any box that they're in, and allow them to sit in a well-ventilated area that stays above 65°F.
When to plant Caladium bulbs?
Regardless what zone you're in, for best results, Caladium corms need to be planted when the air temperature is at least 60°F (15.6°C) and soil temperatures at least a minimum of 65°F (18°C).
Do you have to soak Caladium bulbs before planting?
Although this is not necessary, you can soak your corms for about an hour in warm water before planting. This would be beneficial if your corms have dried out too much.
Preparing to plant my Caladium corms
How deep to plant Caladium bulbs?
Plant your corms so that the top of the corms are buried about 1.5 to 2 inches below the soil surface.
How to Plant Caladium bulbs
Start indoors
This is my process to start Caladium corms indoors. I like to give them a head start indoors and then plant them outdoors during warm weather either into bigger pots, or right into the ground.
You can also just start them this way, and use them as houseplants as well.
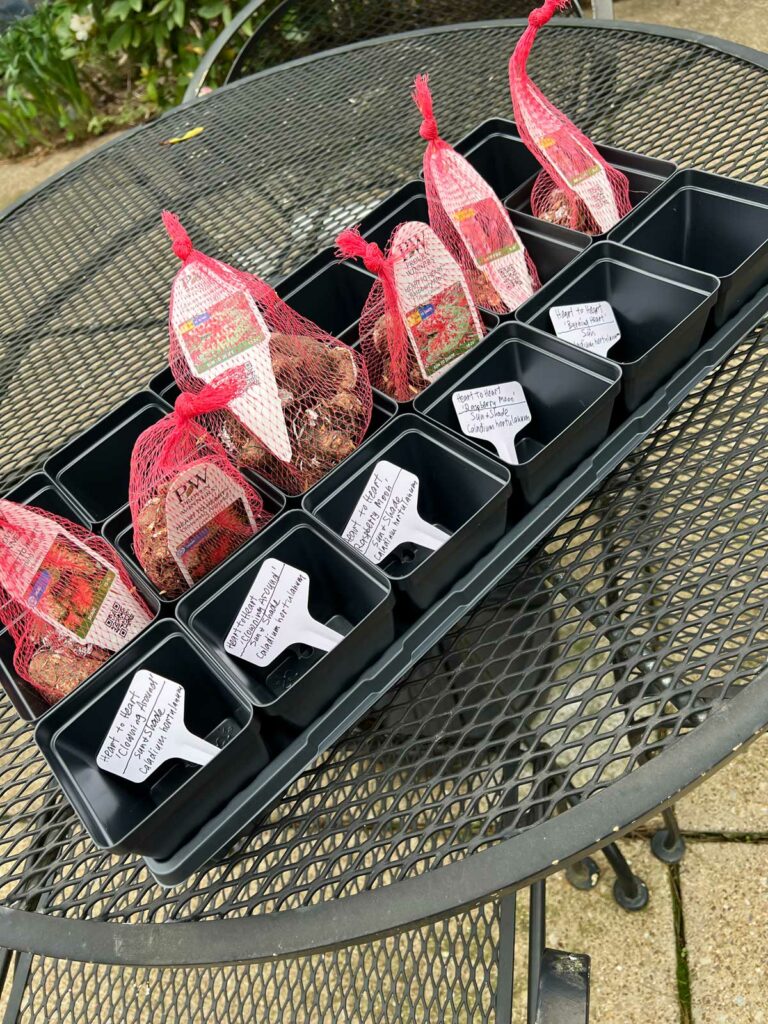
Plant in small pots
I started by planting each corm in a 4 inch square pot. You can put multiple corms in a larger pot, but I prefer to give each one a separate pot so I can have more flexibility with planting them outdoors and I can decide how I want to display them in combination planters, or simply plant them in the ground.
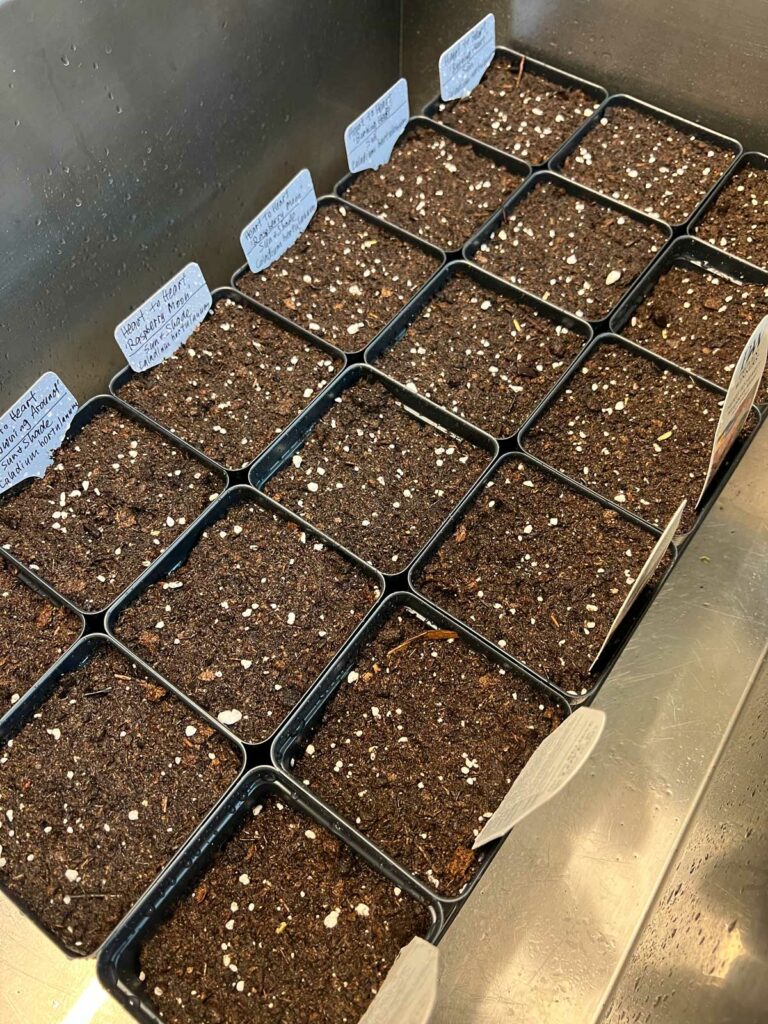
I placed some all-purpose potting mix at the bottom of the pot, placed the corm in (top side up like I describe above), and then cover with about 1.5 to 2 inches of soil.
Make sure the top of your corm is covered with about 1.5 to 2 inches of soil.
Water them in
Next, I placed my pots in the sink and gave them a good watering.
All my pots are planted, watered and labeled. They're ready to go!
The next step is very important if you really want to speed up the rate at which your Caladium corms sprout.
It's not 100% necessary, but it WILL speed things up!
Would you like to save this post?
Enter your email, and I will send this link straight to you!
Place on a propagation mat
Simply place your pot right on top of a heating mat. This will increase the soil temperature and cause your Caladiums to sprout much sooner than they would have otherwise.
If you are not in a rush, you can skip this step, but once you start using a heating mat, you will probably never go back.
And if you live in a short growing season area like I do, this is very valuable.
How long after planting Caladium bulbs before they appear?
It depends, however, in good conditions you can expect to have your Caladiums sprouting in their pots in about 3 weeks or so (or a bit less if conditions are optimal).
What kind of light do Caladiums like?
Depending on the variety, they can grow in shade and sun. Some varieties can grow in both, and some varieties have been developed to tolerate more sun.
Check out the Proven Winners Caladiums. Each variety indicates if it is a shade variety, or if it can go in either sun or shade.
All varieties of Caladiums grow beautifully in 4-6 hours of sun indoors or outdoors. If you want to keep these indoors, an Eastern or Western exposure window would work great.
Too much sun exposure can result in brown edges on the leaves, and even holes on the leaves between the veins.
What kind of soil and watering do Caladiums like?
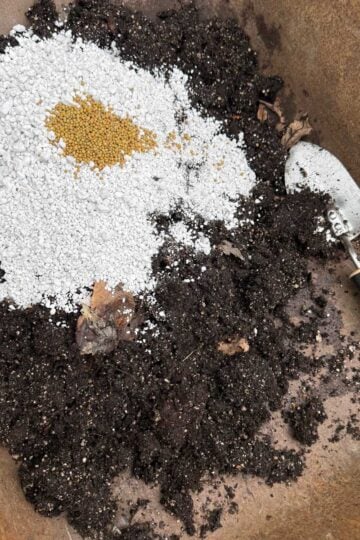
Keep in mind though that these need well drained soil, so they're not great in heavy clay soil. You'll either have to amend your clay soil with organic matter, or simply grow them in pots using an all purpose potting mix.
You can add some perlite or pumice to increase drainage and porosity of your all-purpose potting mix. Three parts of an all purpose potting mix with 1 part of perlite or ¼ " pumice (link to Amazon) works great.
Keep them moist until they sprout, grow foliage and become more established. Once they are established, allow the top inch or so of the soil to dry out in pots before watering again.
Caladiums in the ground won't need nearly as much attention as those in pots, but if you have your plants in sunnier positions, they will require more water.
Whatever you do, don't allow your soil to dry out completely.
Fertilizing Caladiums
Applications of bone meal are traditionally used for Caladiums, or you can simply use a time release fertilizer like Osmocote.
Caladiums as Houseplants
In the fall, Caladiums will need a resting period. If you have them in pots outdoors, you can simply bring them back indoors when temperatures start to dip below 60°F.
You'll notice that the foliage will start to die off in mid-Fall to early winter or so. You'll notice that the foliage will start to fall over. When this happens, cut back on water completely and let the foliage die off.
Remove the foliage and allow your pot to sit in a dark area that stays above 60°F for about a month or so.
After that time, move to a bright window and start watering to start the cycle all over again.
If you'd like, you can even divide the corms and plant into fresh soil once you start them back into growth.
Caladiums Outdoors in the Ground
If you live in Zone 10 or warmer, you can keep Caladiums in the ground indefinitely. They will behave like perennials. They will still go dormant naturally, and start back into growth in the Springtime.
If you live in Zones 9 or colder, you can either treat them as annuals in the ground and start with fresh plants or corms each year, or you can attempt to dig them up and store them until the following Spring.
Note that if your growing season is not long, your corms may not have stored enough energy for them to make it through the winter and plant up again in the Springtime, but feel free to experiment and see what works for you!
Here is a process you can use to dig up your plants:
Dig your corms out of the ground
Shake any soil off and leave the leaves attached
Let them dry in a location that has good air circulation for 1 week
When the corms feel dry, cut the leaves off
Store in brown paper bags, or even in paper bags filled with dry peat moss or perlite. Keep in a dark location that stays at least 60°F until you are ready to plant in late Winter or early Spring.
I hope you've enjoyed this post on planting Caladium bulbs. Have you ever grown Caladiums? Comment below. I'd love to hear! If you have not, why not give them a shot? Few plants have such easy care and stunning foliage.
Be sure not to miss my post on Caladium problems. It answers many common questions that people have concerning these plants.
I have planted my Caladium corms in pots. I live in S. Florida, zone 10. If I decide to plant them outside can they be left year around? It is extremely rare that we would get frost. Thanks.
Hi Deanna! Caladiums should generally be hardy in your zone. If you get an unusual cold period or a frost, the plants should still grow back from the corms.
Having my very first caladium corms in hand, this is the only explanation I found for the white splotch on their tops! 🙂 I had also wondered about using a seedling mat when starting. Thanks for such a very complete and informative post!
A very thorough and comprehensive scope about caladiums !! I feel confident as the fall approaches in saving my caladiums over the winter. Awesome advice and facts. THANKS
Hello there! I live in Dubai and the extreme heat limits the growing life for caladiums is at maximum 6 months. Currently with temperature heating up my caladiums are dying. How do I keep the bulbs till later this year? Should I take them out before they burn in the heat?
Are they in the ground or in pots? If they're starting to go dormant, you can dig them up (if they're in the ground). Lay them somewhere out of the heat and sun and let all the leaves die. Then cut them off at that point. Store the corms in a cooler, dark area if you have it, and then you can try replanting them when the weather cools down a bit.


 - Easy Guide With Photos")


I have planted my Caladium corms in pots. I live in S. Florida, zone 10. If I decide to plant them outside can they be left year around? It is extremely rare that we would get frost. Thanks.
Hi Deanna! Caladiums should generally be hardy in your zone. If you get an unusual cold period or a frost, the plants should still grow back from the corms.
Having my very first caladium corms in hand, this is the only explanation I found for the white splotch on their tops! 🙂 I had also wondered about using a seedling mat when starting. Thanks for such a very complete and informative post!
So glad you enjoyed the post! 🙂
A very thorough and comprehensive scope about caladiums !! I feel confident as the fall approaches in saving my caladiums over the winter. Awesome advice and facts. THANKS
Glad you enjoyed the post Lorita! And good luck with your caladiums 🙂
Hello there! I live in Dubai and the extreme heat limits the growing life for caladiums is at maximum 6 months. Currently with temperature heating up my caladiums are dying. How do I keep the bulbs till later this year? Should I take them out before they burn in the heat?
Are they in the ground or in pots? If they're starting to go dormant, you can dig them up (if they're in the ground). Lay them somewhere out of the heat and sun and let all the leaves die. Then cut them off at that point. Store the corms in a cooler, dark area if you have it, and then you can try replanting them when the weather cools down a bit.