Owning a greenhouse is a lot of work, and it can be very costly, especially when it comes to heating it. This is where insulating a greenhouse with bubble wrap can save you a lot of money, especially over the winter time! Keep reading so I can show you exactly how I insulated mine with bubble wrap. I'll also share a few considerations to keep in mind to ensure success.
Would you like to save this post?
Enter your email, and I will send this link straight to you!
Adding bubble wrap will provide a valuable layer of insulation for your greenhouse, but you'll want to make sure that you're using a special horticultural bubble wrap meant specifically for use in a greenhouse.
You do NOT want to use regular bubble wrap meant for packing. Why?
It is thinner and not as durable.
It will not withstand UV exposure as well.
It typically is only single walled and will not insulate nearly as well.
So you definitely want to use a horticultural grade bubble wrap. This will be the best bubble wrap for greenhouse insulation.
In addition to keeping your greenhouse warmer during the winter months, it can also help you save on cooling costs when it's warm. I personally use it only during the winter time though but you can keep it up year-round if you'd like.
I personally don't use it year round because condensation will build up and cause mold and other issues, but you can experiment and see what works for you.
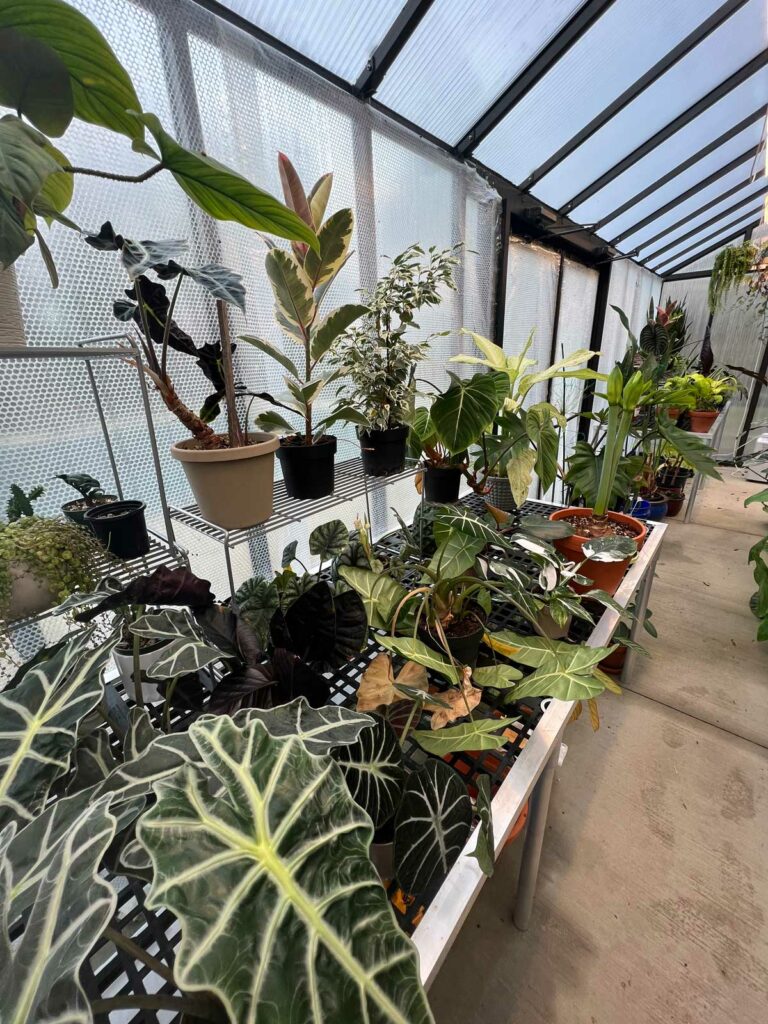
I only insulate the front glass of my greenhouse. The rest of the greenhouse is triple walled polycarbonate, so that already is well insulated on its own.
I chose to make the front part of the greenhouse glass because it is right next to our pool, and I wanted it to look aesthetically pleasing during the warm months when we use the pool.
Getting ready to bubble wrap the front of my greenhouse
But insulation is only as good as the weakest point, so if I don't insulate the glass part of my greenhouse, I'd be throwing away a lot of money in heating costs.
Here are the materials and process that I used, step by step with photos, so you can go ahead and insulate your own greenhouse.
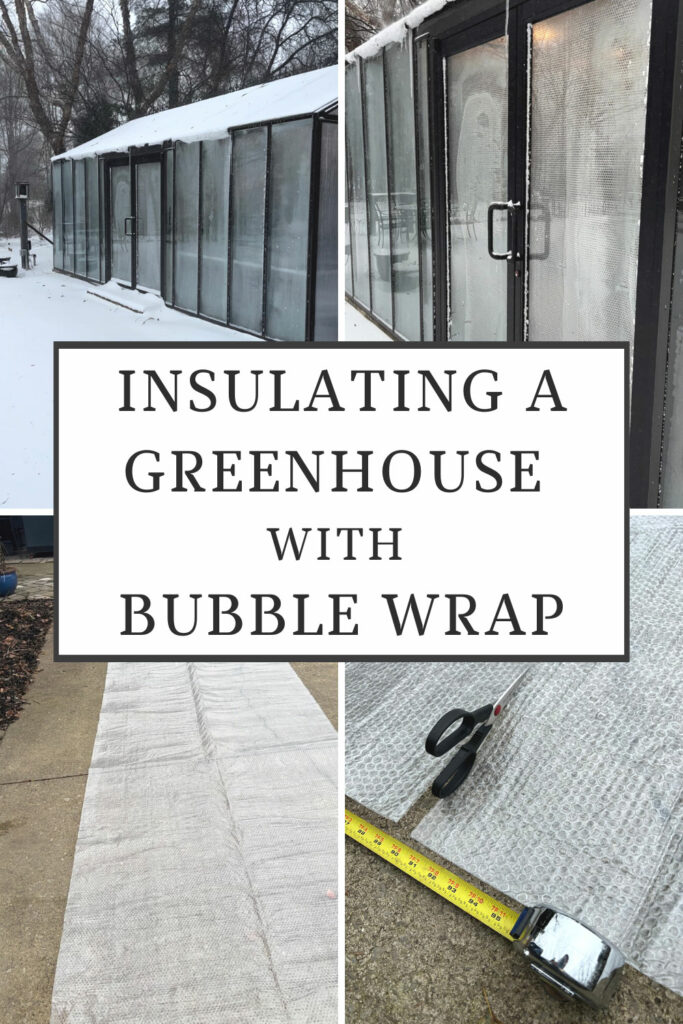
INSULATING A GREENHOUSE WITH BUBBLE WRAP
1. GATHER YOUR MATERIALS
The materials list is very simple, but choosing the right products is really important. Other than a sharp pair of scissors, a sturdy tape measure, paper towels and a gentle cleaner, here is what I needed to purchase for the job:
I did a rough manual calculation and ended up order two rolls of the bubble wrap for my individual application. You can also use a greenhouse surface area calculator to help you out if you choose.
Additional materials you may consider:
I will talk about these two items at the end of this post. When you install bubble wrap, it will cut down on the amount of light, and you may want to have additional lighting anyway (with or without bubble wrap), especially during winter time:
You can't install it the wrong way because it has double walls, meaning the bubbles are between two layers of plastic, so it doesn't matter which side you install it on.
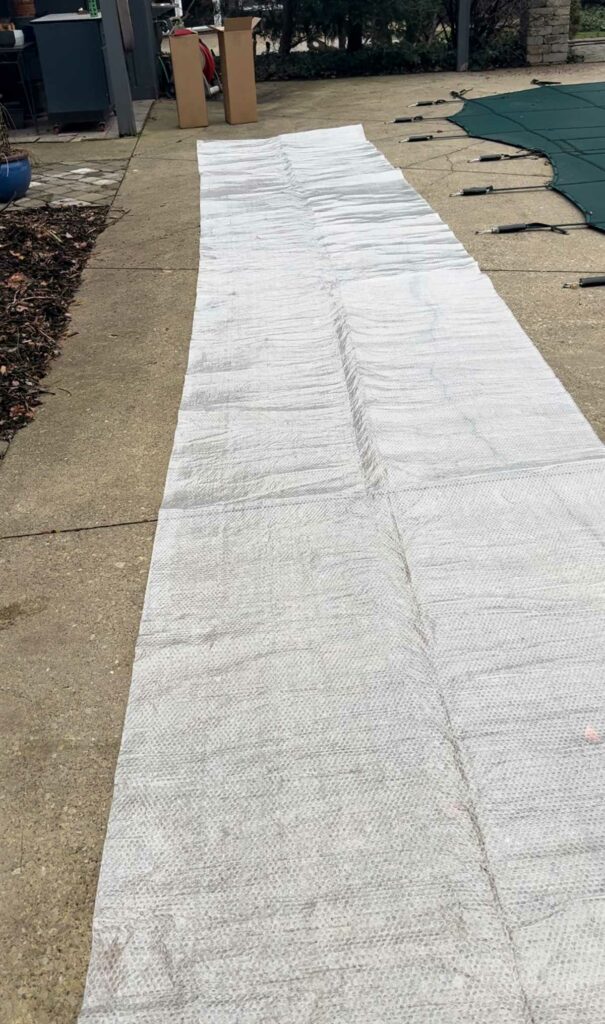
The first thing I did was roll out the roll of bubble wrap outside. Fortunately it was a dry day outside. You'll want to try and avoid getting anything wet.
3. DRY OFF AND CLEAN THE FRAME OF YOUR GREENHOUSE
You will only be bubble wrapping the interior of the greenhouse, not the outside. In my case, I only bubble wrapped the front part of my greenhouse, since it is glass.
Everyone's situation will be slightly different, but you can use this same process and you can even do this on the whole interior of your greenhouse if you need to insulate the whole thing.
You basically want to make as airtight of a seal as you can by securing the bubble wrap on the inside of the greenhouse between the supports.
Before you install the bubble wrap, take this opportunity to clean the glazing (glass, polycarbonate, etc...whatever your greenhouse is made of), as well as the frame itself.
Use whatever cleaner you normally use, but afterwards, I took an additional step.
In order to maximize adhesion of the tape, I used a paper towel soaked in 91% isopropyl alcohol to wipe down the aluminum frame. Then you'll use a special tape in order to secure the bubble wrap to the frame.
You'll want the frame to be as clean and dry as possible so you get proper adhesion and that way, you won't have to worry about all your hard work falling off in the middle of the winter!
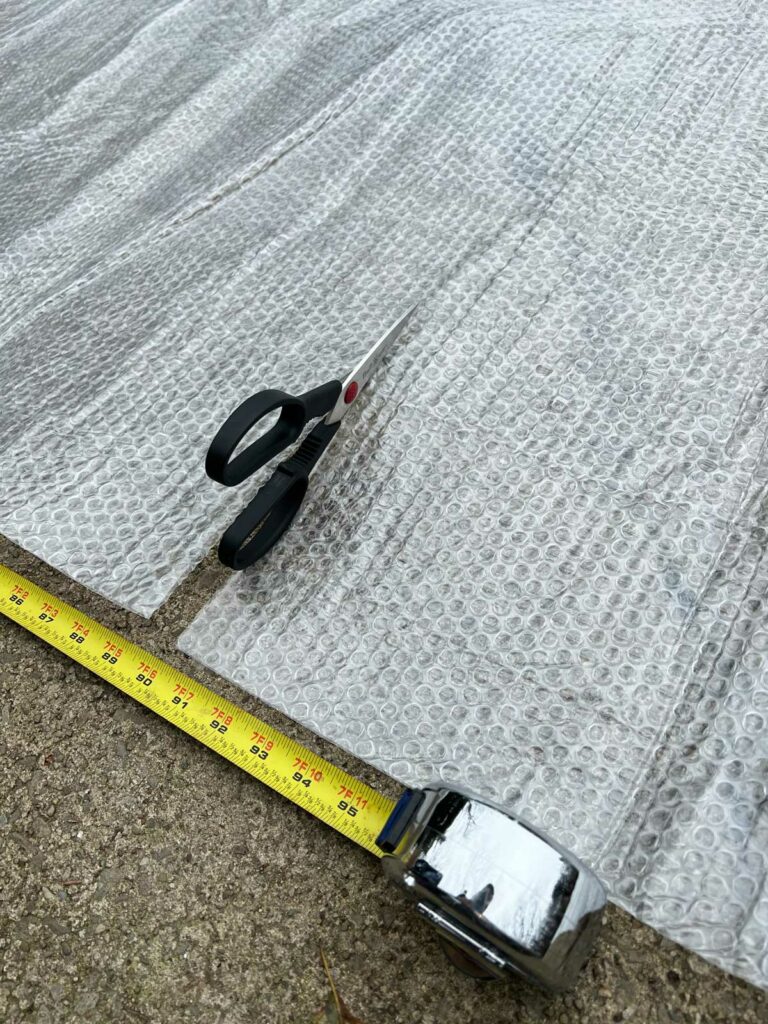
Next, measure how much of the bubble insulation you will need and cut it using a pair of sharp scissors. Use a tape measure and measure from the top bar to bottom bar.
Don't cut it too close. Allow a little extra bubble wrap so that you can tape it properly to your greenhouse frame.
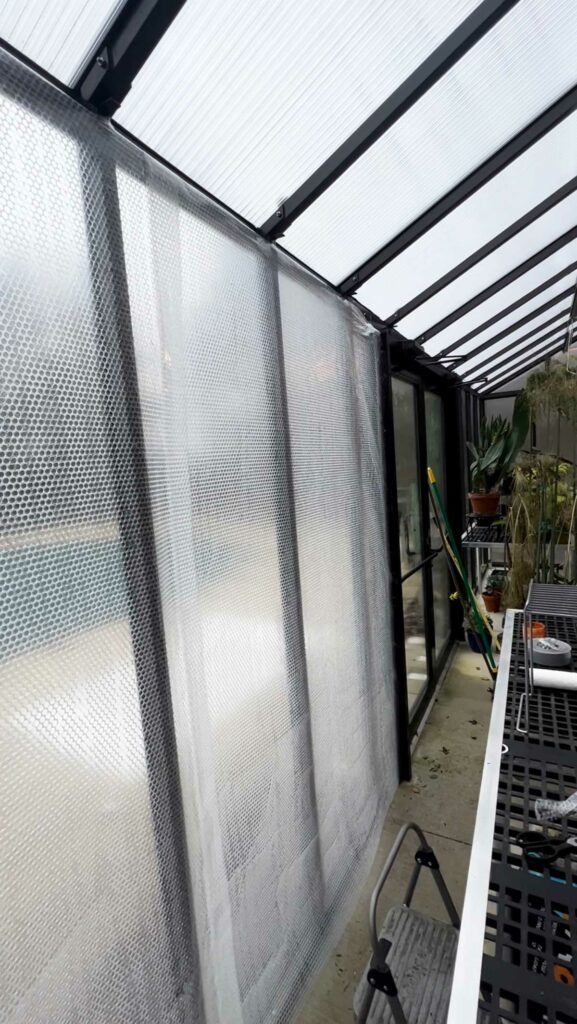
Instead of cutting individual panels between the vertical greenhouse supports, I chose to leave the width that the roll came in, and when I continued, I simply taped the additional pieces of bubble wrap to the piece that I just installed. You can see the overlap in the photo below.
You could certainly cut the bubble wrap to fit exactly to each panel so that you're only taping the bubble wrap to the perimeter of the frame, but I wanted to minimize how much I was cutting.
Either way will work, so choose whatever you're most comfortable with.
For the tape, I used Crystal Clear Gorilla Tape, 2.83 in x 15 yd. It has held up well for me, and I haven't had any issues with it coming off, even in the wet conditions in the greenhouse.
That being said, please clean the surface of the metal frame to get it nice and squeaky clean, and use the 91% isopropyl alcohol as a final treatment before taping.
I like Crystal Clear Gorilla Tape, 2.83 in x 15 yd for several reasons:
You can tear it by hand as you're working and don't have to use scissors.
The tape is UV and temperature resistant, which is perfect for greenhouse use.
It is nice and wide, so you can securely tape to your bubble wrap to your greenhouse frame.
Use this tape to tape all your bubble wrap in an airtight seal around the entire frame of your greenhouse. Make sure that you don't leave any of the edges of the bubble wrap untaped.
DO NOT USE PLAIN OLD DUCT TAPE BECAUSE IT WILL NOT WORK!
It is OK that you have air between the your greenhouse glazing (glass, polycarbonate, etc) and your bubble wrap. This actually serves to further insulate. The bubble wrap will not be resting against the glazing of your greenhouse.
As you're using the tape, I work in small sections. It is much easier that way. Simply cut large enough pieces that are easy to work with, secure the bubble wrap to the frame, and continue. Overlap the pieces of tape as you go.
Be sure to firmly press the tape against any surfaces.
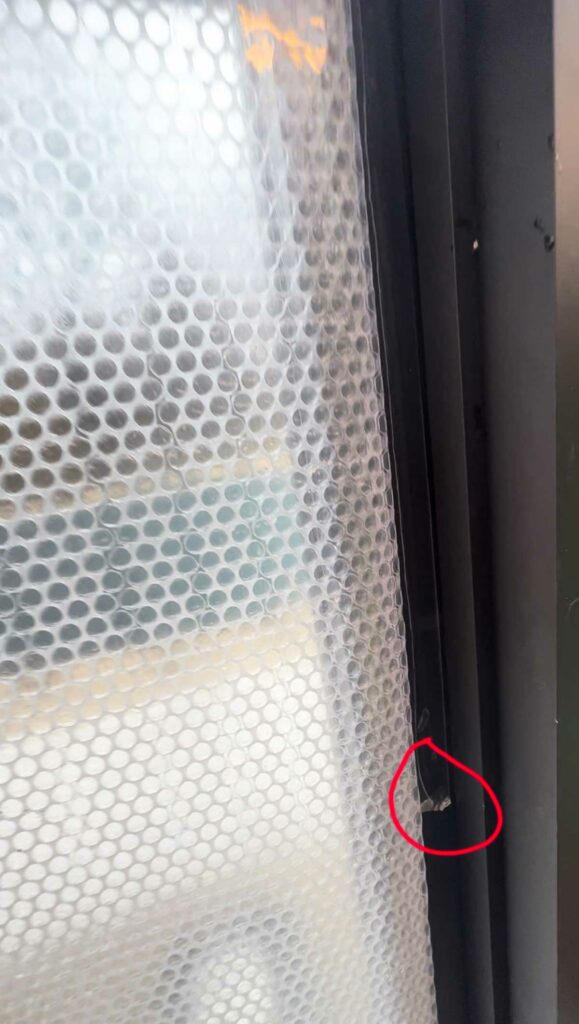
You can see in the red circle below where the edge of the tape is. Continue with another piece of tape and overlap the portion of tape that you already applied.
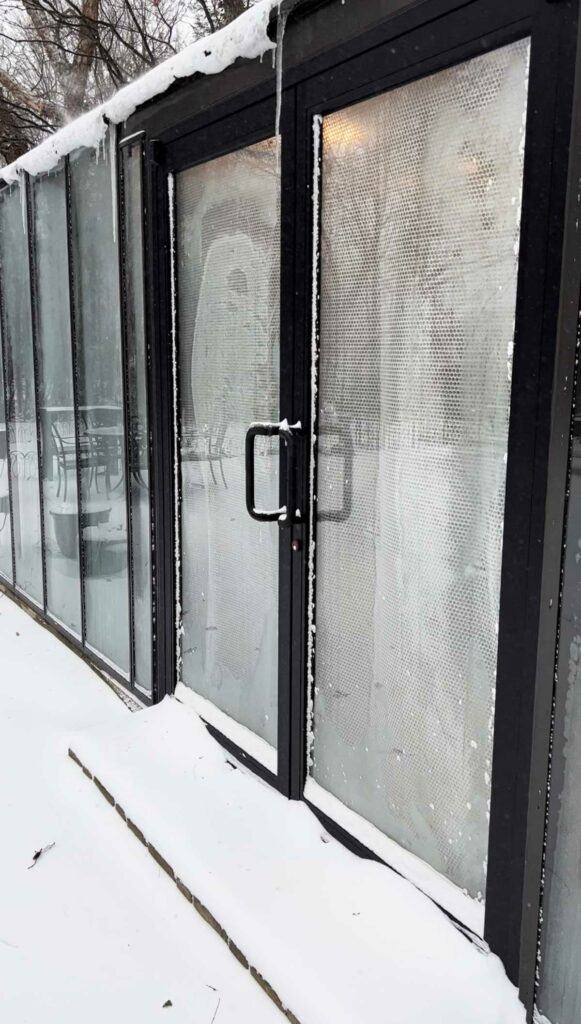
Keep going until you're all done! Here is an outside view of part of the greenhouse. The doors are glass, so I bubble wrapped the interior of the doors as well.
This bubble wrap has really helped to reduce my heating costs during our horrible winters.
Although you can use it year round, I take mine down in the Spring when temperatures warm up. At that time, I like to:
Take the bubble wrap panels down one by one. You may want to label them so you can store them and reinstall them in the same positions the following year.
Dry the bubble wrap to prepare for storage.
Store in a dry location until it is time to reinstall again.
The bubble wrap should last you at least 2 or 3 years, and is well worth it!
As I mentioned earlier in this post, bubble wrap will cut down on lighting, so if you don't already have lighting, here are a couple products that I recommend.
You don't have to go fancy and expensive in order to get some good grow light equipment in your greenhouse!
They are full spectrum so they mimic natural sunlight.
Not only are they inexpensive, but they are also LED so your electric bill will thank you.
They're super easy to install and you can install them in a few different ways. I simply used the included zip ties to hang them, but the kit also comes with other equipment to install in order to allow flexibility.
You can connect up to 4 of them together. The connecting cords are included.
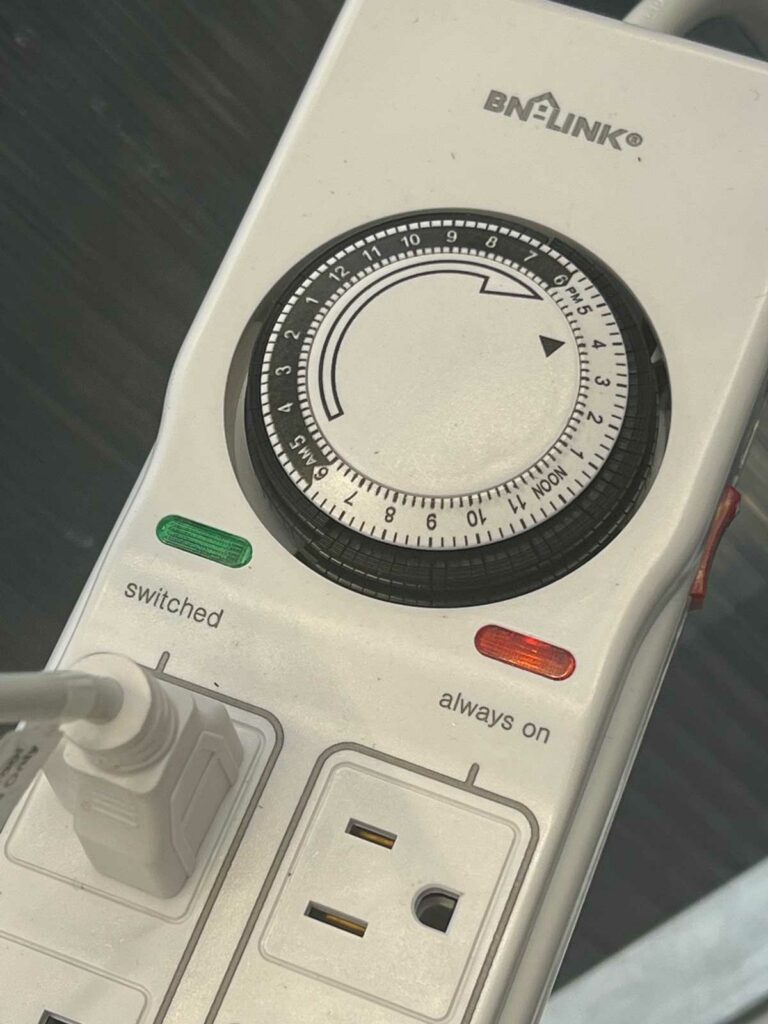
There are 4 outlets that you can use that are always on, and there are an additional 4 outlets that will be on a timer. Simply set the time range that you want on the dial, and you're good to go.
You can use the extra outlets for anything else you need to plug in as well.
I hope you've enjoyed this post on insulating a greenhouse with bubble wrap. The little bit of extra effort will go a long way to help keep your heating bill down.
Have you bubble wrapped your greenhouse? Comment below. I'd love to hear!
Thanks for this very thorough article, Raffaele. I have a Riga greenhouse that has aluminum frame members that get a lot of condensation build up during the winter. I assume your greenhouse has either aluminum or steel frame members. Did you have a lot of condensation where the bubble wrap crossed over the frame members? Thanks.
You're very welcome Jim! My greenhouse has a powder-coated aluminum frame. There was some condensation, but I wasn't worried about it since the insulation is only temporary. And since writing this article, I'm now using polcarbonate panels that I cut in order to place over the front glass wall. It makes it easier!
Just found this article and love the idea. Even though the cold is finally gone for the season here in Texas, I’m going to keep this and do it next winter.
Question: when removing the tape, does it leave a sticky residue on the frames? That would be a lot of extra work.
My greenhouse is all windows on 3 sides so I’m really interested. I know you commented on another post that the tape is easy to remove. But I don’t want to remove a lot of sticky tape residue. Looking forward to your reply. Thanks, Grace
Hi Grace! Glad you enjoyed the post. My tape came off just fine. I don't how picky you are though, or what your greenhouse frame is made of? This past winter, I had polycarbonate panels custom made and I taped those to the greenhouse instead. They both insulate well, but the polycarbonate is so much easier to work with to put up and take down.
Hi,
I live in Maryland zone 8B to 5A.
I bought my first pop-up house 12x18. I'm 68 and I'll be doing this by myself so I was thinking maybe the easiest way for me would be hang the bubble wrap like shower curtain using chair, curtain, hooks and overlapping about 6 inches. Would I be losing too much of the heat and defeating my purpose?.
I guess I was trying to be a little bit lazy and not have to tape it all up. I was hoping that I'm warm days I could pull it back like a shower curtain. Tell me your thoughts.
Hi Darlene! Unfortunately, you'll need it sealed in order for it to be effective. It's a good thought though, but if you just draw it like a shower curtain, it won't perform the same function 🙁


Can you recommend a local company (East side suburb of Cleveland area) to build a greenhouse?
I used Arcadia Glasshouse out in Madison. They're the only local company that I know of.
Thanks for this very thorough article, Raffaele. I have a Riga greenhouse that has aluminum frame members that get a lot of condensation build up during the winter. I assume your greenhouse has either aluminum or steel frame members. Did you have a lot of condensation where the bubble wrap crossed over the frame members? Thanks.
You're very welcome Jim! My greenhouse has a powder-coated aluminum frame. There was some condensation, but I wasn't worried about it since the insulation is only temporary. And since writing this article, I'm now using polcarbonate panels that I cut in order to place over the front glass wall. It makes it easier!
Just found this article and love the idea. Even though the cold is finally gone for the season here in Texas, I’m going to keep this and do it next winter.
Question: when removing the tape, does it leave a sticky residue on the frames? That would be a lot of extra work.
My greenhouse is all windows on 3 sides so I’m really interested. I know you commented on another post that the tape is easy to remove. But I don’t want to remove a lot of sticky tape residue. Looking forward to your reply. Thanks, Grace
Hi Grace! Glad you enjoyed the post. My tape came off just fine. I don't how picky you are though, or what your greenhouse frame is made of? This past winter, I had polycarbonate panels custom made and I taped those to the greenhouse instead. They both insulate well, but the polycarbonate is so much easier to work with to put up and take down.
Thanks for the great writeup! When you take off the bubble wrap for storage, does the gorilla tape comes off easily?
You're very welcome! The tape held up really well for me all winter. It wasn't too bad to remove!
Hi,
I live in Maryland zone 8B to 5A.
I bought my first pop-up house 12x18. I'm 68 and I'll be doing this by myself so I was thinking maybe the easiest way for me would be hang the bubble wrap like shower curtain using chair, curtain, hooks and overlapping about 6 inches. Would I be losing too much of the heat and defeating my purpose?.
I guess I was trying to be a little bit lazy and not have to tape it all up. I was hoping that I'm warm days I could pull it back like a shower curtain. Tell me your thoughts.
Hi Darlene! Unfortunately, you'll need it sealed in order for it to be effective. It's a good thought though, but if you just draw it like a shower curtain, it won't perform the same function 🙁
@Raffaele, Thanks cant blame a old girl for trying to make it simpler.