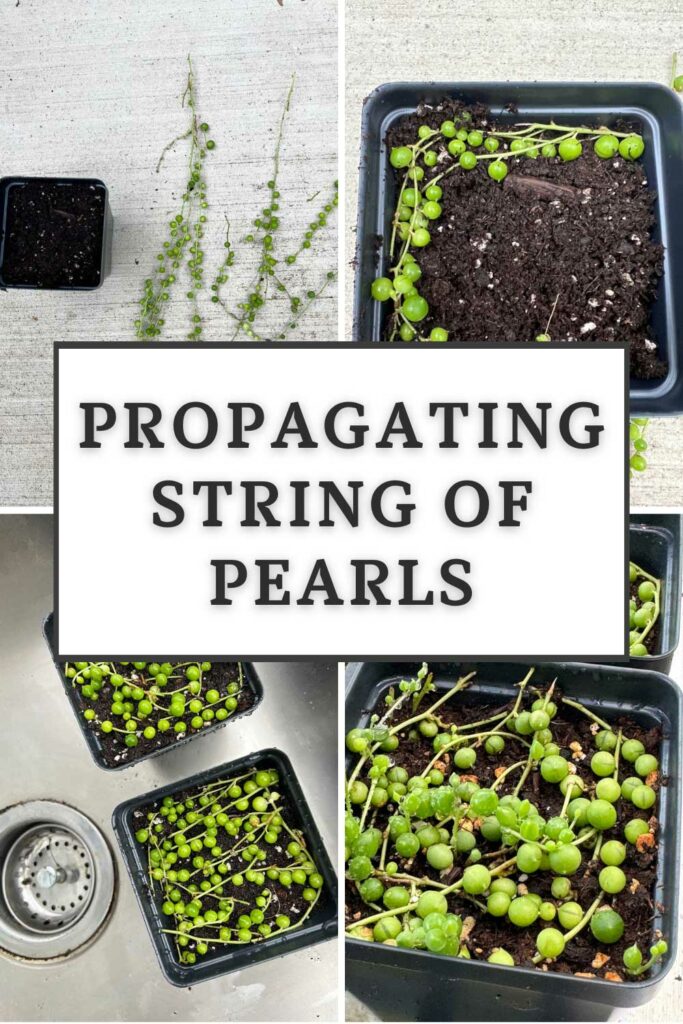
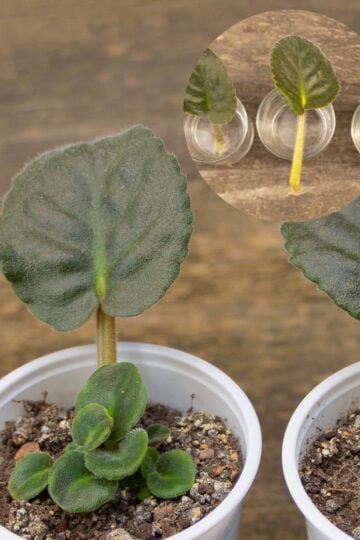
The string of pearls propagation method in this post is by far the most effective as well as the easiest way to get a FULL plant right from the start. Let me show you how easy this propagation process is, and I'll show you pictures of exactly how I did it.
Even though these succulent plants are normally grown in a hanging basket indoors, in this soil propagation process that I show you below, you're taking advantage of how they naturally grow in their native habitat.
Curio rowleyanus (formerly known as Senecio rowleyanus and commonly known as string of pearls) is native to South Africa, and it grows as a ground cover, often forming dense mats under shrubbery.
Here is a step-by-step process showing exactly how to make new plants easily.
1. Snip a few stem cuttings
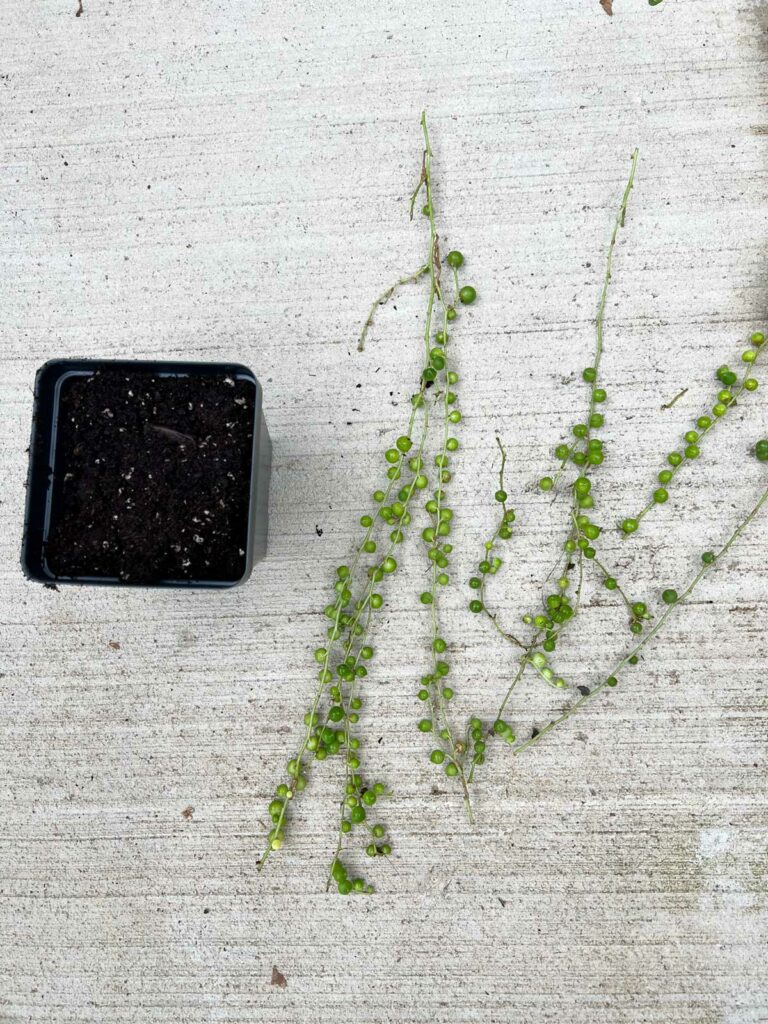
First, you'll want to snip a few cuttings off of your mother plant. Make your string of pearls cuttings anywhere from 2 inches to 6 inches long or so. This will make them easier to work with.
Try and select cuttings from healthy vines that have plenty of leaves (or "pearls"), since this will form a denser base of the plant and is more aesthetically pleasing!
In the photo below, you can see some new cuttings that I snipped.
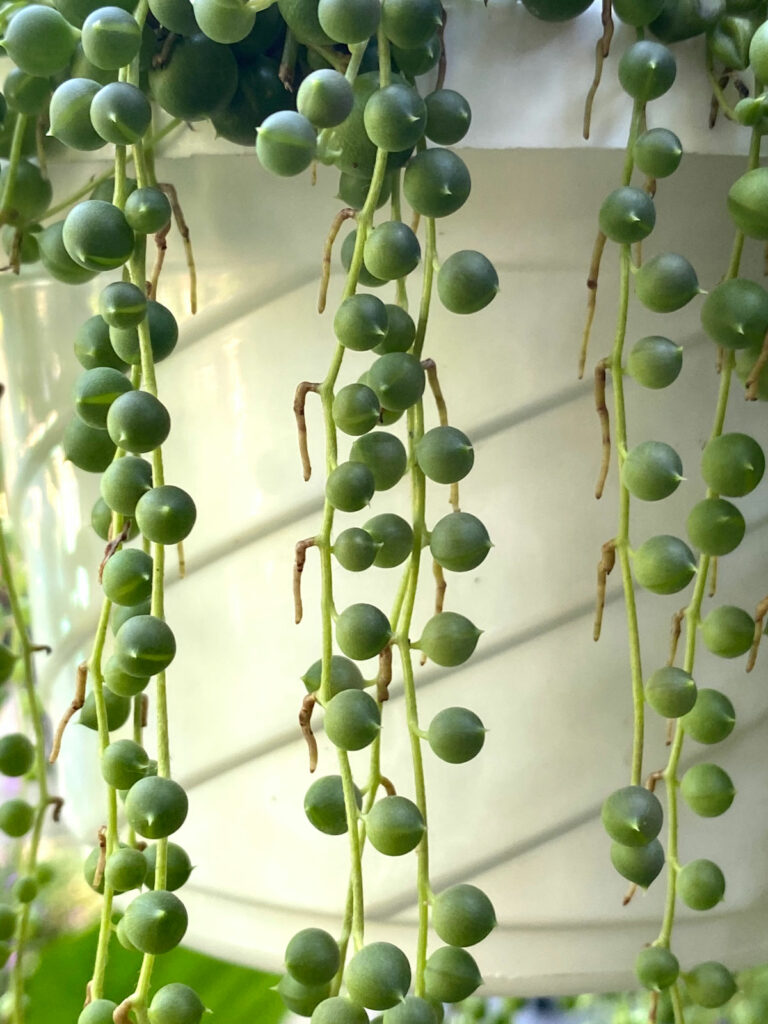
If you have any vines where you already see roots visible, these are great candidates for propagation. In nature, when the vines come in contact with the soil, they will start to root.
And if you already have roots on your vines where the leaf nodes are, like in the photo below, these are perfect! If you don't see any, don't worry. They will still root.
You can either snip cuttings off of the ends of long vines, or you can even take one long vine and make multiple cuttings from that. Either way works just fine!
2. Prepare a pot with soil
Next, you're going to select a pot and add some soil to it. It is better to start with a smaller pot (like a 4-inch diameter pot) and move up to a bigger pot once your plant is root-bound.
String of pearl plants have pretty shallow root systems, so avoid any unusually deep pots.
For the soil mix, I recommend using about 2 parts of a succulent potting mix and 1 part of pumice in order to provide better drainage and porosity.
I prefer using ¼ inch pumice (link to Amazon). Mix the pumice and succulent potting mix together, and place it in a 4-inch pot.
Make sure the pot has drainage holes so excess water can escape and thus minimize any instances of root rot. Good drainage is essential!
Before you proceed to the next step, water your soil thoroughly. Sometimes, packaged potting mixes can be very dry and it can take a bit of work to moisten them properly.
Would you like to save this post?
Enter your email, and I will send this link straight to you!
If you find that water is streaming right through and not absorbing in the soil, keep watering a few times in a row until the soil is thoroughly moistened.
Once you've done this, you can move on to the next step.
3. Lay the plant cuttings on top of the soil
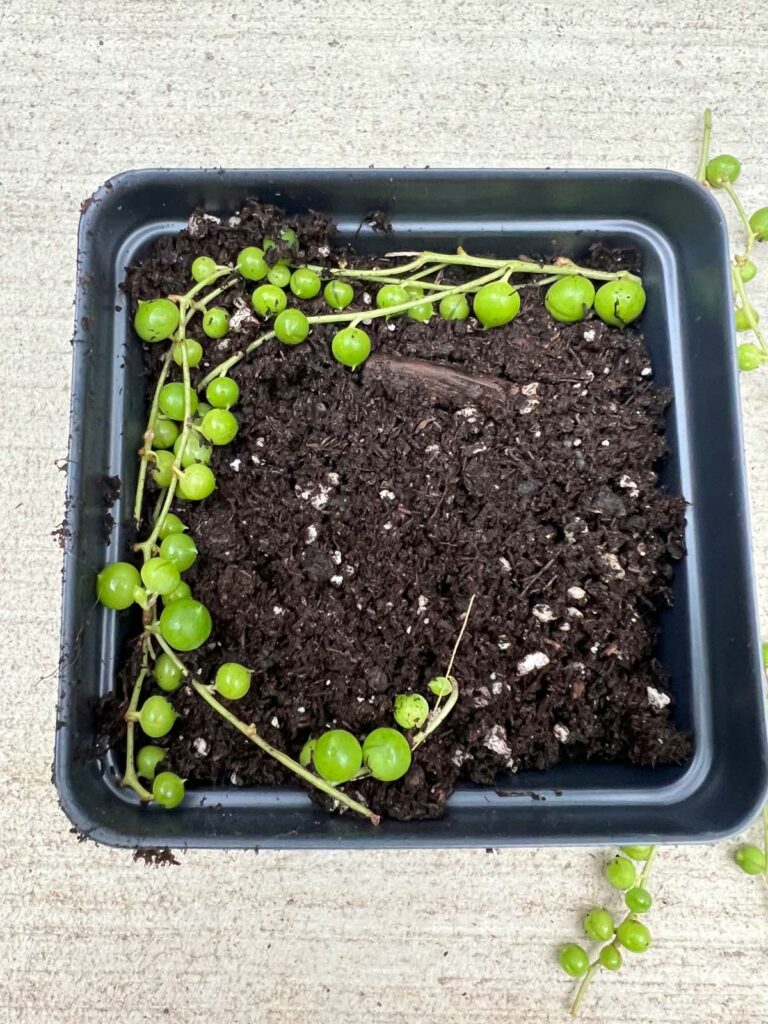
Next, simply take your cuttings and lay them right on top of the soil. In the photo below, I placed the first cutting on the soil surface.
Make sure that the vines come in contact with the soil as much as possible. The roots will grow from all the leaf nodes.
Then continue laying cuttings until you have no more room. You can even lay more cuttings than I show in the pictures in this post.
Once you have laid all your cuttings on the soil surface, give it another light watering to settle the cuttings, and place your plants in a bright spot.
A window sill with a couple of hours of direct sunlight (even up to half a day) would work very well. An unobstructed Eastern window or Western-facing window would be good locations. If you have windows with full sun, you may want to use sheer curtains or blinds to filter the light a bit.
Remember that warmer and brighter spots (which are great for propagation) will cause the soil to dry out more quickly, so you'll likely have to water more frequently. If you don't have a sufficiently bright window, you can use a grow light.
If you want to speed up the propagation process, you can place your pots on top of a heat mat. A warmer soil temperature will increase the rate of rooting and growth as you're propagating. It is not required, but they are inexpensive and well worth the very small investment!
I like using this heating mat for soil propagating and it really cuts a lot of time out of the process. I've even used it to grow my own ginger plants from grocery store rhizomes!
Keep the potting mix pretty moist as this will encourage rooting. Banish any fear you have of "overwatering". If you have enough light and use the potting mix I describe in this post, you will be fine. Moist soil is necessary for rooting.
As soon as the surface of the soil feels dry, go ahead and water. You can even use a spray bottle to mist the surface of the soil to water the cuttings so that you're not disturbing the soil too much.
Once your plant starts growing, you can back off a little bit on the watering. Check out my string of pearls care post for more details on the proper care of these plants, including watering, light and more.
Less than 3 weeks after starting the propagation process, you can see there is already new growth on the plants below.
Although you can also conduct water propagation by placing cuttings in a glass of water, and then plant in soil, the method in this post is more efficient and will give you a fuller plant and all with less cuttings.
You can propagate regardless of the time of year, especially if you are growing your plants under lights. But the best time to propagate is anytime during the growing season (spring and summer) when your plant is actively growing. You'll get faster results this way.
If you try propagating during the winter months, you can still be successful, but it will just take longer.
I hope you've enjoyed this guide on propagating string of pearls. Have you tried this process? Comment below. I'd love to hear!