Growing dahlias all summer is the easy part. It's what happens after the first frost that makes otherwise confident gardeners break into a cold sweat.
Digging, washing, dividing, and storing dahlia tubers can feel nerve-wracking, and plenty of people lose a favorite variety to rot or shriveling over the winter. The good news is that the process is not complicated once you understand what the plant is actually doing underground! Most failures come down to a few predictable mistakes: digging too soon, storing tubers dirty, or getting the temperature and humidity wrong.
Here's how to put your dahlias to bed for the winter so they come back strong next spring.
Table of Contents
Do You Even Need to Dig Them Up?
Dahlias are tender perennials from the highlands of Mexico and Central America. They have zero tolerance for frozen soil. Once the ground freezes around them, the water-filled storage roots rupture and turn to mush by spring.
This would be a good spot to mention being careful of what you read on social media where people give their experiences. I recently looked in a dahlia Facebook group and someone was adamantly giving advice to a stranger and recommended just "leaving them in the ground." This is dangerous advice because it will work in some climates, but not others.
If you garden in USDA zones 8 through 11, you can often leave dahlias in the ground year-round. Cut the dead foliage back, add a thick layer of mulch over the crowns, and let them be. Gardeners in zone 7 sometimes get away with this too, especially in a sheltered spot with excellent drainage, though it's a gamble.
Even in mild climates, there are two good reasons to dig anyway:
Soggy winter soil. Cold, wet soil is just as deadly as frozen soil, because it invites rot. Heavy clay that stays waterlogged all winter is a problem in any zone.
Division. Clumps left undisturbed for years get crowded and lose vigor. Lifting and dividing them keeps plants productive and gives you free plants to expand your garden or share.
For everyone in zone 7 and colder (below zone 7), digging is simply part of growing dahlias. Think of it as the price of admission for some of the most spectacular flowers you can grow.
You can't beat dahlias for super late season blooms, all the way until frost.
Timing: Let Frost Do Its Job, Then Wait
The signal to start is a killing frost that blackens the foliage.
Before that happens, take advantage of it:
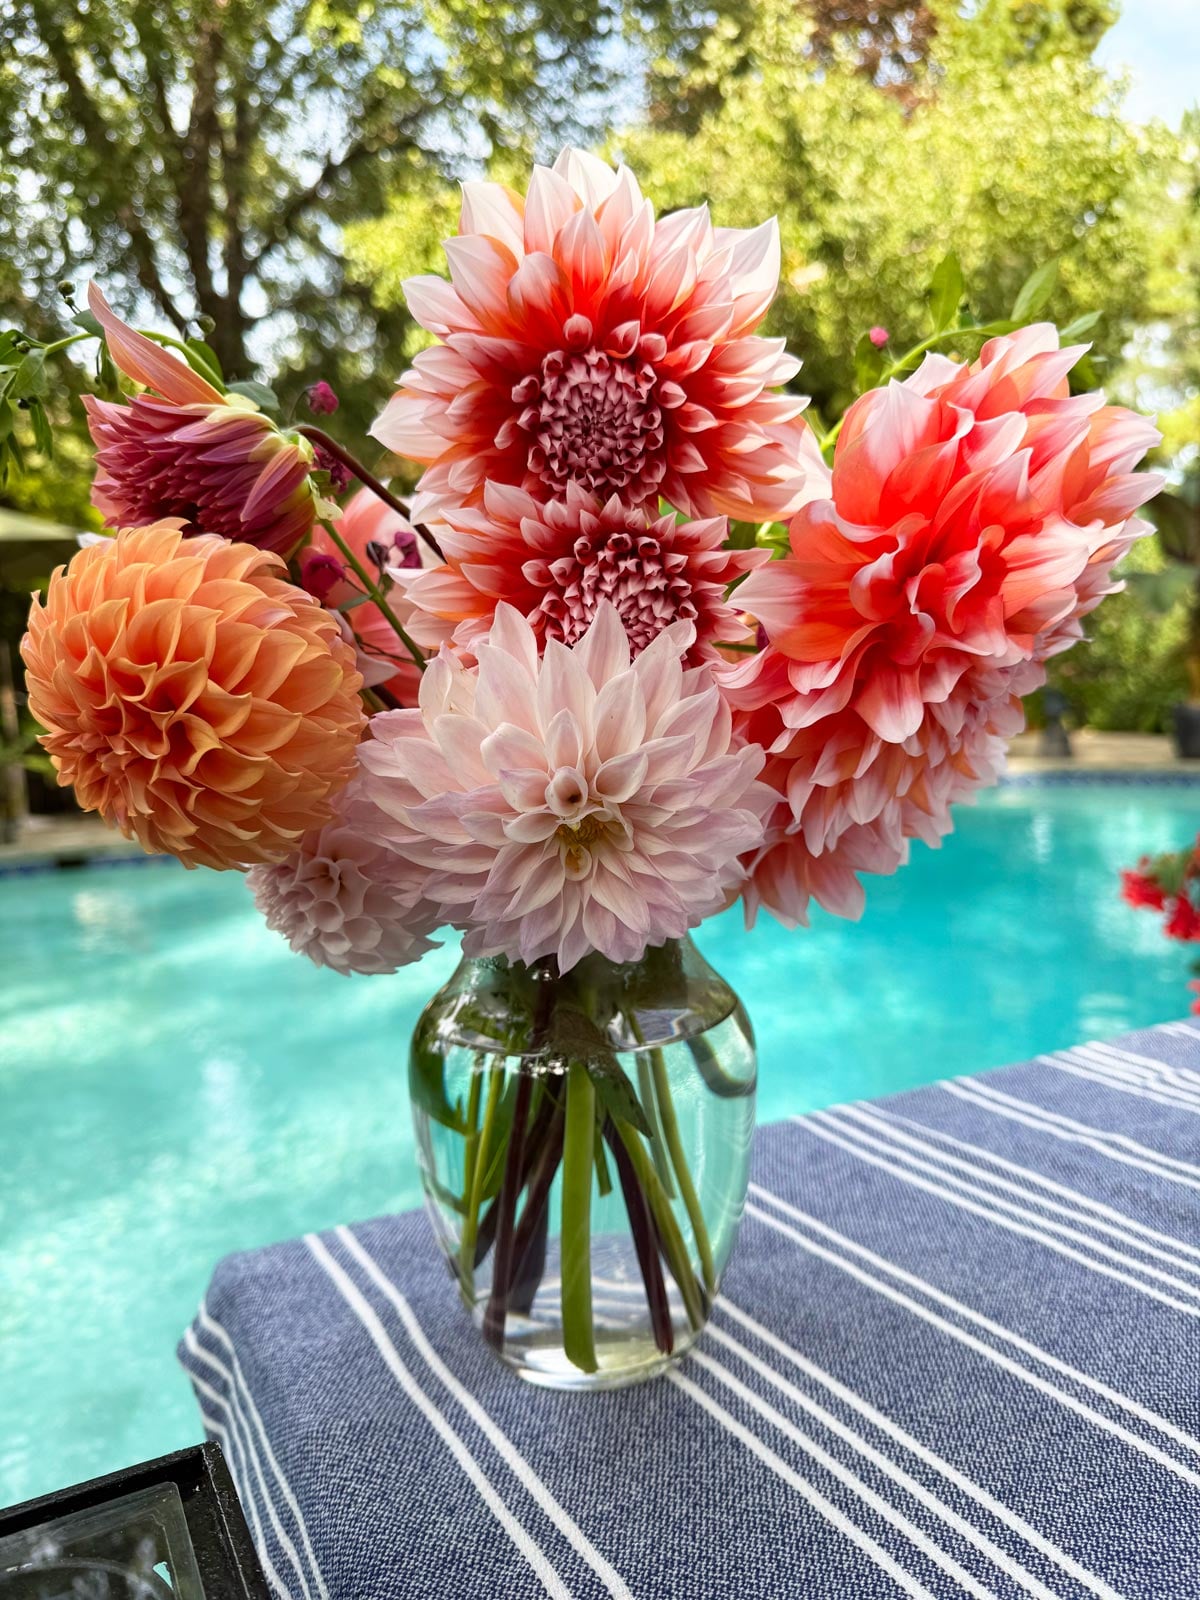
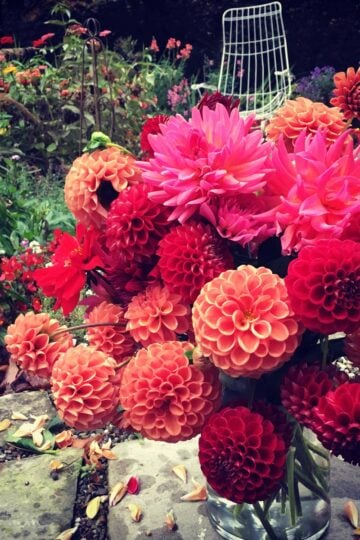
Cut every bloom you can. The afternoon before a forecasted frost, harvest armloads of flowers for vases and to give away. They're doomed outside anyway! I like to check the flowers for bugs and flick them off before I bring them inside (I always find them hiding in the multitude of petals).
Check your labels. In bloom, you may be able to tell what variety you have, but once the foliage collapses, every plant looks like the same pile of brown sticks. Make sure each plant is clearly tagged now.
I always cut loads of dahlia bouquets, especially right before frost kills all the flowers.
Don't dig right away
This is the mistake I see most often. The top of the plant is dead, but the roots are very much alive. Over the next week or two, the plant pulls its remaining energy down into the storage roots, and their skins thicken and toughen as the soil cools. That tougher skin is what helps them resist bruising, shriveling, and rot in storage.
Wait at least one week after the killing frost, and two is even better.
Leave the dead stems standing
I know, it looks terrible. But dahlia stems are hollow. Cut them short and leave them open, and they act like little funnels, channeling rainwater straight down into the crown, which is the exact spot where rot loves to start. Leave the stems intact until the day you dig.
You do have a deadline, though. The digging window runs from that killing frost until the ground freezes solid, which in many areas gives you roughly a month.
How to Dig Dahlia Tubers Without Breaking Them
Pick your day carefully. The ideal digging day is dry and mild, after several days without rain. Wet soil clings to the tubers like glue and turns washing into a much bigger chore.
When you're ready, cut the stems down to about 6 inches or so above the soil. That stub gives you a handle to hold and a place to attach a label.
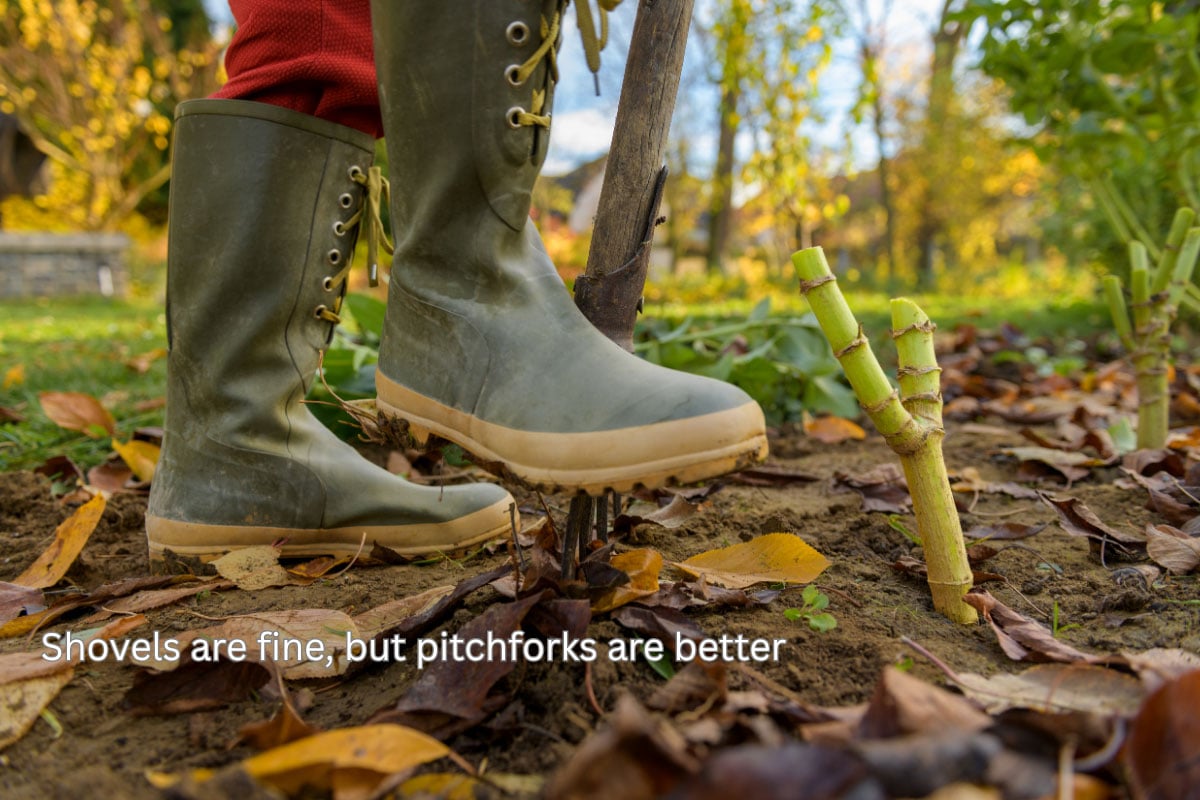
Use a fork, not a shovel
A digging fork is the best tool for the job. A spade's sharp blade slices straight through anything in its path, while the tines of a fork loosen the soil and lift the clump with far less damage.
Start about 10 -12 inches out from the stem and work your way around the plant in a full circle, loosening the soil as you go.
Slide the fork deep under the clump and gently lever it up.
Lift the whole clump free, easing it out of the soil rather than yanking it by the stem.
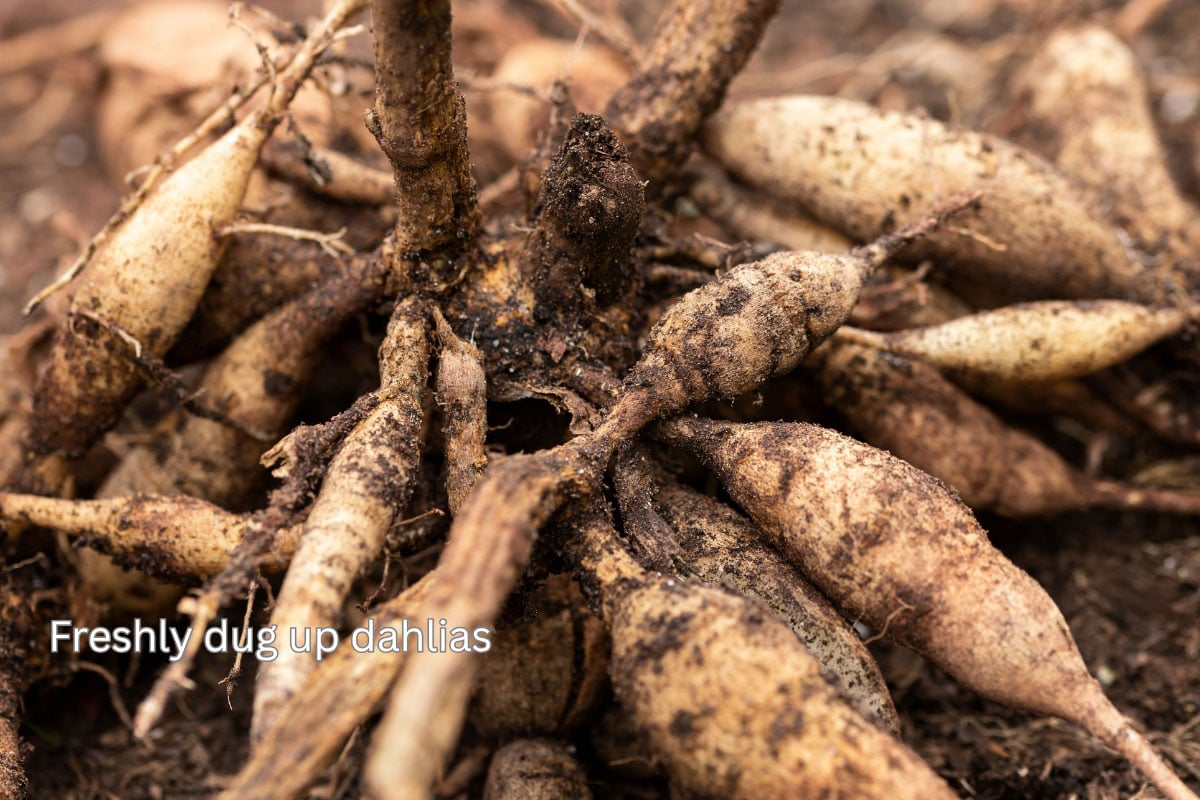
Be gentle at every step. Each tuber connects to the central crown by a narrow neck, and that neck is the weak point. A tuber with a snapped neck is still a healthy-looking root, but it can't grow a new plant (more on why below). It goes straight to the compost pile.
Keep your varieties straight
If you care about knowing what's what next year, discipline matters here. Dig one variety at a time, keep its clumps together with their label, and finish washing that variety before you start on the next. Mixing them up for even a minute is all it takes to end up with a box of mystery dahlias.
Would you like to save this post?
Enter your email, and I will send this link straight to you!
Washing and Curing
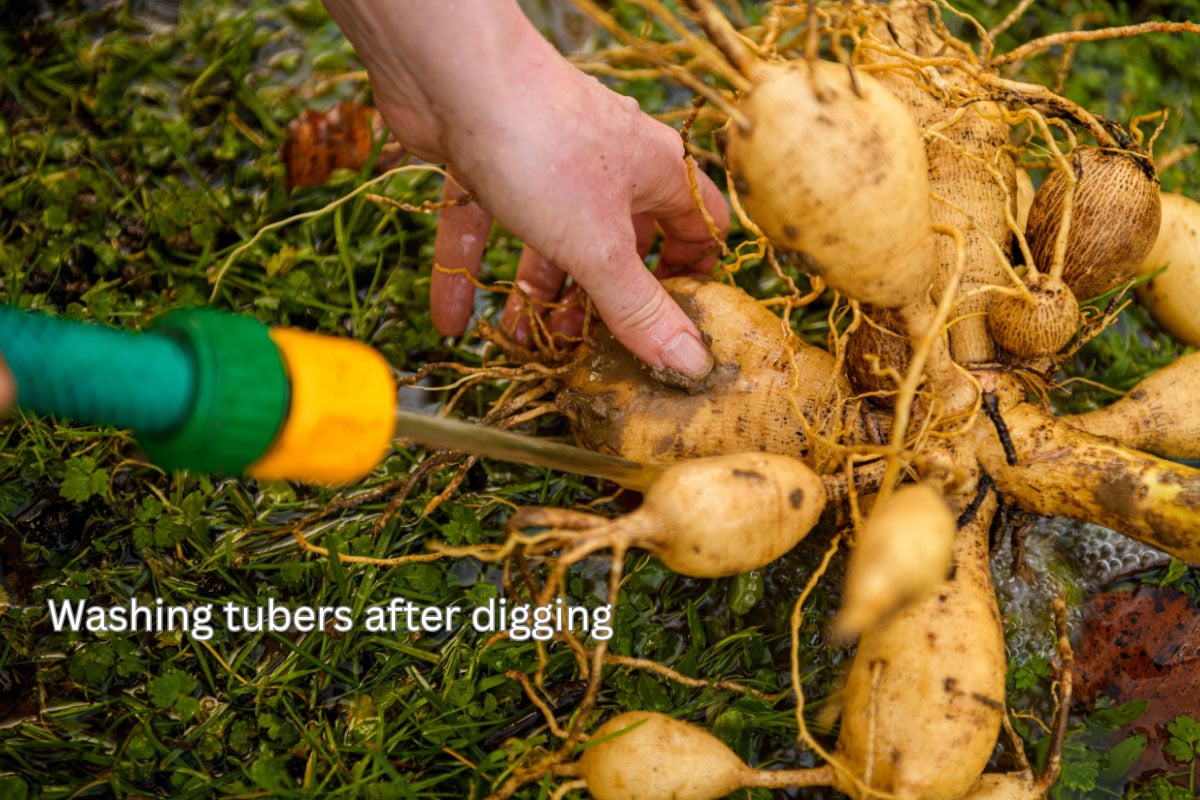
Wash your tubers the same day you dig them, before the soil has a chance to dry and harden. Soil left on tubers holds moisture and microbes that encourage rot in storage. It also hides the details you'll need to see when dividing, and the grit dulls your pruners fast.
A few tips for washing without damage:
Go gentle on the water pressure. Freshly dug tubers have thin, tender skin that tears easily. A hard jet will clean them, but it will also scuff them up. If your nozzle doesn't have a gentle setting, simply step back several feet so the spray softens before it hits.
Rinse from all sides. Soil packs into the crevices of a clump. Turn it, or walk around it, and rinse from every angle.
Once they're clean, let the tubers dry and cure for a few days in a spot with good air circulation that won't freeze, such as a garage or covered porch. You want the surface dry, not shriveled.
This is also the time to label. Write the variety name, or a short abbreviation, directly on each tuber with a permanent marker, or at least once per clump. If you abbreviate, keep a written key somewhere you'll actually find it in April.
Divide Now or in Spring?
Before you decide, it helps to clear up a little botany that trips up a lot of growers.
Myth: Every dahlia tuber can grow a new plant
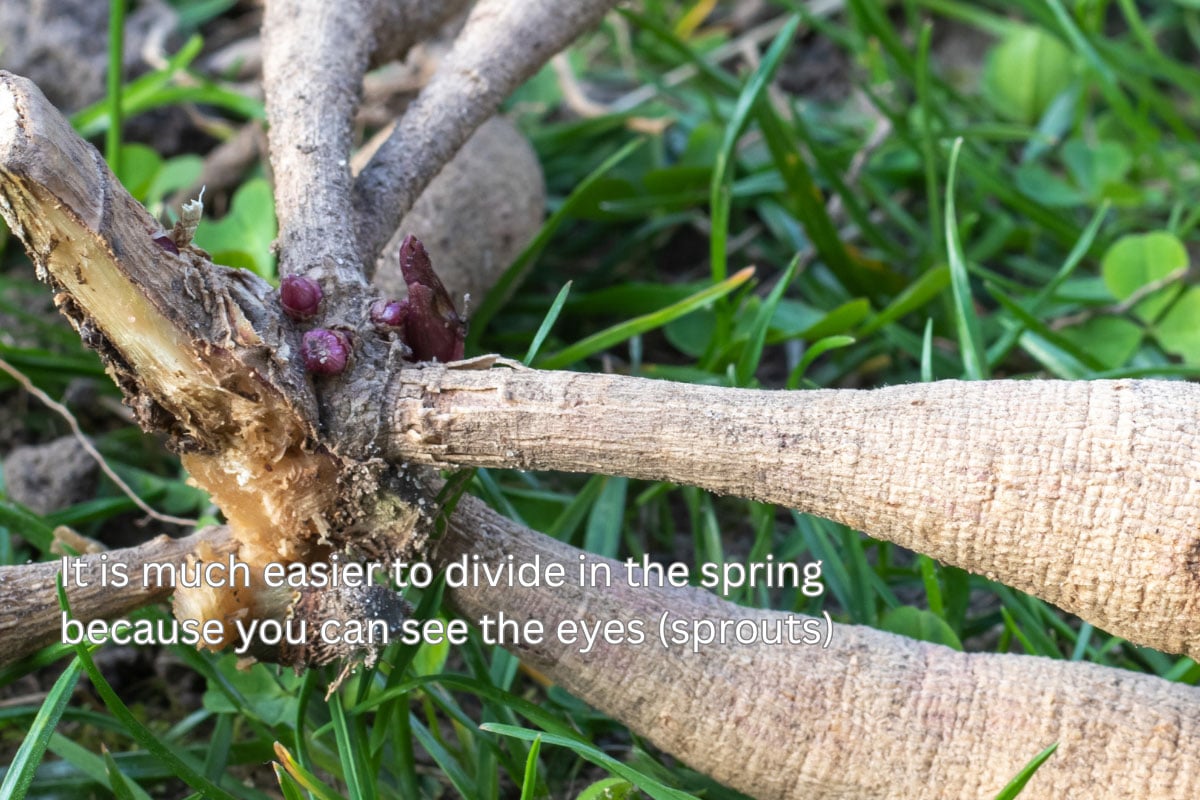
We call them "tubers," but dahlias technically grow tuberous roots, which are closer to a sweet potato than a regular potato. That difference matters a lot. A potato has eyes scattered all over its surface, so almost any chunk can sprout. A dahlia's tuberous root has no growth buds of its own. The buds, or eyes, form only on the crown, the woody base of the old stem where the roots attach.
So a viable division needs three things: a plump tuber, an intact neck, and a piece of crown with at least one eye. A gorgeous, fat tuber that has broken away from the crown may stay firm all winter, but it will never send up a shoot. That's why the neck matters so much when digging.
The case for each
Both timings work. It really comes down to your schedule and your storage space.
Dividing in fall:
Clumps are softer and easier to cut right after digging.
Individual tubers take up far less storage space than whole clumps.
The catch: on many varieties, the eyes are tiny and hard to spot in fall.
Dividing in spring:
The eyes swell as the tubers start to wake up, so they're much easier to find.
Whole clumps tend to resist drying out a bit better over winter.
The catch: clumps get harder and woodier over winter, and they hog storage space.
I usually like to divide in the spring when I can see the eyes. When in doubt, I recommend simply waiting until springtime.
Storing Dahlia Tubers Over Winter
Everyone has a storage method they swear by, and that's because every basement, garage, and crawl space is a little different. Rather than copying someone else's exact routine, focus on the conditions your tubers need:
Cool: roughly 40 to 50°F. Below freezing destroys them. Much warmer than 50°F, and they start breaking dormancy early.
Moderately humid: enough moisture in the air to keep them from shriveling, but not so much that they sit damp and mold.
Dark, with a bit of air movement.
An unheated basement, root cellar, or insulated attached garage often fits the bill. Whatever space you choose, put a cheap thermometer and hygrometer in it so you're working from real numbers instead of guesses.
Whichever storage method you use, trim off the thin, stringy feeder roots first.
Method 1: Containers with packing material
This is how I personally store dahlias. This works for whole clumps or divided tubers. Use a cardboard box, paper bag, plastic bag with holes punched in it, or a plastic tub with the lid set on loosely. Add a layer of coarse vermiculite, wood shavings, or dry peat moss, nestle the tubers in so they aren't touching, and cover them with more material. The packing buffers humidity swings and keeps one rotting tuber from spreading trouble to its neighbors.
Method 2: Plastic wrap
This one requires dividing first. I've never tried this one, but it's an option if you want to try it. Perhaps try both of these methods and see which one works best for you. Lay out a long strip of plastic wrap, set a tuber at one end, and roll it up, adding the next tuber after each turn so there's a layer of plastic between every one. Fold the ends in and secure the bundle with a strip of masking tape, which doubles as a label. Wrapping holds in moisture very well, so it's a great option if your storage space runs dry.
Check on them through the winter
Once a month or so, take a quick look:
Rotting or mushy? Toss it immediately. There's no saving a rotten tuber, and you don't want it spreading.
Wrinkled or shriveled? They're too dry. Lightly mist the packing material.
A little shrinkage? Totally normal. Healthy tubers should feel firm, like a potato from the grocery store.
Quick summary
Putting dahlias to bed comes down to a few simple rules: let frost kill the tops, wait a week or two, dig gently with a fork, wash and dry the same day, and store them cool, dark, and just humid enough. Check in on them every few weeks, and come spring you'll have a box of firm, healthy tubers ready to plant, plus a few extras to share.
If you've enjoyed this post, be sure to read about dahlia care throughout the season, including planting, watering, fertilizer, pruning and more.