If you have ever wanted a crop that practically grows itself while you are inside drinking cocoa all winter, garlic is it. You plant it in fall, walk away, and come summer you are digging up a year's supply of bulbs that taste nothing like the tired, flavorless heads in the produce aisle.
Garlic is not difficult. But for best results, you need: the right cloves, the right window of time for planting, the right soil, and the right timing to harvest. Here is how to get each of those right.
Table of Contents
Hardneck vs. Softneck: Pick Your Garlic
True garlic (Allium sativum) comes in two main groups.
Hardneck
Softneck
Best climate
Cold winters
Still cold hardy, but not as much as hardneck. See below for more.
Cloves
Fewer, larger, one ring around a stiff stalk
Many (often 14 to 20), in layers
Peeling
Easy
Fussier
Storage
Shorter, around 5 months
Longer, up to 8 months
Scapes
Yes
No
Braidable
No
Yes
Types to look for
Porcelain, Rocambole, Purple Stripe
Artichoke, Silverskin
Hardneck garlic is extremely cold hardy and sends up a curly flower stalk called a scape (more on those delicious little things later). Popular cultivars include 'Music', 'German Red', 'Chesnok Red', and 'Spanish Roja'. Rocambole types in particular can struggle where winters are warm. Great for Zones 1-7.
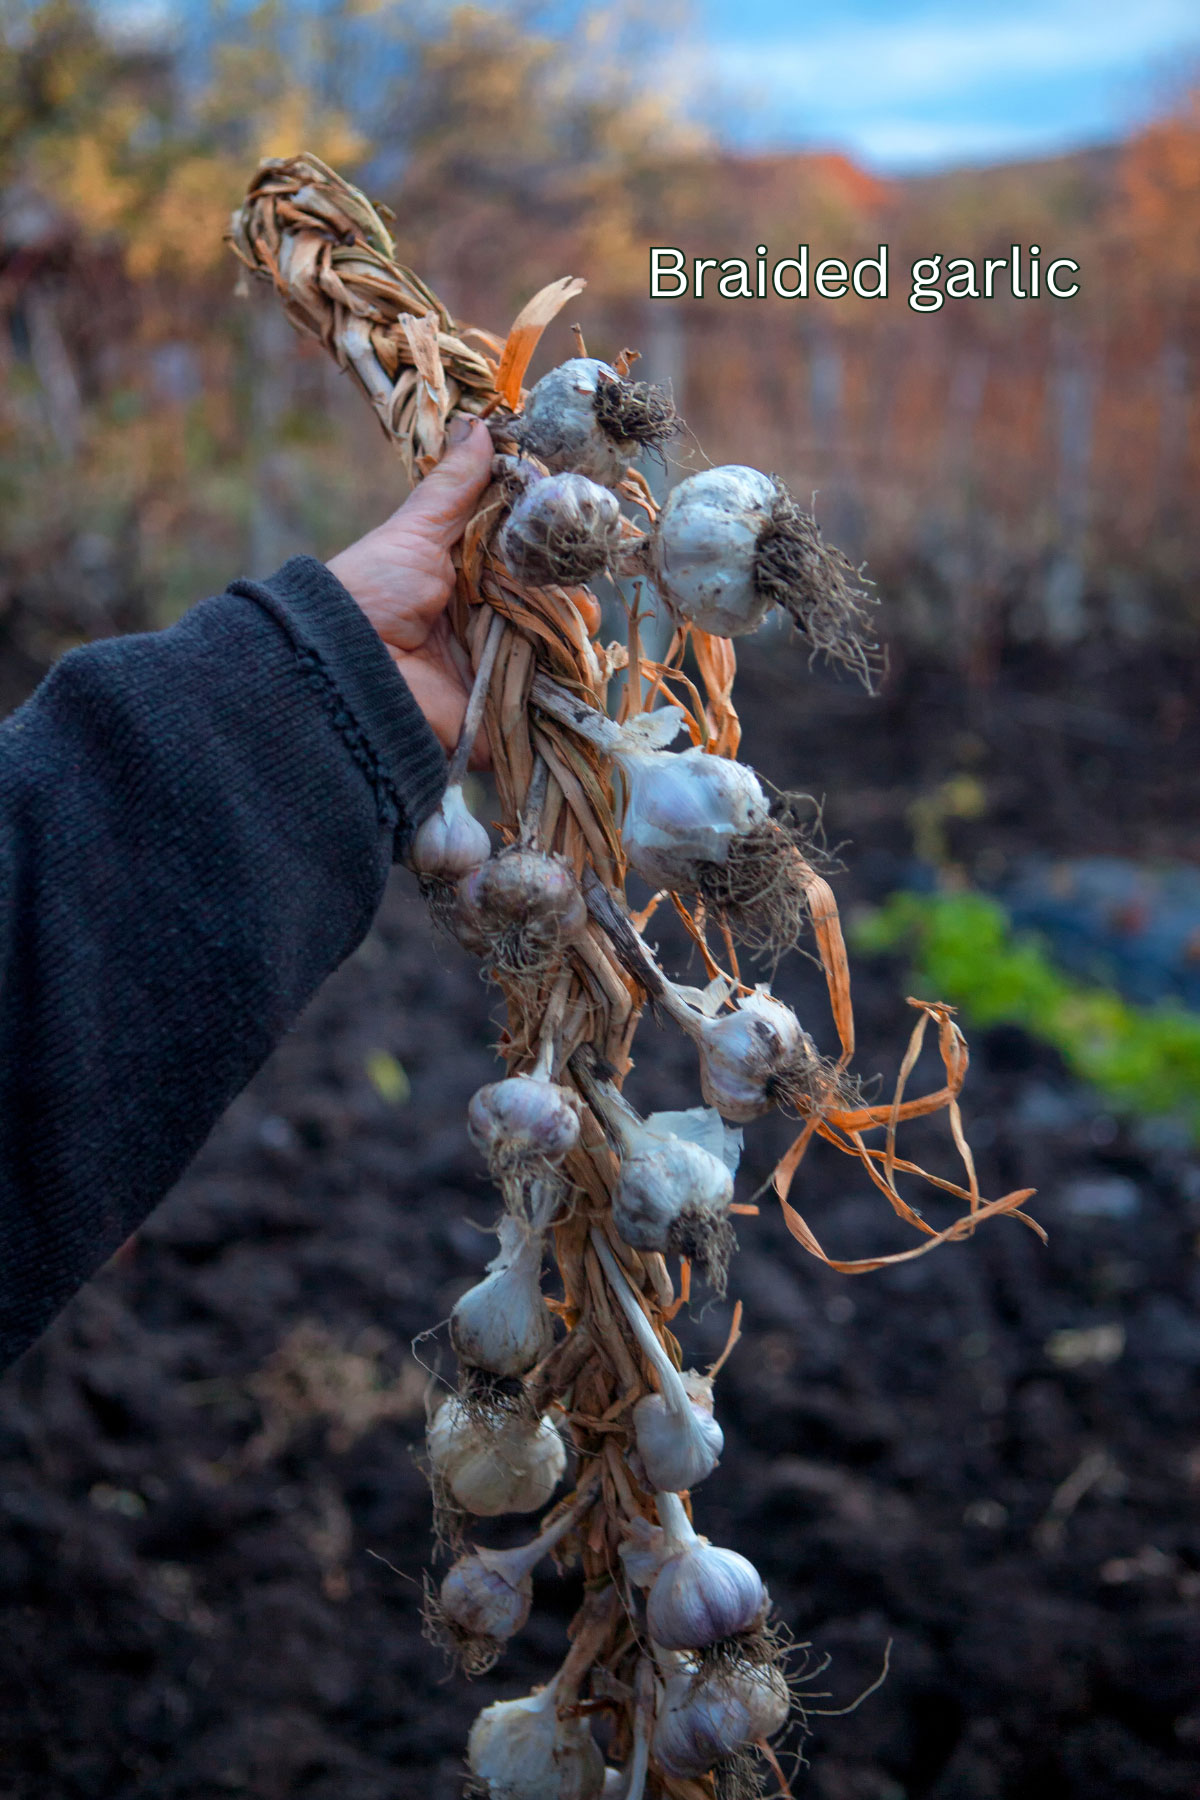
Softneck garlic is what you usually find braided at farmers markets, since the neck stays pliable after drying. It handles warmer climates better, stores the longest (Silverskin types are the champions here), and tends to put all its energy into the bulb instead of a scape. Great for zones 6-12, and even colder zones with mulch.
If you cannot decide, plant two or three varieties and let your own garden pick the winner.
Skip the Grocery Store Garlic
Yes, I know a sprouting head on your counter is tempting. Resist.
There are good reasons. Supermarket garlic is often treated to prevent sprouting, which is great for shelf life and terrible for your garden. It may be a variety grown for a completely different climate than yours.
Instead, buy seed garlic from a reputable mail-order supplier, a local nursery, or a local farmer who grows garlic. Local growers are a particularly good bet, since their stock is already adapted to conditions similar to yours and you should feel confident that varieties available for sale in your local area are a good choice for your growing area.
And here is a bonus: once you have a good crop, you never need to buy seed garlic again. Save your biggest, best formed bulbs each summer and replant them in fall. Because garlic is propagated by cloves rather than seed, every bulb is a genetic copy of its parent, so selecting your best stock year after year keeps quality high.
When to Plant Garlic
Fall is the time. Garlic can be planted in spring as soon as the soil is workable, but spring plantings produce noticeably smaller heads. Fall planted cloves spend the cool months building roots, so when spring arrives they are ready to explode into leafy growth, and more leaves mean bigger bulbs.
The goal is simple: give the cloves enough time to root before the ground freezes, but not so much time that they put up lots of tender top growth that winter will punish.
Plant around 4-6 weeks before the first hard frost. For most cold-winter gardeners, that means late September through October, sometimes into November. You basically want to get it into the ground a few weeks before the ground freezes solid. In warmer regions (zones 8+), later is better, and mid to late October or beyond is common. Don't overthink it too much.
Don't panic if a few green tips poke through before winter. It is a lush flush of top growth you want to avoid.
Choosing the Site and Preparing the Soil
Garlic wants full sun and loose, rich, well drained soil with plenty of organic matter. Drainage is the big one. Heavy, compacted, soggy soil invites bulb rots in wet years and small, misshapen heads in dry ones. If your soil is heavy clay, growing in raised beds 2 to 3 feet wide and at least 10 to 12 inches tall works beautifully.
A few more things to get right before planting:
Check your pH. Most people don't do this, and in most cases you'll be fine, but if you really want to get picky...Garlic tolerates a range of roughly 6.0 to 8.0, but Ohio State University Extension puts the ideal at 6.0 to 6.5. A soil test is the only way to know where you stand, so get one rather than guessing (or adding lime on autopilot).
Feed the soil. Garlic is a heavy feeder. Work compost into the bed, and add a modest amount of fertilizer at planting. Some complete fertilizer such as 5-10-10, bone meal, or fish meal, worked in a few inches below where the cloves will sit. You can even apply about half of your season's fertilizer at planting to support root growth.
Clear the weeds. Garlic competes terribly with weeds, so remove perennial weeds now. It is far easier than fighting them around established plants next spring.
Rotate. Don't plant garlic where garlic, onions, leeks, shallots, or chives grew in the last two years. Crop rotating is great to keep diseases and pests at bay.
One nice perk: because garlic goes in so late, it can follow summer crops like beans, peas, or squash in the same bed.
How to Plant Garlic
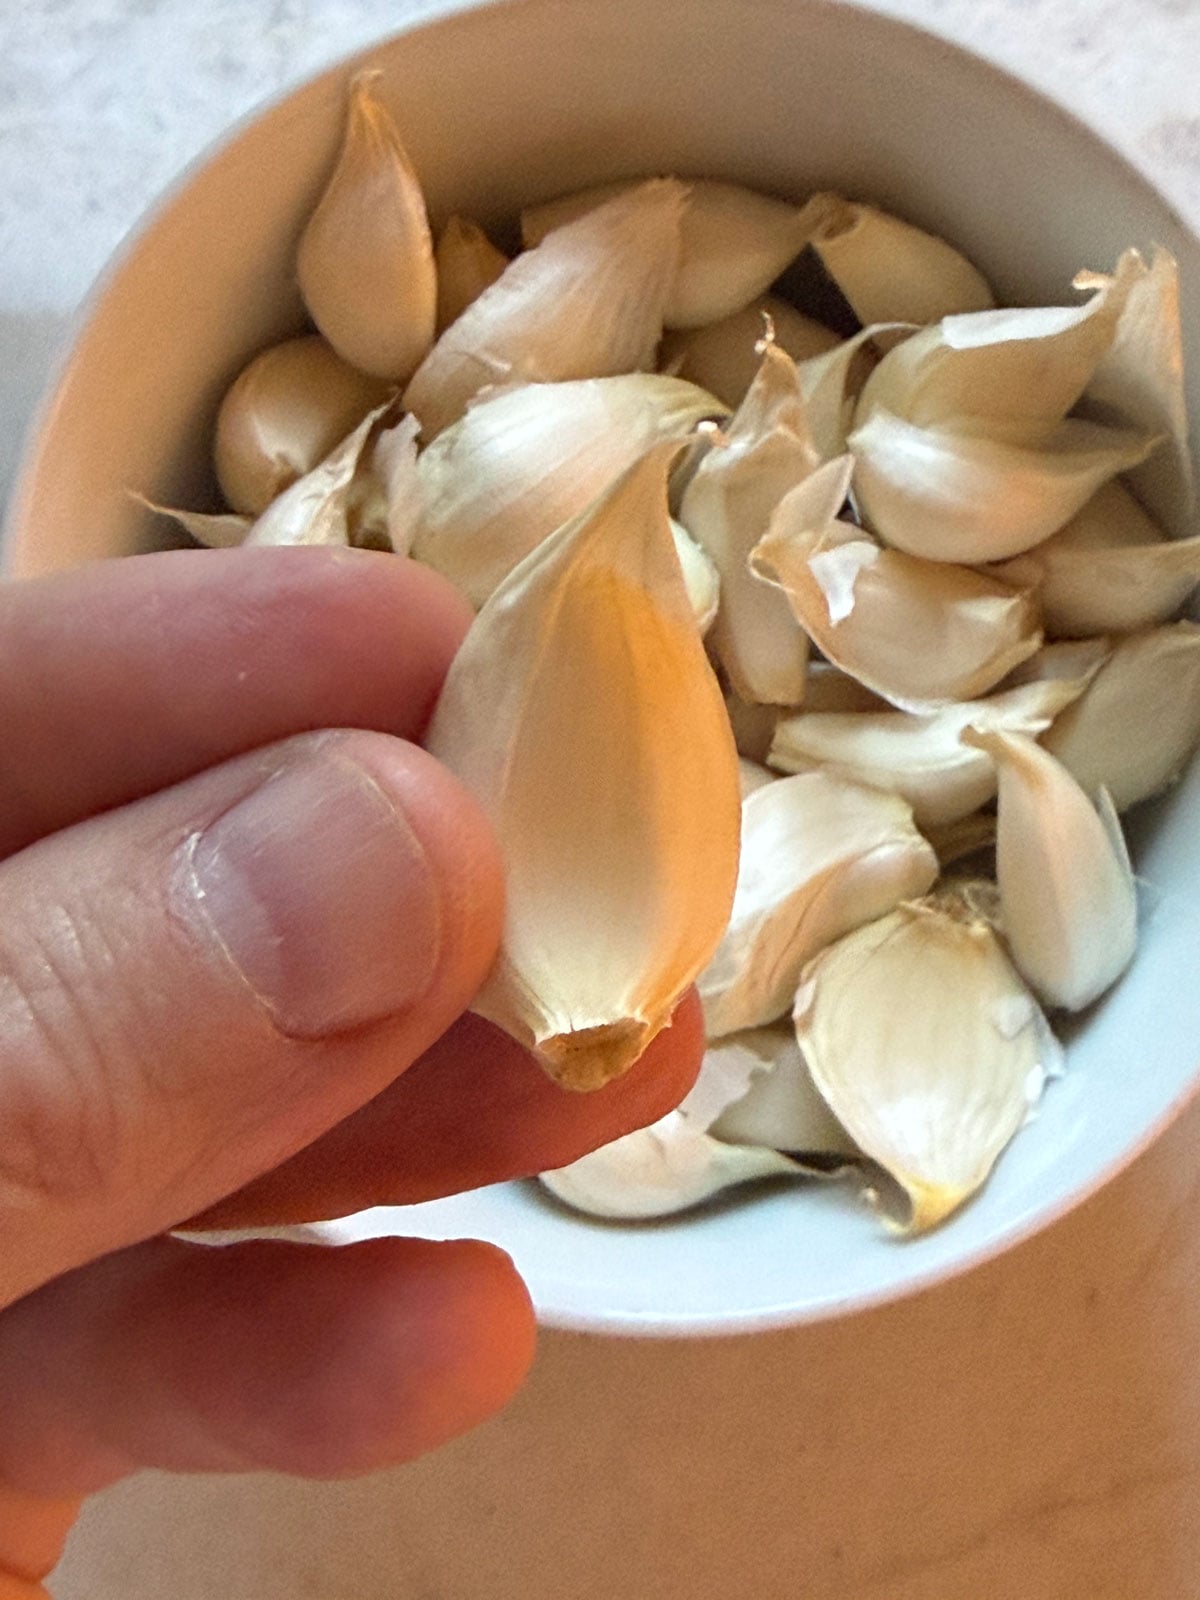
I separated cloves of Inchellum Red softneck garlic to plant in my garden
Crack the bulbs right before planting. Separate the heads into individual cloves no more than a day or so ahead. This keeps the root nodules from drying out so they can root quickly. Leave the papery skin on each clove.
Plant only the biggest cloves. Clove size directly predicts bulb size. Big cloves make big heads; little cloves make little heads. Save the small ones for cooking.
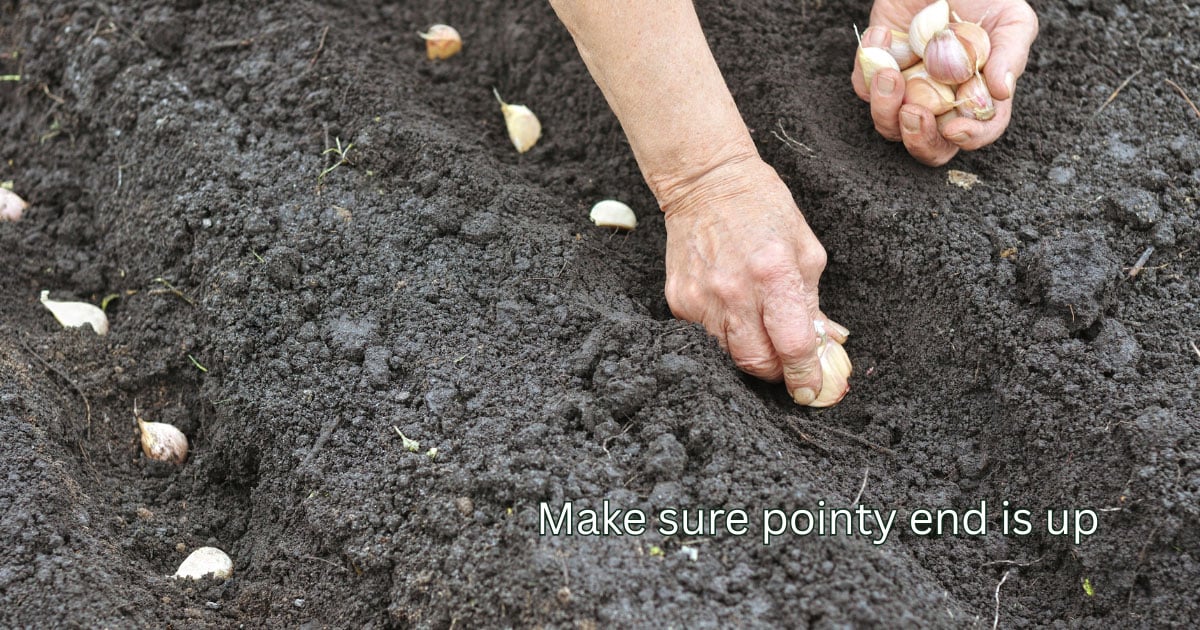
Point side up. Each clove has a flat bottom, called the basal plate, where roots emerge, and a pointed tip where leaves emerge. Set cloves flat side down. Cloves planted sideways or upside down give you small, misshapen bulbs.
Plant 2 inches deep. Press the cloves firmly into the soil so they stay upright when you backfill. The bottom of the clove should be about 2 inches below the soil surface.
Space the cloves 4 to 5 inches apart. If you need to include space to walk through, you can do that, otherwise just make sure that you can reach everything that you plant to allow for any walking or weeding.
Mulch Before Winter
Once the cloves are in, a thick layer of mulch insulates the soil against freeze and thaw cycles that can heave cloves out of the ground, and it smothers winter annual weeds before they start.
Would you like to save this post?
Enter your email, and I will send this link straight to you!
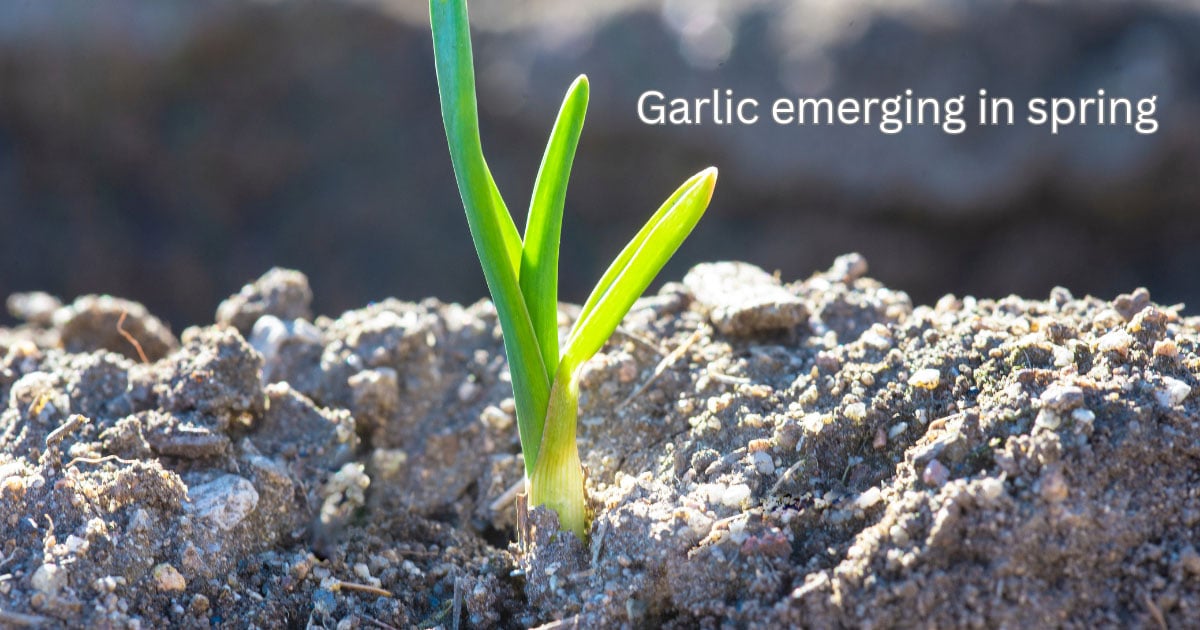
Use about 4 inches of clean straw or shredded leaves. In spring, when shoots start pushing through, pull the mulch back off the plants and leave it between any rows, if you'd like, where it will keep suppressing weeds and hold more moisture.
Spring Care: Feed, Water, Weed
Garlic is one of the first things to wake up in the spring garden. Once it does, here are 3 tips:
Feed it. Garlic needs plenty of nitrogen to build the leaves that power bulb growth. Ohio State University Extension recommends a second feeding when plants are 4 to 6 inches tall, and a possible third about six weeks later. You can use blood meal, pelleted chicken manure, or another nitrogen source in early spring, then again just before bulbs begin to swell. If you prefer liquid feeding, fish emulsion every other week works beautifully until about June 1. Yellowing, small, or sluggish leaves are your cue that the plants are hungry. Stop fertilizing once bulbing begins.
Water it evenly. Aim for about 1 inch of water per week, rain included, especially during bulb formation in late spring and early summer. Drip irrigation or a soaker hose is ideal, since it keeps the foliage dry and puts water only where it is needed. Don't drown it, though. Overwatering leaches nutrients and invites rot.
Keep it weeded. This is where many garlic beds go wrong. Garlic has narrow, upright leaves that cast very little shade, so weeds quickly take over and steal the nutrients your bulbs need. Keep the mulch between rows and hand pull anything that sneaks through.
Don't Skip the Scapes
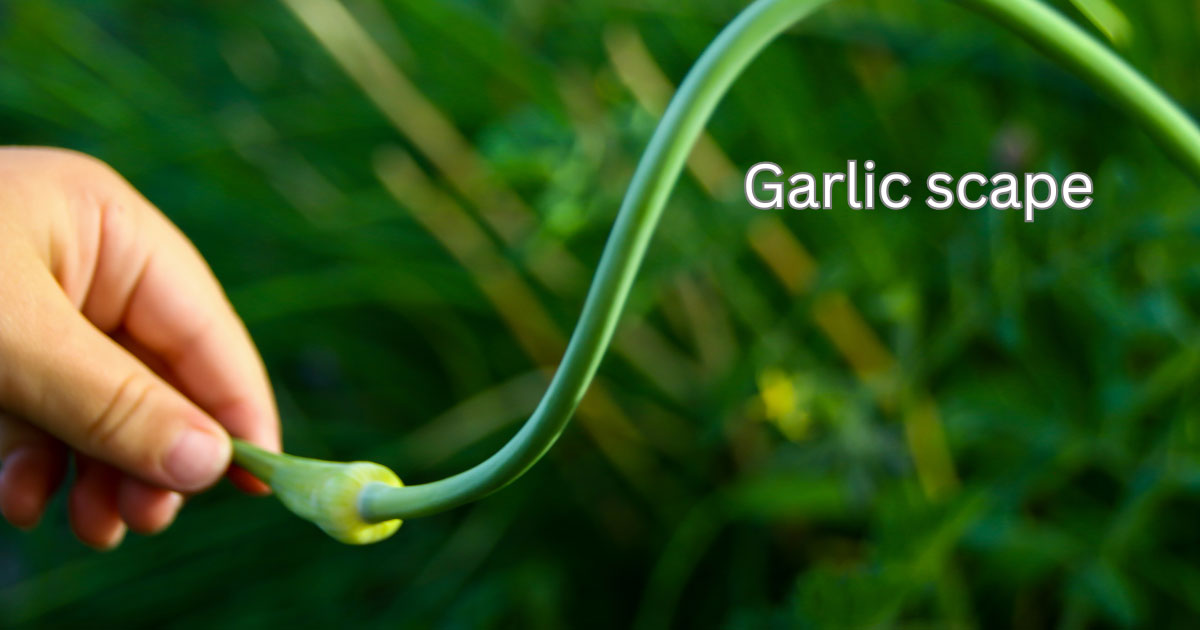
If you grow hardneck garlic, sometime in late spring or early summer (often around mid June, near the summer solstice) each plant will send up a curling stalk called a scape.
Cut it off. Removing scapes redirects the plant's energy into the bulb, and it leads to bigger heads. Snip them once they begin to curl, before they straighten and toughen. They get more fibrous the longer you wait.
Then eat them. Scapes are a genuine seasonal treat with a mild, bright garlic flavor. Stir fry them like green beans, toss them on the grill, or add into your pesto.
A small tip from The Old Farmer's Almanac: leave one or two scapes standing. When they uncurl and stand straight up, that is one of your signals that harvest is close.
When and How to Harvest
Fall planted garlic is usually ready from late June through early August, depending on your climate and variety.
Timing is the trickiest part of growing garlic, and it is where most first time growers stumble. Here is why: each green leaf corresponds to one of the papery wrappers around the bulb. When a leaf dies, so does its wrapper. Don't wait until the whole plant is brown because you will dig up naked, splitting bulbs that won't store well.
The sweet spot is when the lower third to half of the leaves have turned brown, while the upper leaves are still green. Or at least wait until the lower leaves begin to yellow before you harvest.
When in doubt, do a test dig. Gently loosen the soil and lift a bulb. You are looking for plump, well divided cloves wrapped in thick, dry, papery skin. Thin wrappers mean it is too early; split or exposed cloves mean you waited too long.
About 2 to 3 weeks before harvest, as the leaves start to yellow, stop watering. Too much water at this stage can stain wrappers, encourage mold, and set up rot.
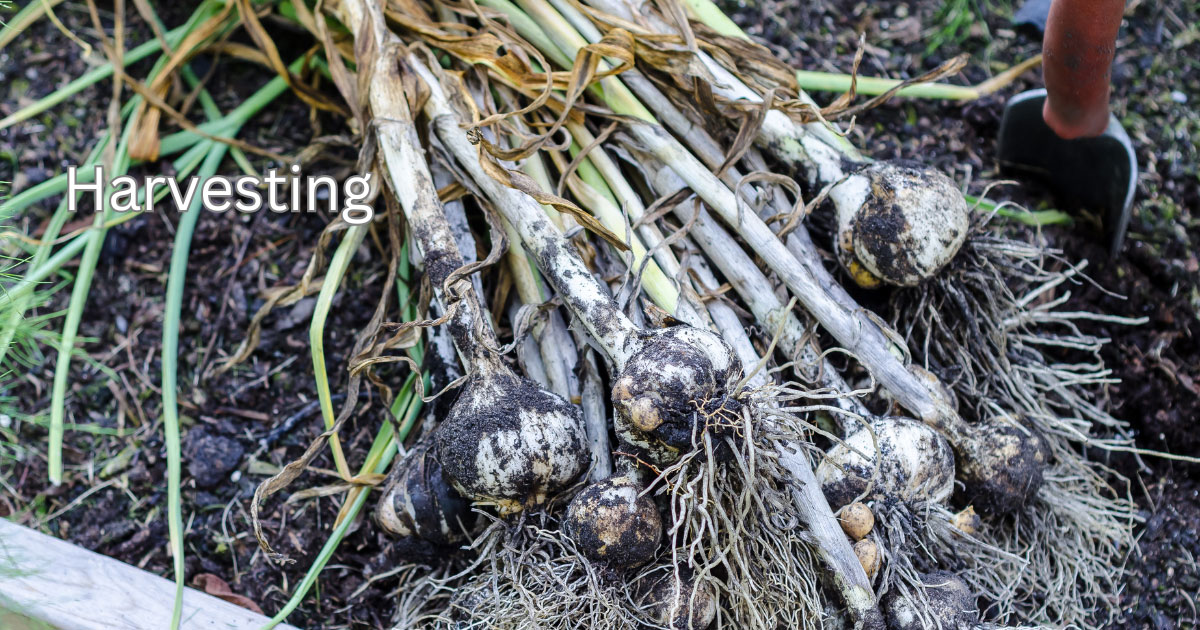
Finally, dig, don't pull. Loosen the soil with a garden fork or spade and lift the plants out by hand. Yanking on the stems can damage the bulbs, and garlic bruises more easily than you'd think. Brush off loose soil, but don't wash the bulbs.
Curing and Storing Your Garlic
Freshly dug garlic is perfectly edible right away, but if you want it to last into winter, it needs to cure first.
Cure it. Hang the plants in small bunches, or spread them out on a screen, somewhere shady, dry, and well ventilated. A garage, barn, or covered porch works well. Keep them out of direct sun. Curing takes anywhere from 2 to 4 weeks. Garlic is ready when the wrappers are dry and papery, the roots are dry and brittle, the neck is tight, and the cloves crack apart easily.
Clean it up. Brush off the remaining soil and peel away only the dirtiest outer wrapper. Trim the roots to about ¼ inch and cut the stems back to an inch or two above the bulb (or leave softneck stems long if you plan to braid). I have fond memories growing up of all the braided garlic that we had hanging in our garage before storing it.
Store it. Keep bulbs somewhere cool, dark, and dry with good airflow. Mesh bags, baskets, or open crates work well. Plastic bags are a recipe for mold. Avoid really damp basements, and keep garlic out of the refrigerator crisper, where the humidity encourages sprouting and rot.
Under good conditions, storage life is roughly 5 months for hardnecks and 8 months for softnecks. Plan to eat your hardnecks first if you are planting both.
One last step: before you start cooking your way through the harvest, set aside your biggest, healthiest bulbs for next fall's planting.