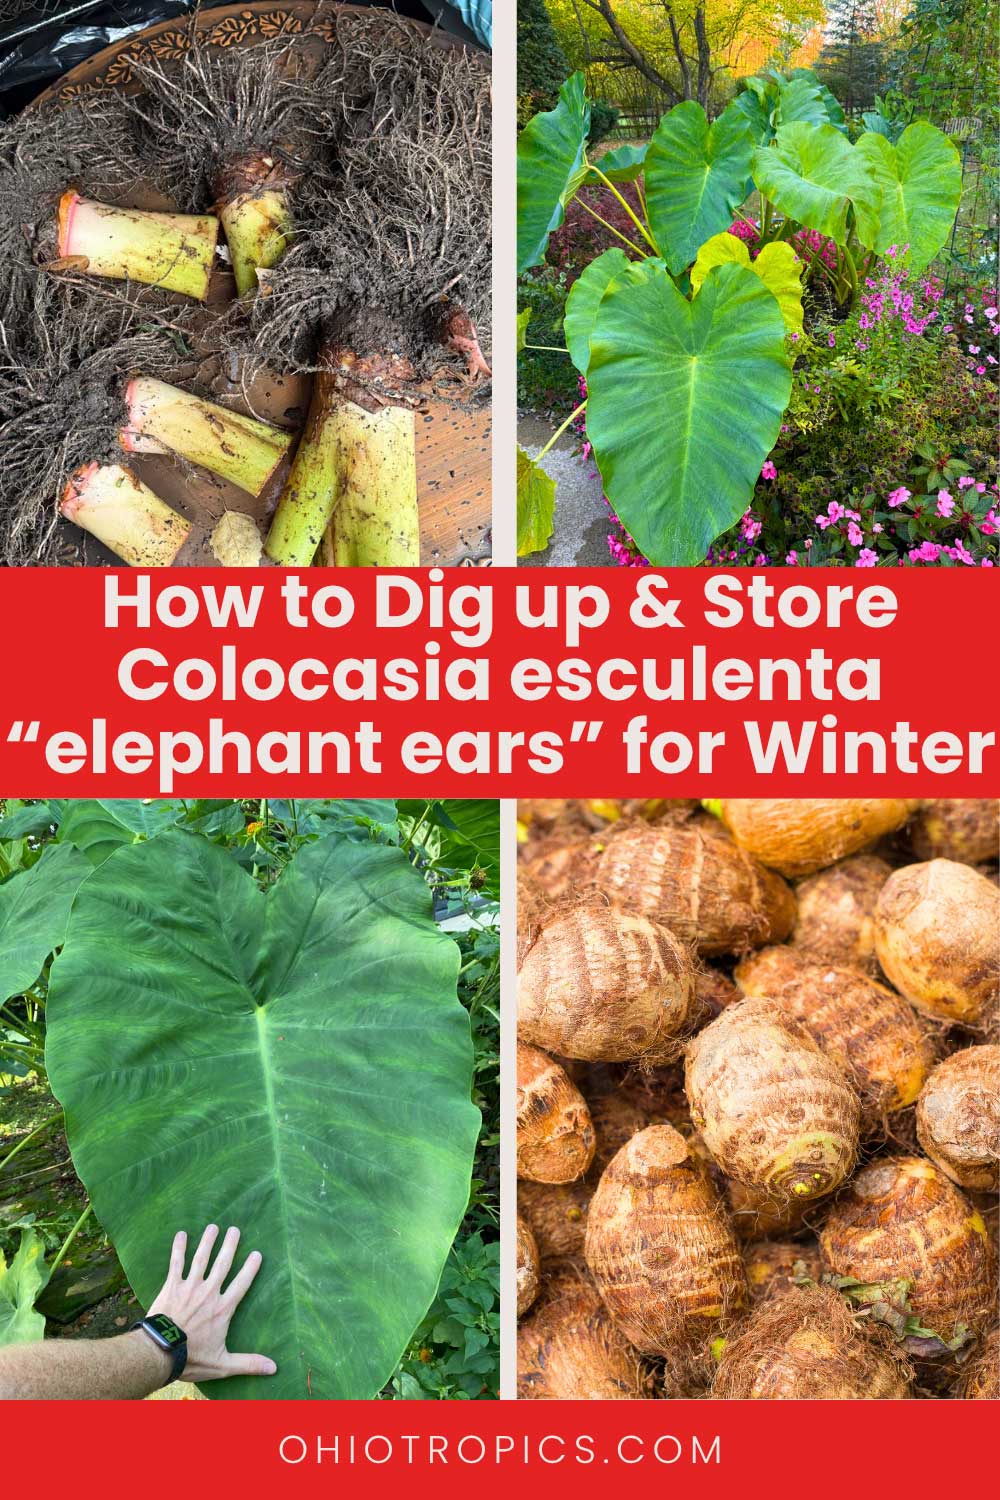
I'm going to take you through my simple process of digging up and storing Colocasia esculenta, often simply known as "elephant ears." Over the years, they multiply and you will never have to buy them ever again with proper storage and care.
Table of Contents
Do you even need to dig up colocasia?
In general, Colocasia esculenta is hardy in the ground in USDA hardiness zones 8 and above. If you live in growing zones lower (colder) than zone 8, I recommend digging up the corms ("bulbs") and overwintering, which I describe in this post. At the end of this post, I will discuss a method known as "zone pushing" in which I grow Colocasia in the ground and they actually survive my zone 6a winter!
digging up and storing colocasia for winter
I grow Colocasia every single year in my garden. Nothing beats the rate of growth and gigantic foliage and vibe that these plants give your garden!
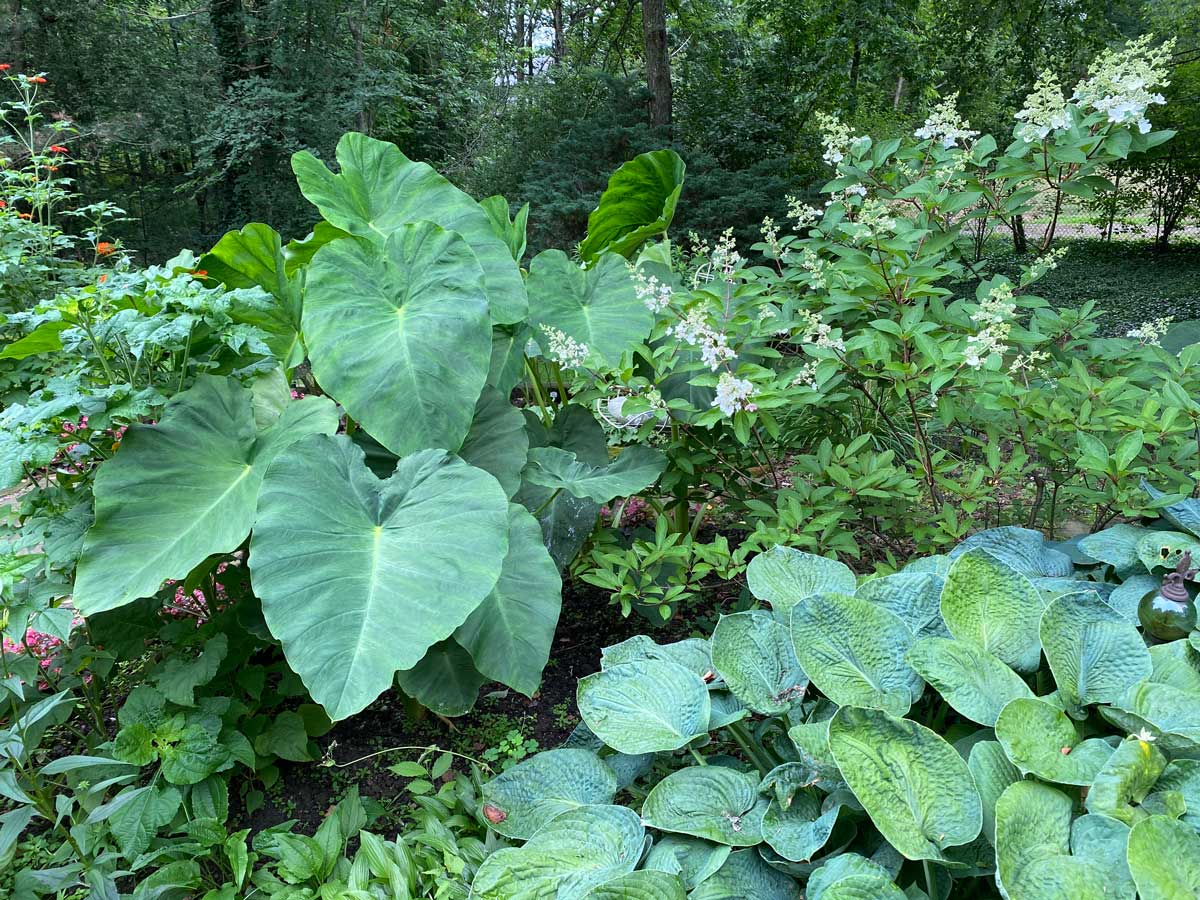
Colocasia mixed in with Hostas, Hydrangea and other plants in my garden.
There are many exciting and beautiful Colocasia varieties for the garden. Some of them form corms (which is the focus of this post) and others form runners.
Let's get into digging up the corms and storing them.
1. Wait for the first frost
If you live in zone 7 or below, and you are growing a corm-producing Colocasia esculenta, wait until the first frost. At this point, you can dig them up right away (which I have done and have been completely successful), or you can wait a week or two at the most to dig them up.
Waiting a few days is helpful because it will help cure the corms in the ground and help form a tougher outer skin on the corm.
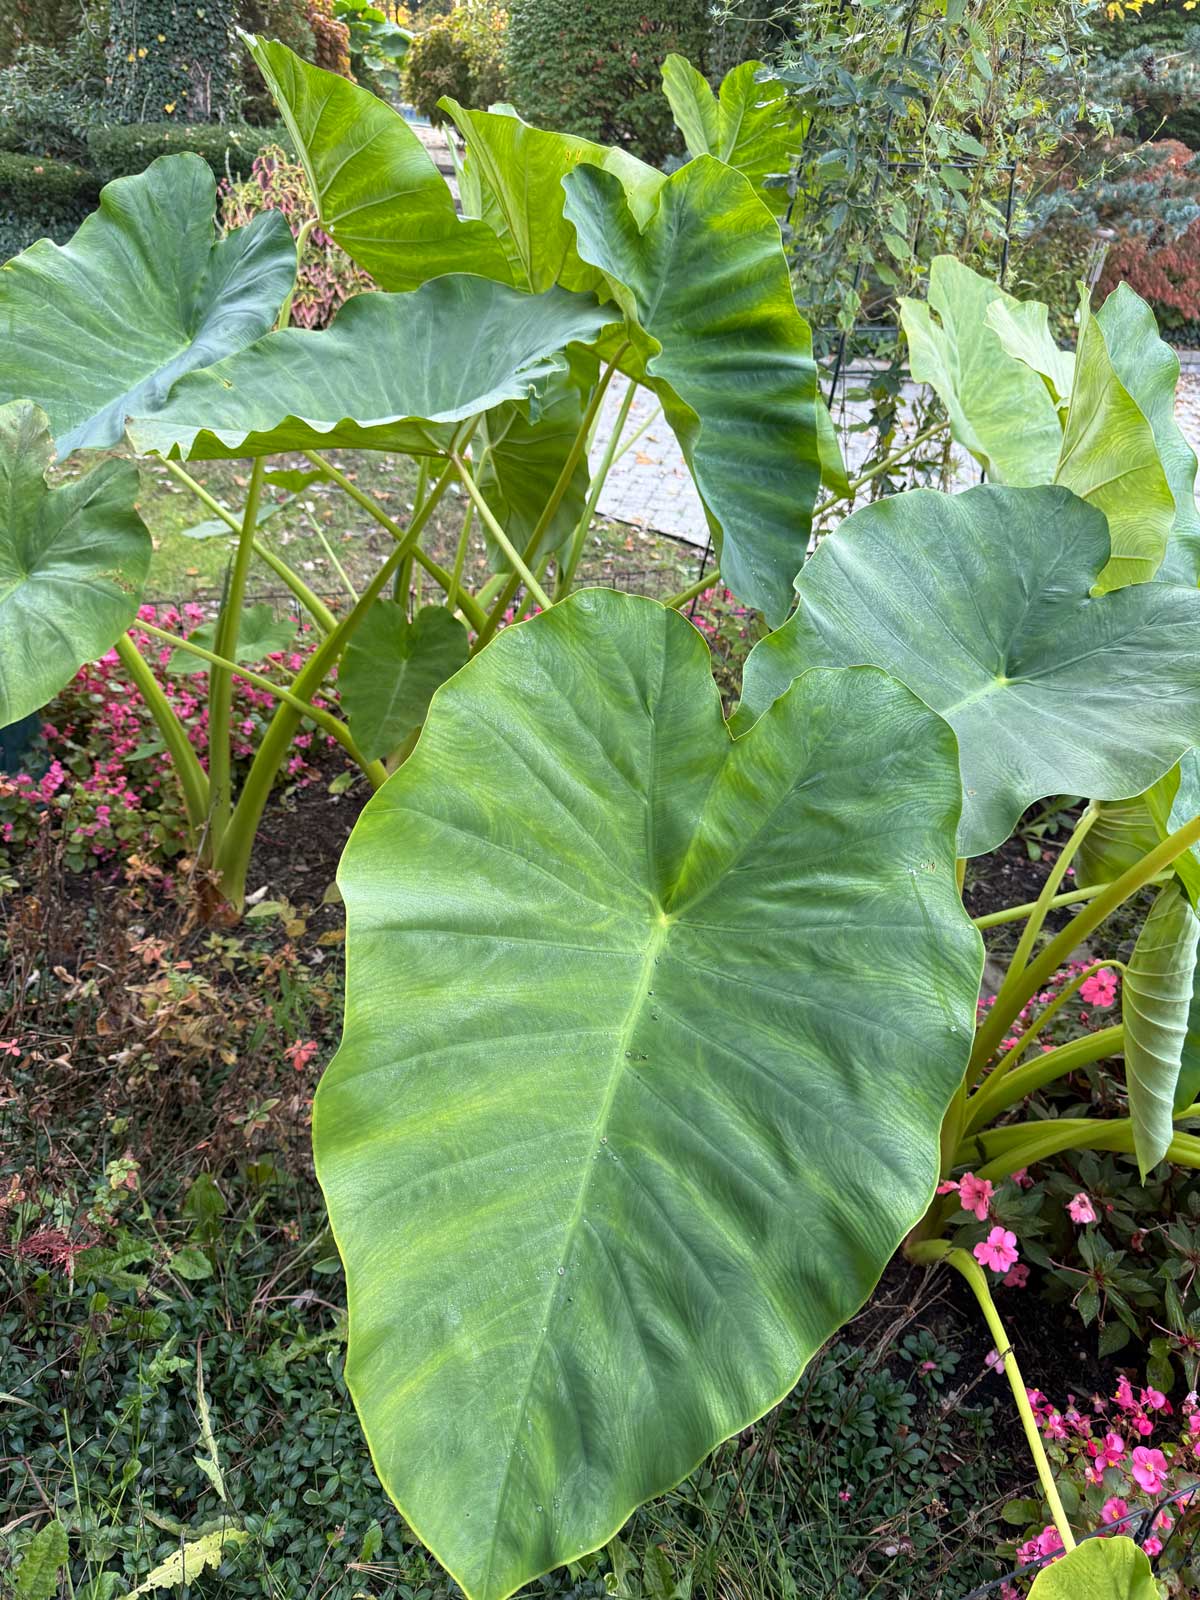
My plants still going strong at the end of the October, but they've started to wind down.
For my growing zone 6a, usually the first frost will occur in the second half of October, or sometimes even in November. Whenever that happens to be, wait for the first frost to kill the foliage, and then wait a week or so in order to allow the corms to cure.
2. Lift the tubers from the ground
At this point, cut the stems to about 6 inches or so. Then simply take your shovel or pitch fork and dig out the corms. I usually insert a shovel about a foot away from the plant and dig around in the circle, and then gently and slowly heave the corm out of the ground.
Gently take all the soil off of the corms.
Would you like to save this post?
Enter your email, and I will send this link straight to you!
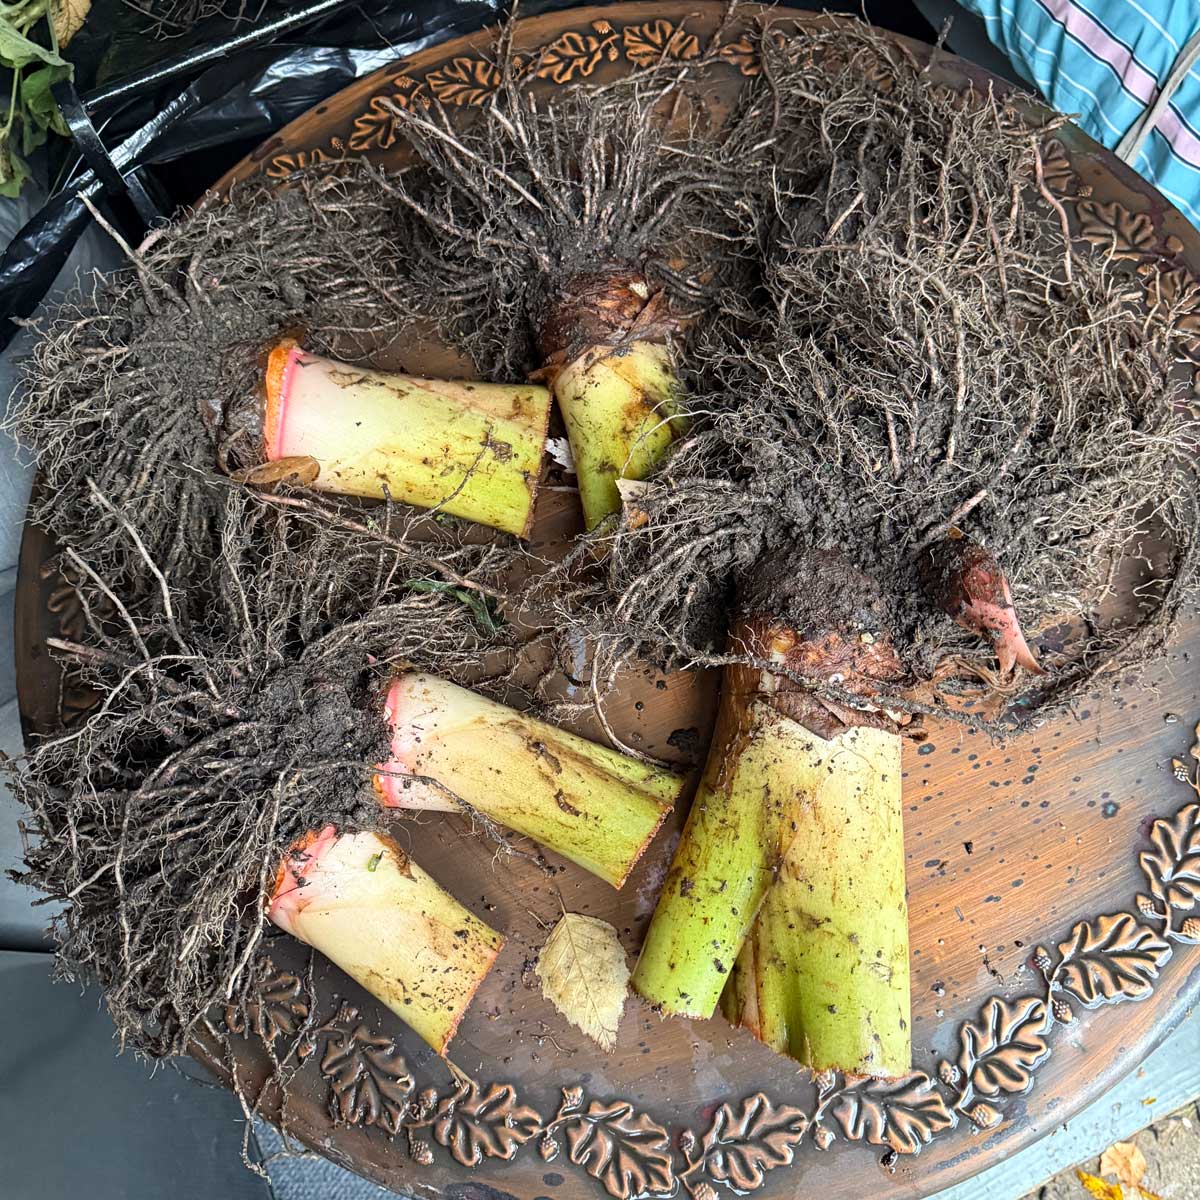
Next, I will let the corms air dry for 2 or 3 days or so in a cool, dark place sheltered from any water or rain. I don't even cut all the smaller roots off as you can see in the photo below.
My elephant ears air drying on a small table.
After this initial drying period, you can shake off any soil that is still stuck. There is no need to rinse with water. If you see any corms that are soft and mushy, throw those away.
3. store in a cool, dry area
At this point, you can now store the corms in a cool, dry area. Anywhere in your home that stays about 50-60°F or so is ideal for storage.
Bury the tubers (but don't bury the part of the stem attached to the corm) in either dry peat moss, vermiculite or wood shavings. You can store them in a plastic bag (with the top open) or a bin of any any sort.
I've even stored them in a plastic bag with NO peat moss or vermiculite at all, and they all survived just fine. If you've never overwintered these before, you may want to experiment to see what works best for you.
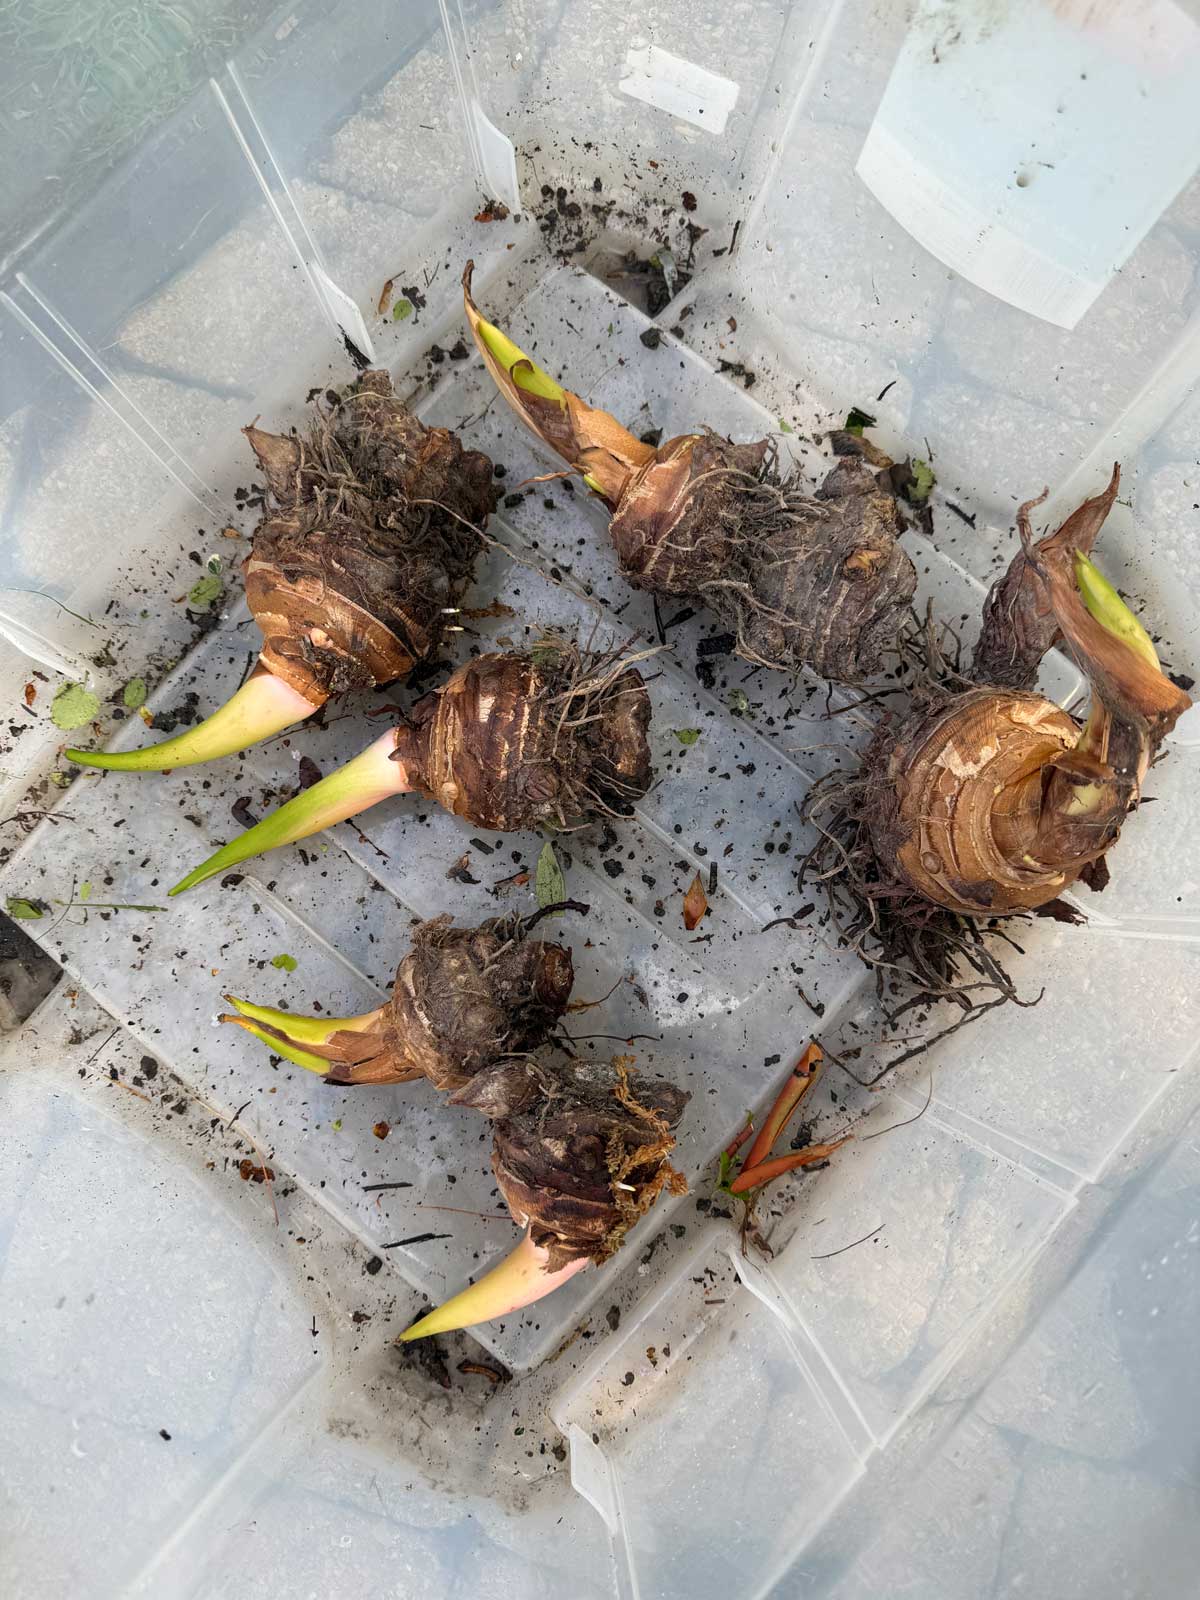
For me, my corms are stored from about November through May or so. When you are ready to plant the following Spring you can pull away the part of the stem that has dried up (one at a time, and carefully because there may be new growth starting) and cut off all of the dried up old roots. In the spring, after cleanup, your corms will look something like this.
You can see that growth has started and I planted them in late May shortly after taking the photo.
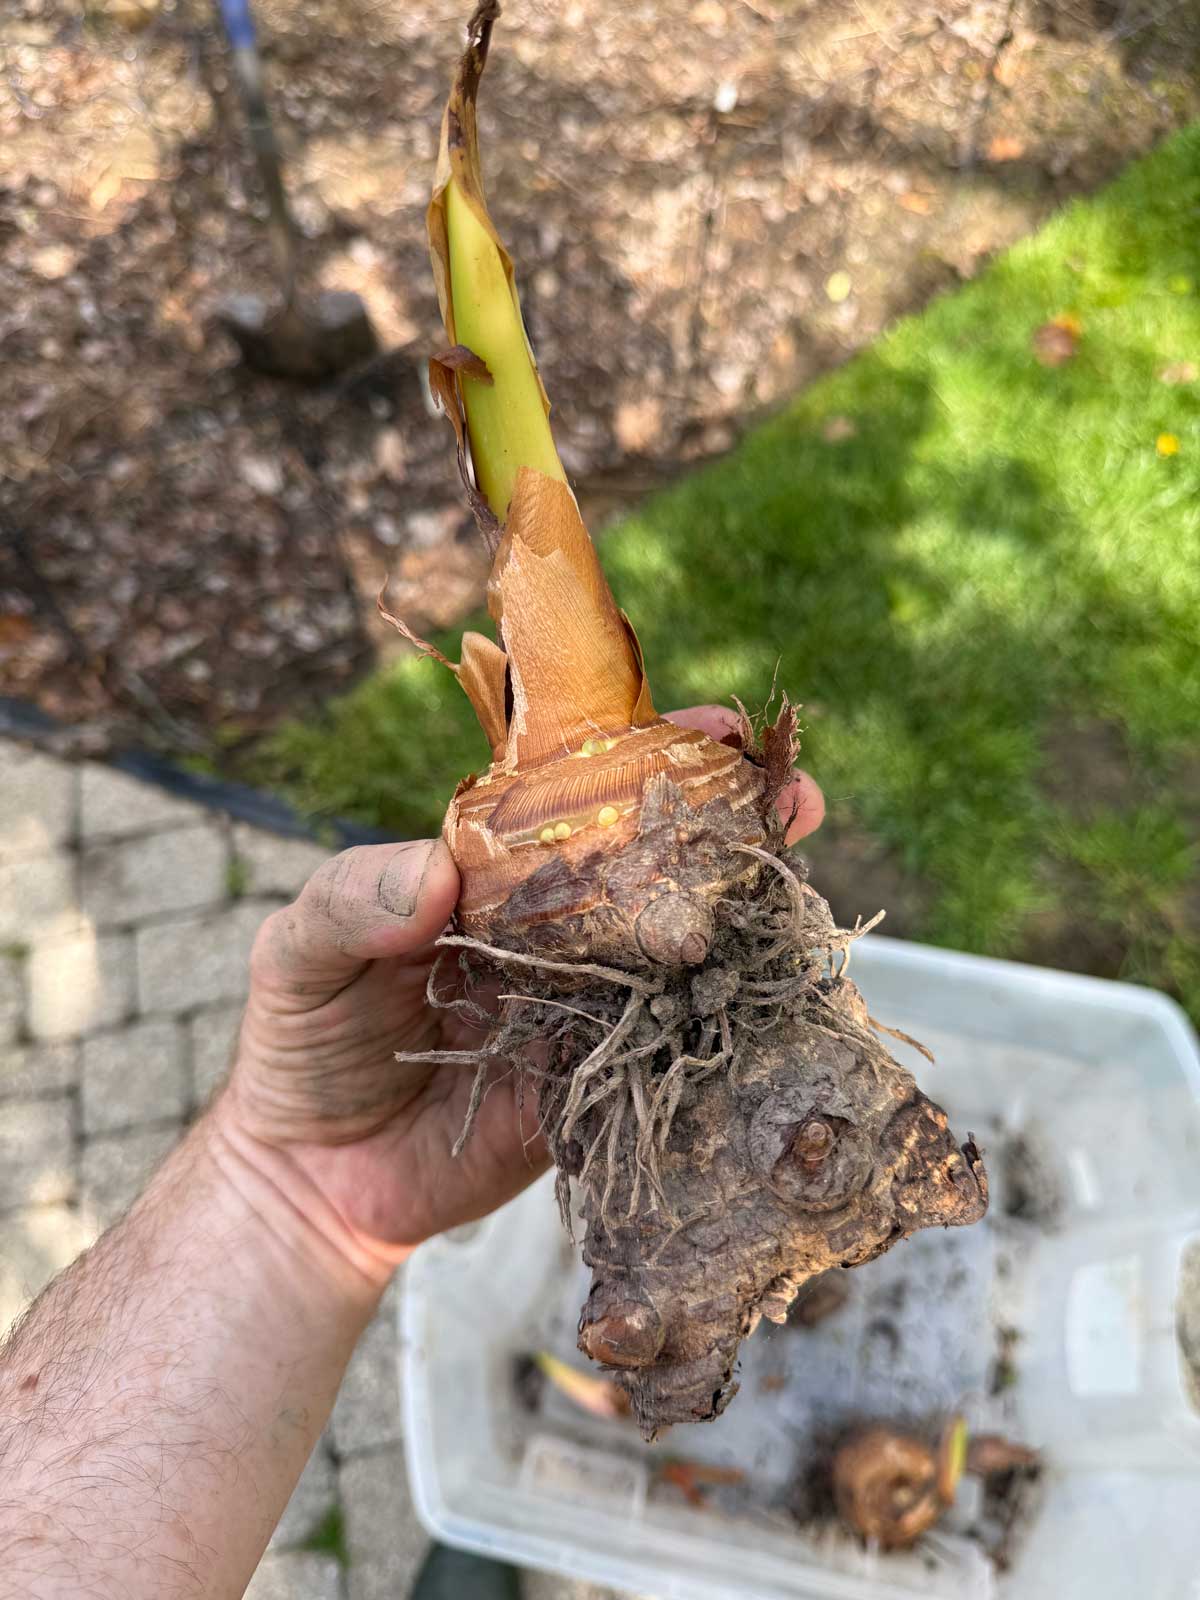
You will also sometimes notice that the old tuber will be at the bottom, with the new, growing tuber above it, like you see in the photo below. I don't even bother removing the old tuber many times and plant it as is.
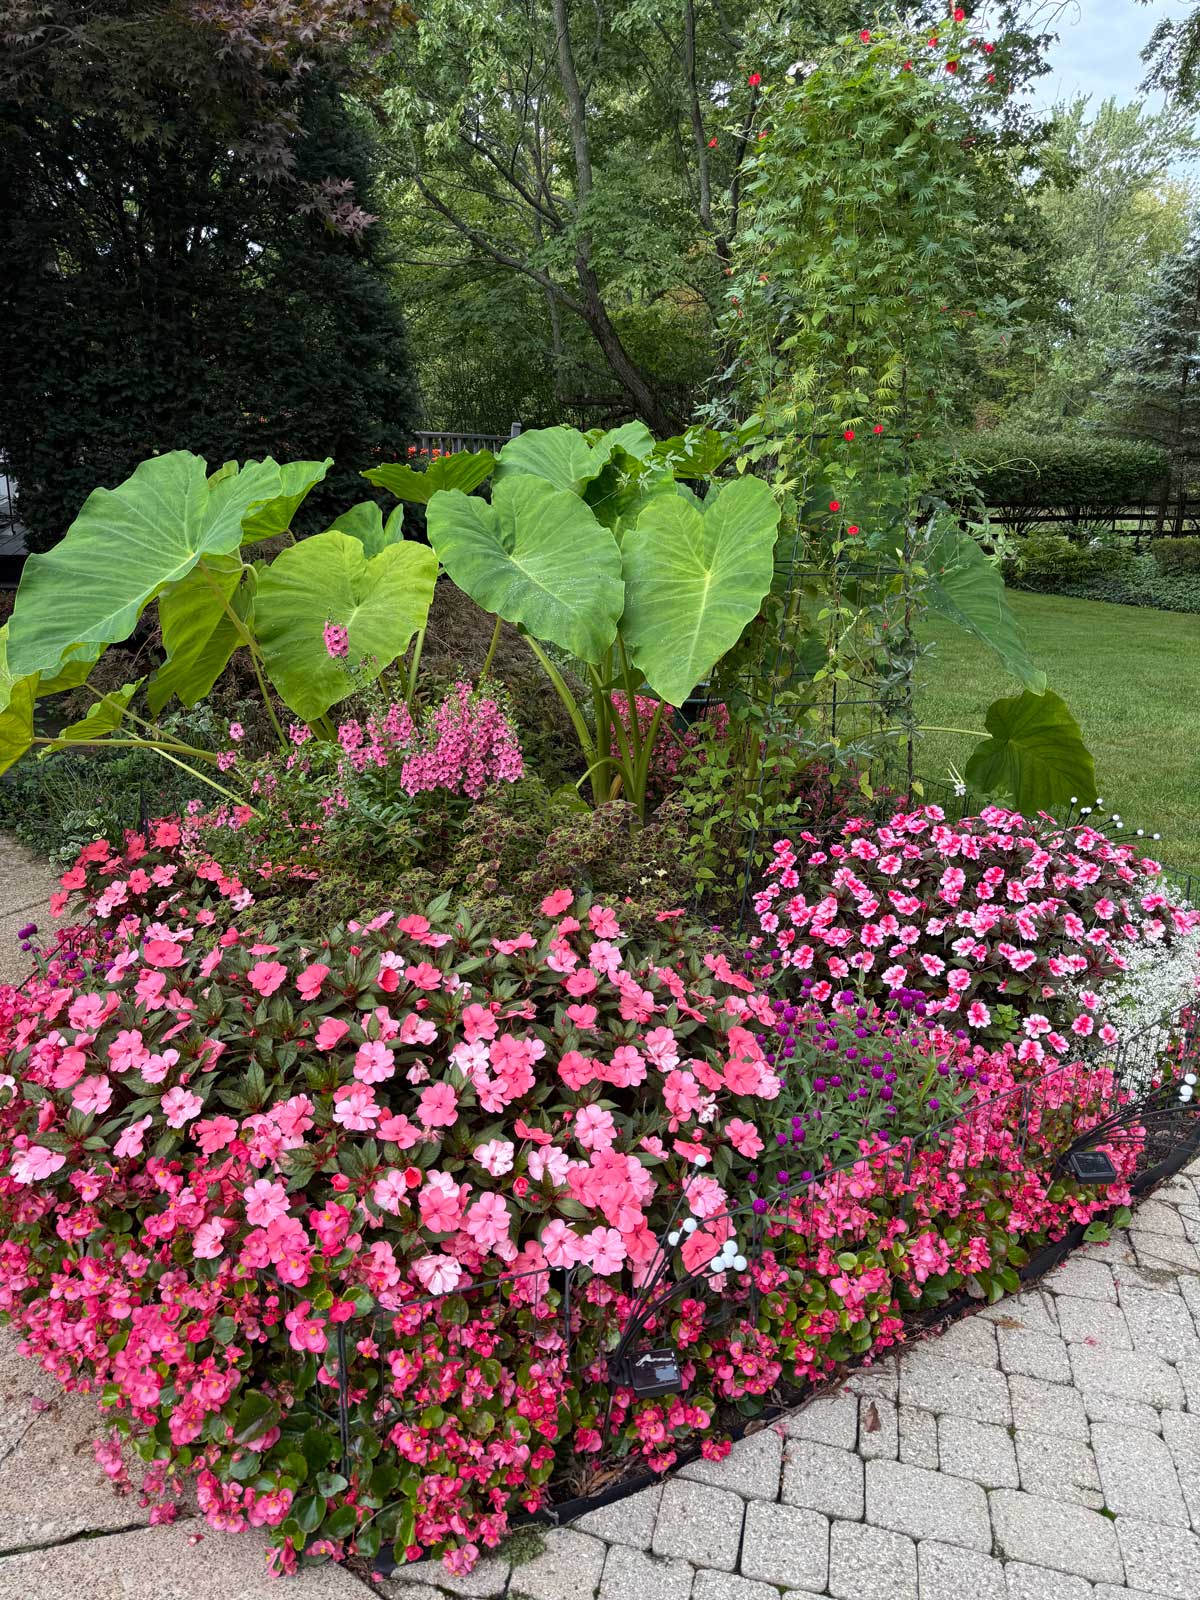
Follow my Colocasia planting and care post for more details. After planting all the ones I overwintered above, this was the result in my garden.
Then rinse and repeat! But you may want to also try something else...
Zone Pushing with Colocasia
I live in zone 6a, so I dig mine up and store them for the winter. That being said, even if you live in zones colder than 8, you can try what is known as zone pushing. I actually have a variety of Colocasia that actually comes back YEARLY, but it is planted in a special spot which created a microclimates and allows them to survive even my zone 6a winters!
Check out my zone pushing post to learn all the details.