How to propagate dragon wing begonias
Some of the links in this post may be affiliate links.
These plants are too beautiful NOT to propagate and save them so that you can grow them in your garden every single year. It gets expensive to have to buy plants every year for pots, so this will fix that.
These plants propagate easily, and you can do this every year so that you never have to buy them again for your summer pots.
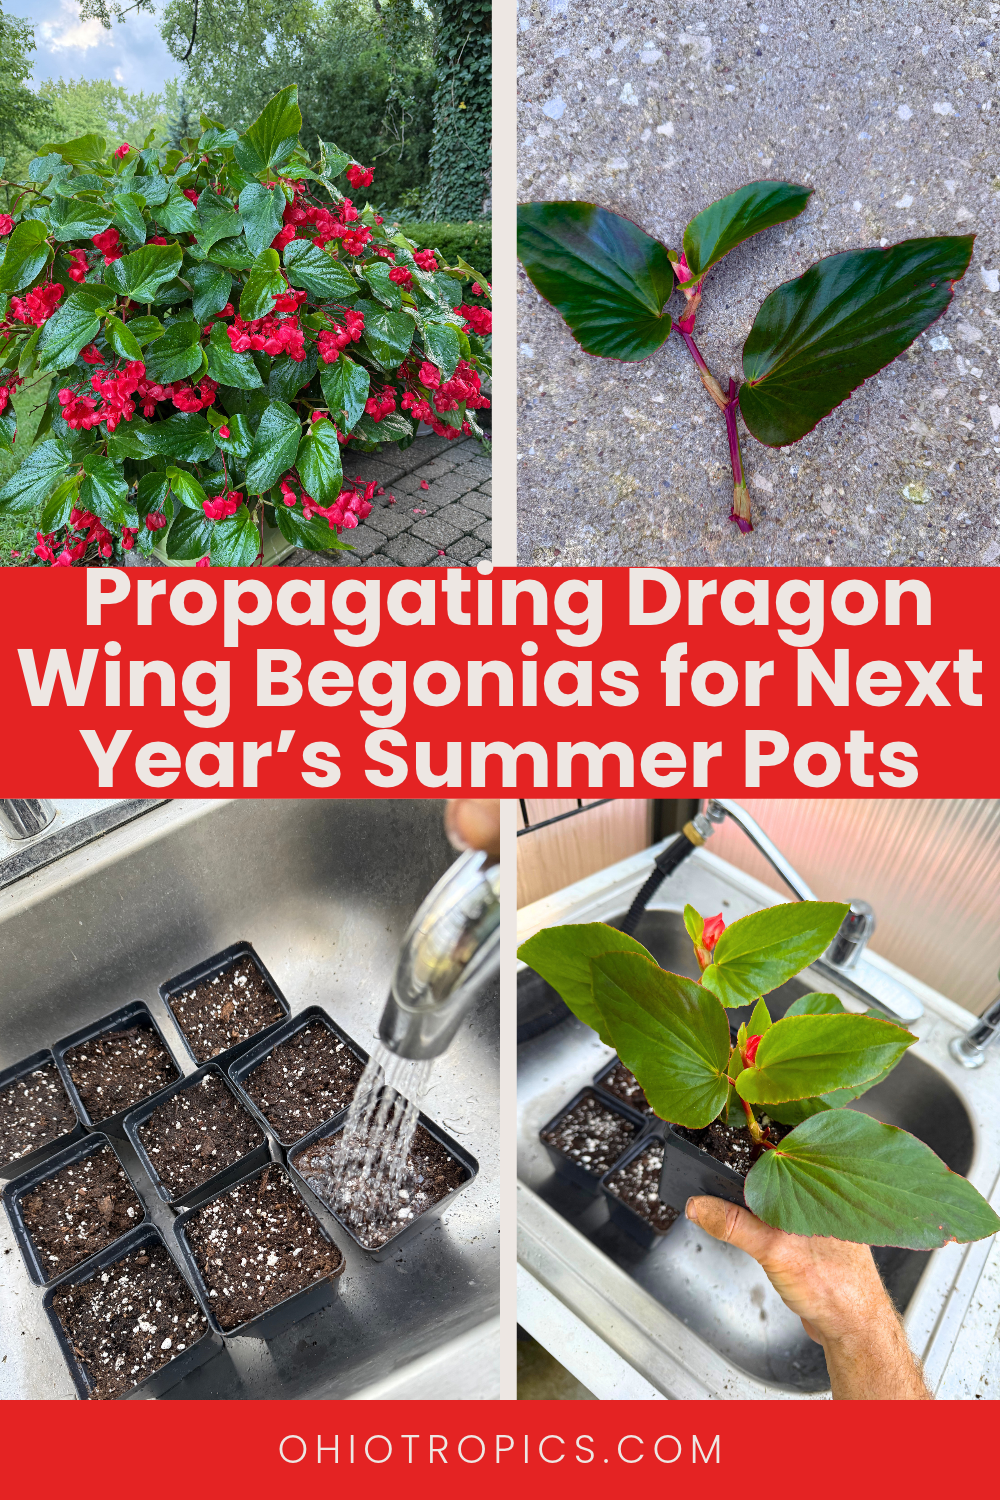
How to Propagate Dragon Wing Begonias
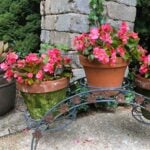
Every single summer, I grow Dragon Wing Red begonias in various pots. They put on a stunning show just by themselves and don't really need to be interplanted with anything else to be effective. Look how gorgeous they can be as specimen plants.
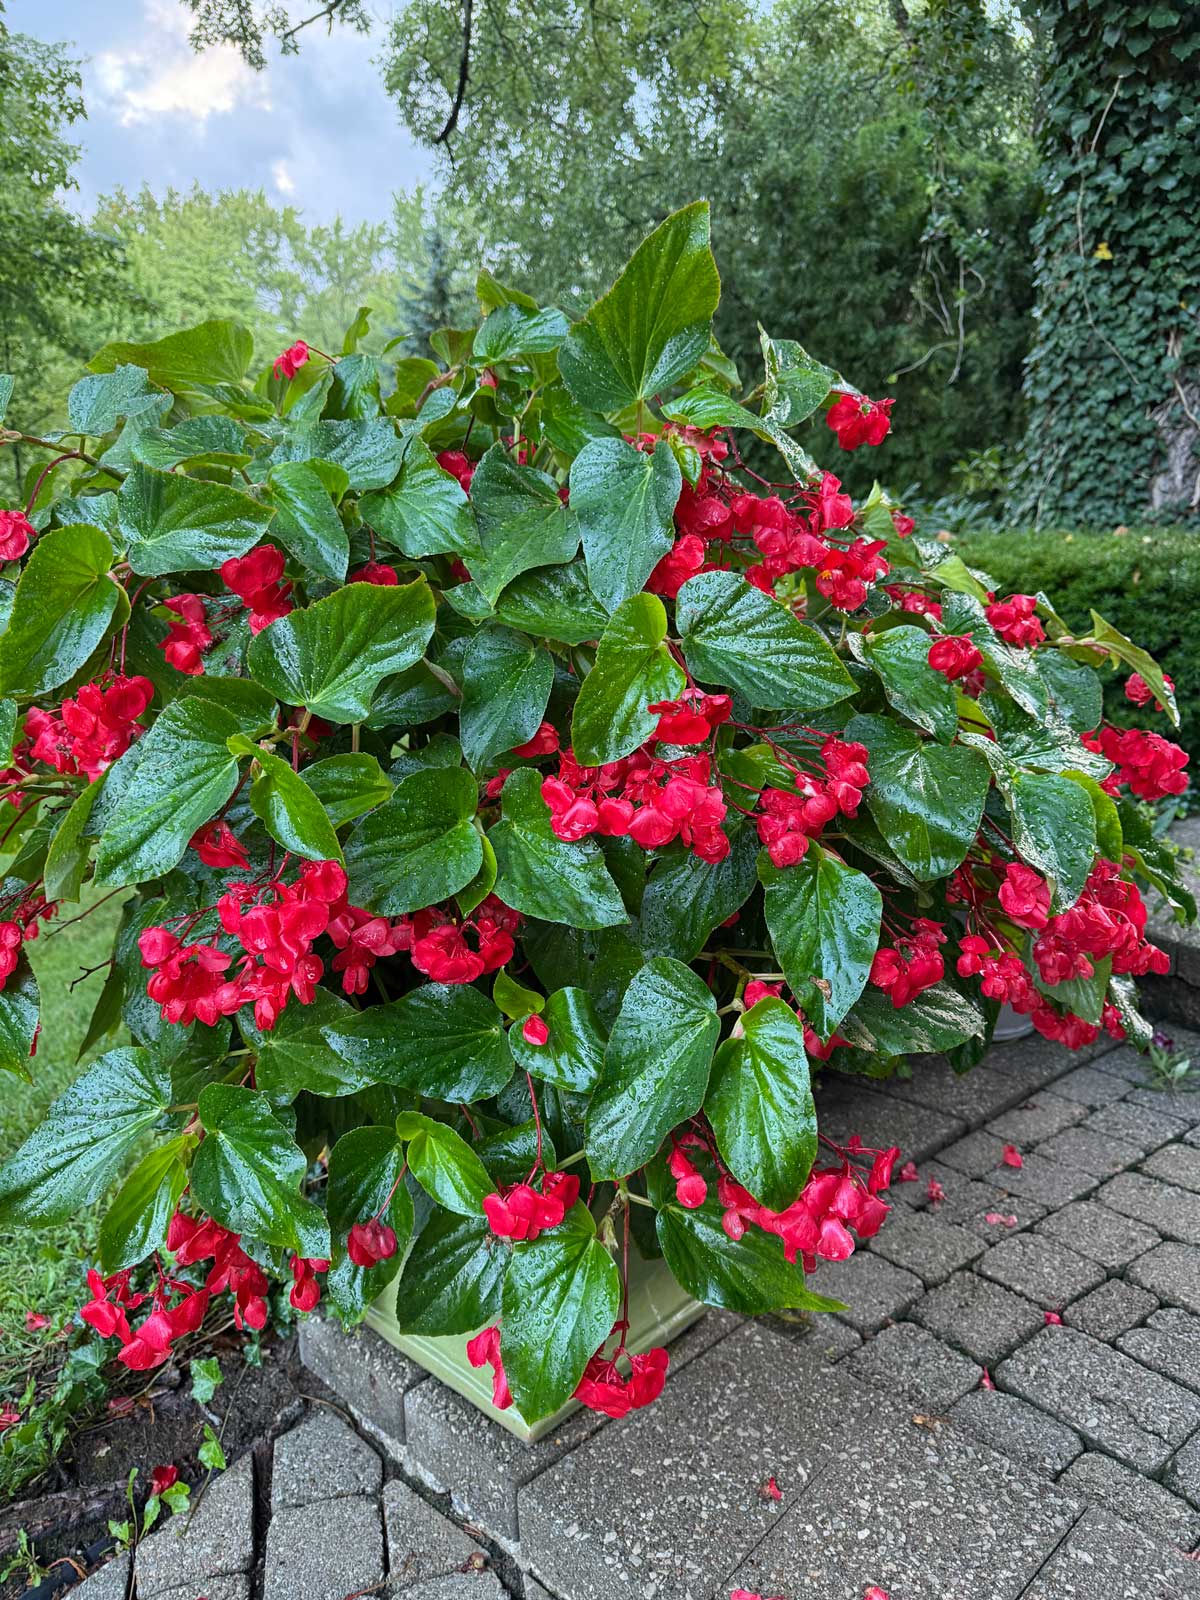
There are many begonia types, and Dragon Wing begonias do not form tubers like many begonias do, so there is nothing to dig up and store in a dormant state like you can with dahlias or tuberous begonias and others.
Dragon Wing begonias form cane-like stems and they are easy to propagate simply by taking cuttings. This way, you can use the new plants that you propagate for next summer's pots instead of continually buying new plants each and every year.
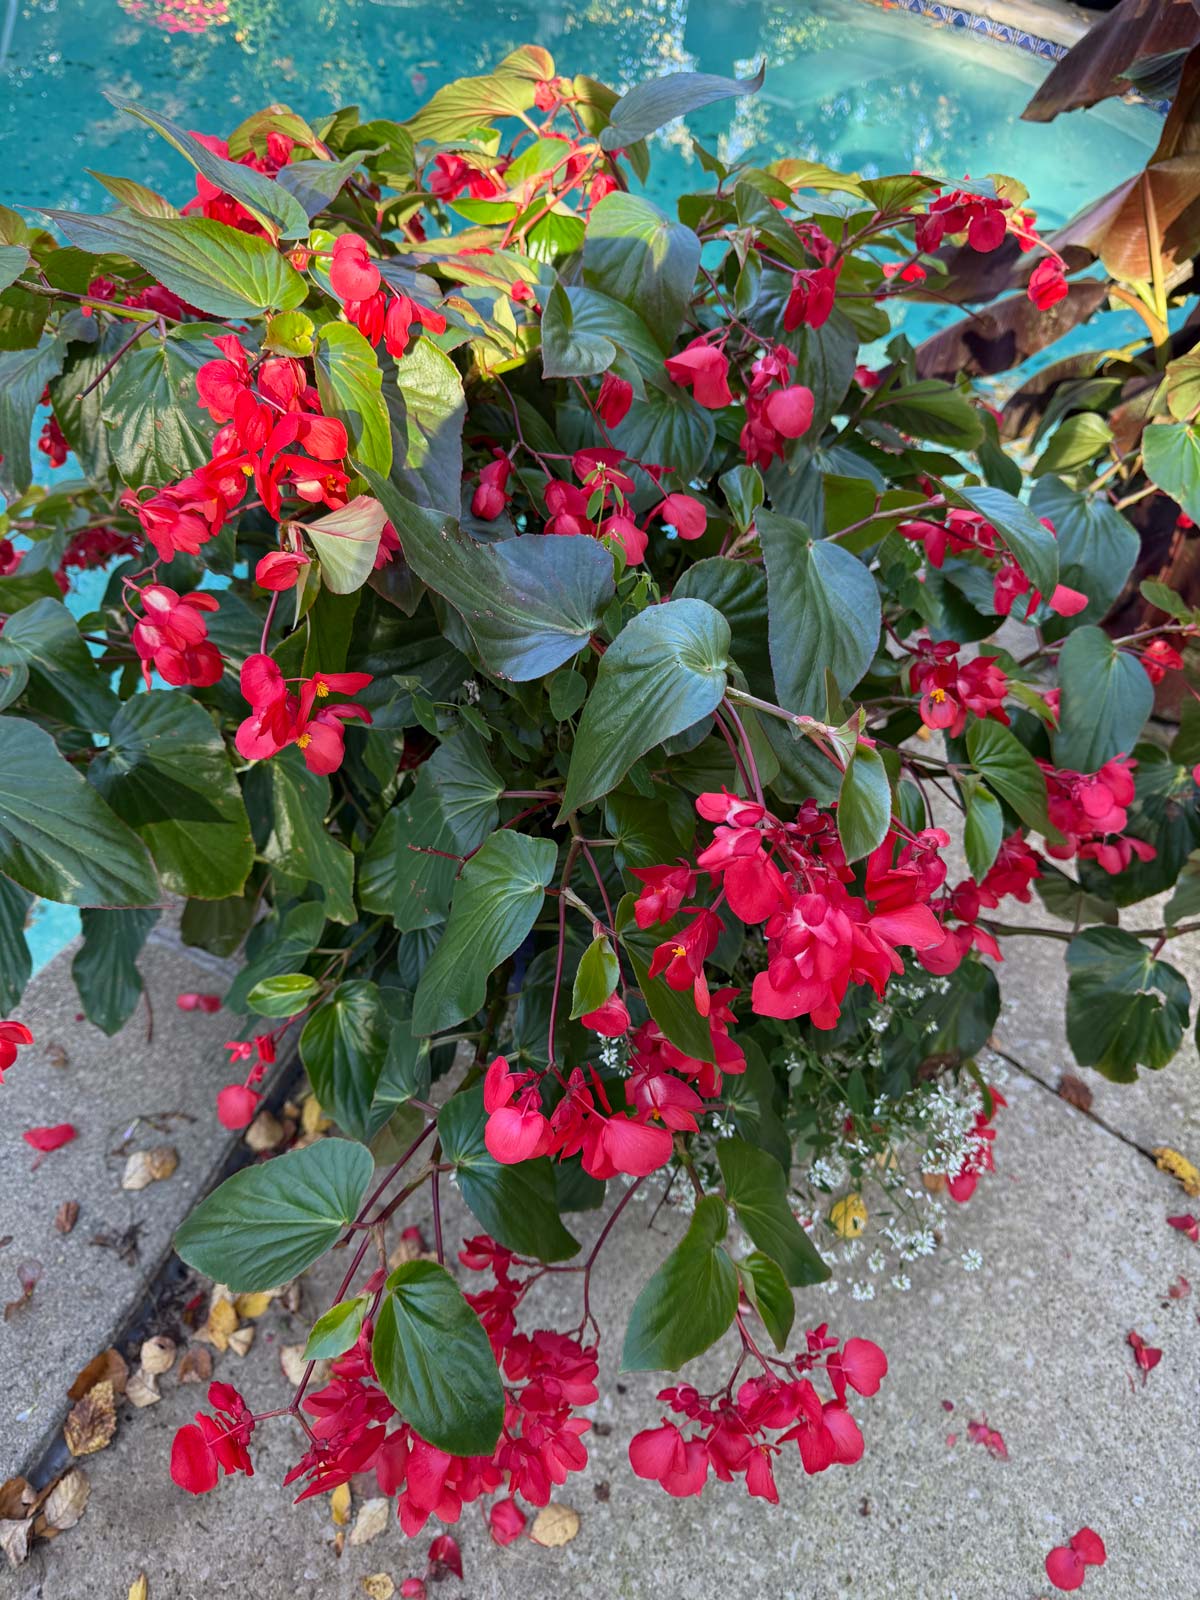
First, let me show you how I took my cuttings. Here is the mother plant that I used in mid autumn to take cuttings from. Be sure to take your cuttings before the weather gets too cold and frost kills your plants.
You'll want to snip 4-6 inch cuttings from the tips of a cane. Trim immediately below a leaf, and you'll have a cutting that looks like this.

At this point, snip off the lowest leaf and any flowers too. I know...but it's better to remove the flowers. And while the plant is in the initial stages of rooting, if any new flower buds grow (they often do), snip those off too. This allows for the plant to focus its energy on what you want at this stage...which is rooting. Now, your cutting will look like this.
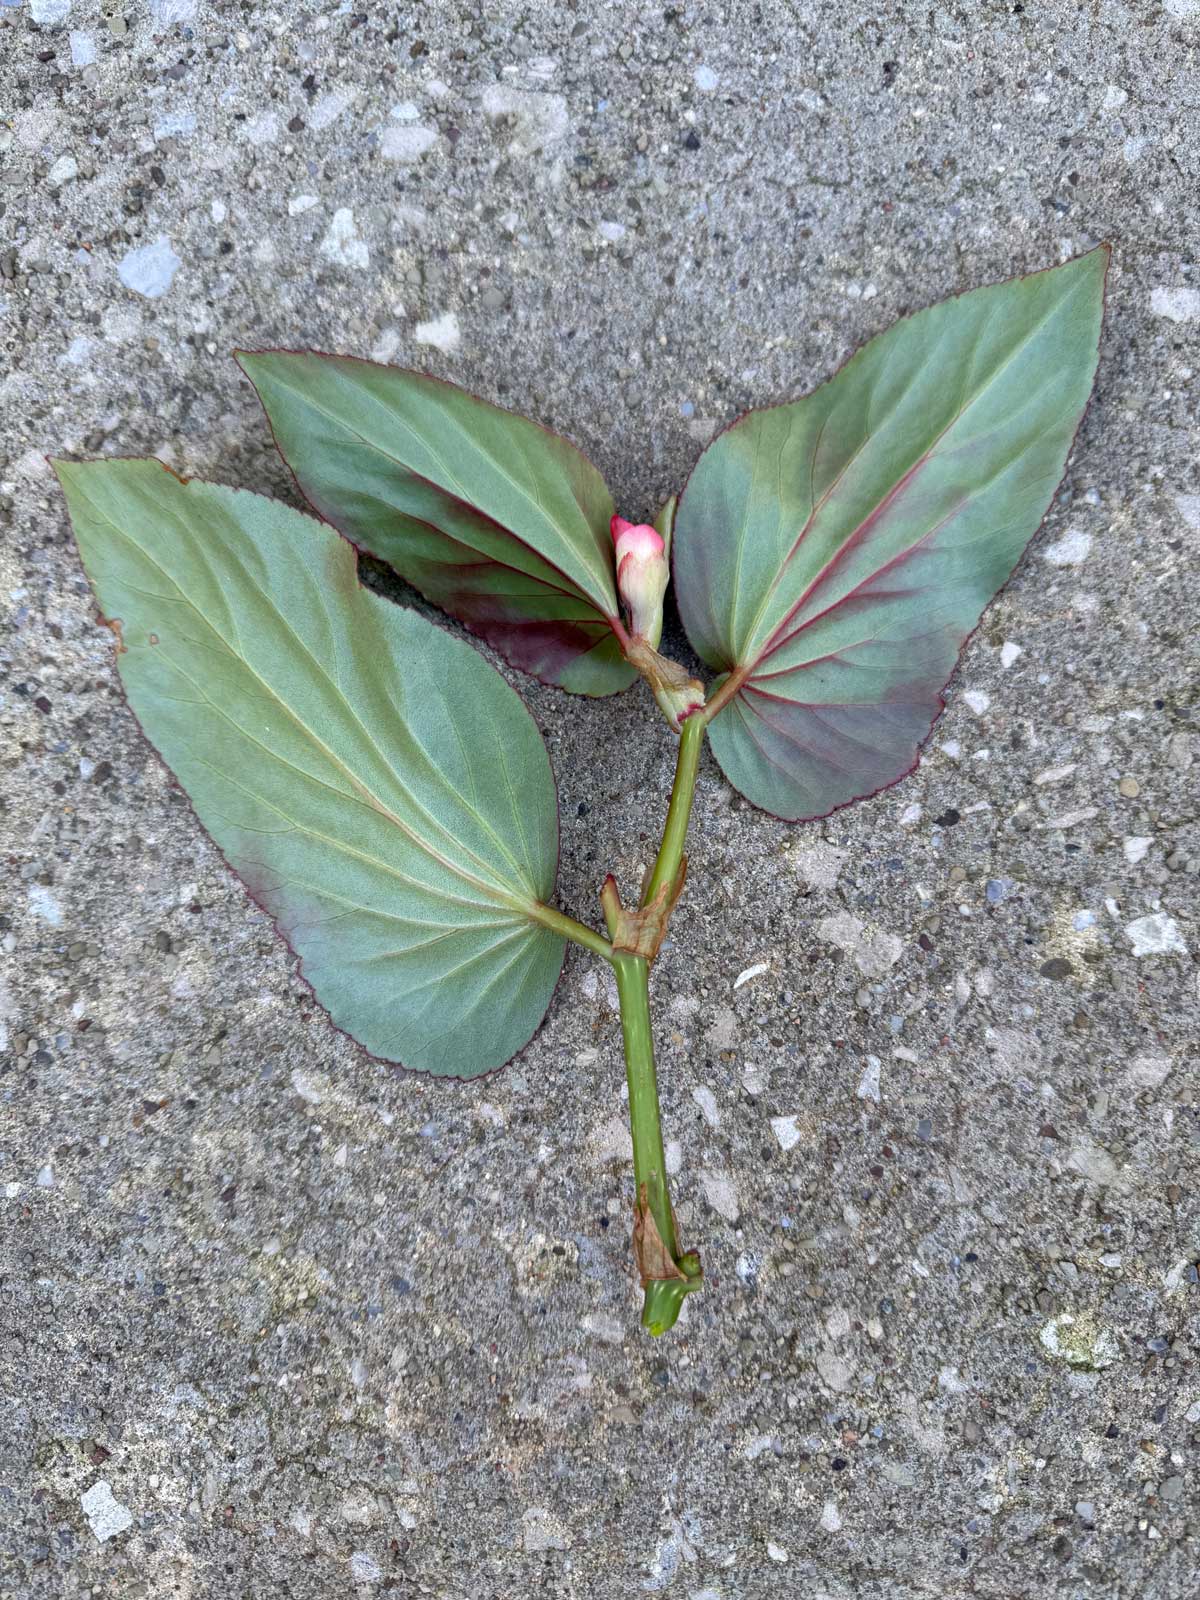
Ideally, you'll want your cuttings to have only 1-3 leaves and no more. Don't take huge cuttings. Bigger is not always better with cuttings.
At this point, you have one of two options. You can either water propagate, or soil propagate your dragon wing begonia cuttings. In this post, I'll go straight to soil propagation. It is more efficient, and since I took quite a few cuttings, it will save time and work. And the roots that grow will become accustomed to the soil from the start.
If you want to do water propagation, simply place the cuttings in water, making sure that the bottom node of the cutting (where you removed the bottom leaf) is under water. Be sure to change the water every few days to keep it clean. Once the roots are about an inch long, pot your cuttings up. If you wait longer, the cuttings will have a harder time transitioning to soil.
Would you like to save this post?
Now let me show you how I do soil propagation. If you've never tried soil propagation or are scared of it, I encourage you to take a few cuttings and do both water and soil propagation so that you can gain a little experience with soil propagation. If you can, always take more cuttings than you need to ensure that you have enough plants in case some of them don't make it.
Once you've prepared all your cuttings, you'll need some small pots (3 to 4 inch pots are great, and make sure they have drainage holes). It is helpful to mix in a little perlite into whatever soil mix you're using (I used ProMix for the plants shown in this post). I recommend 1 part perlite to 4 parts potting mix. Fill your small pots with soil but leave a half inch or so from the top of the pot. This helps to not make a mess when you're watering.
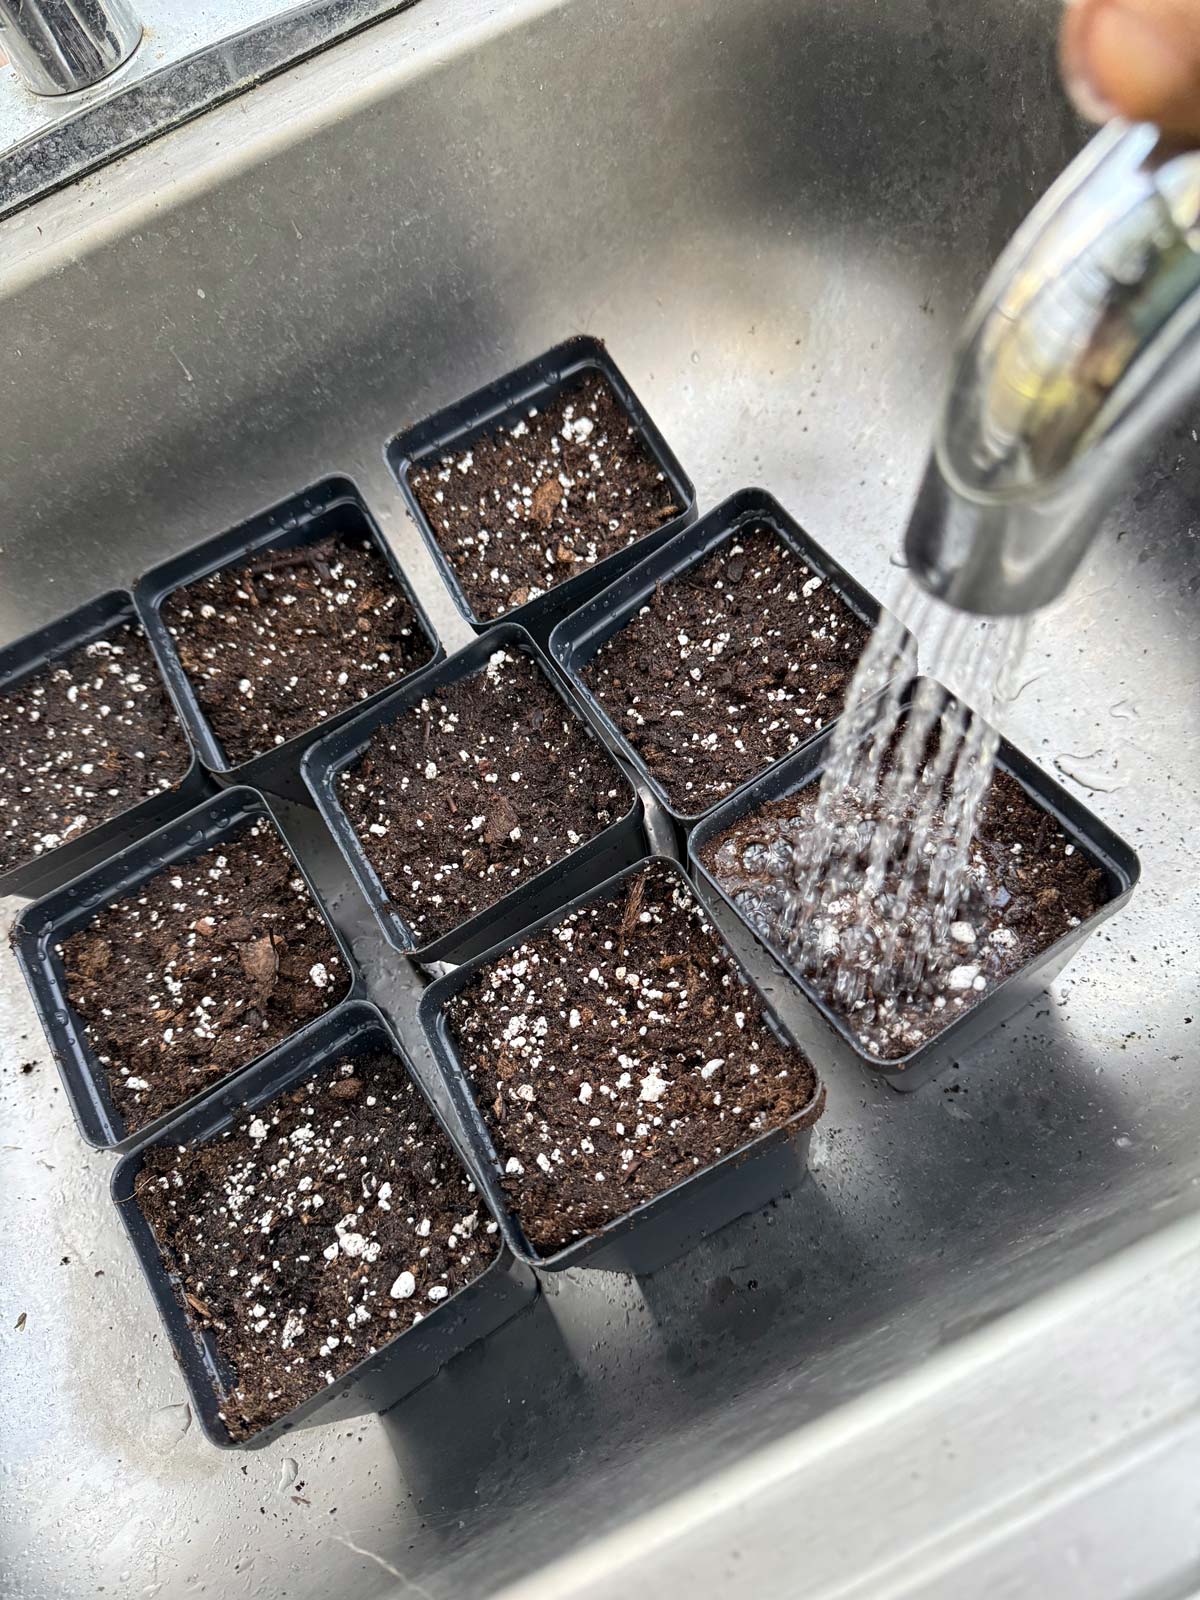
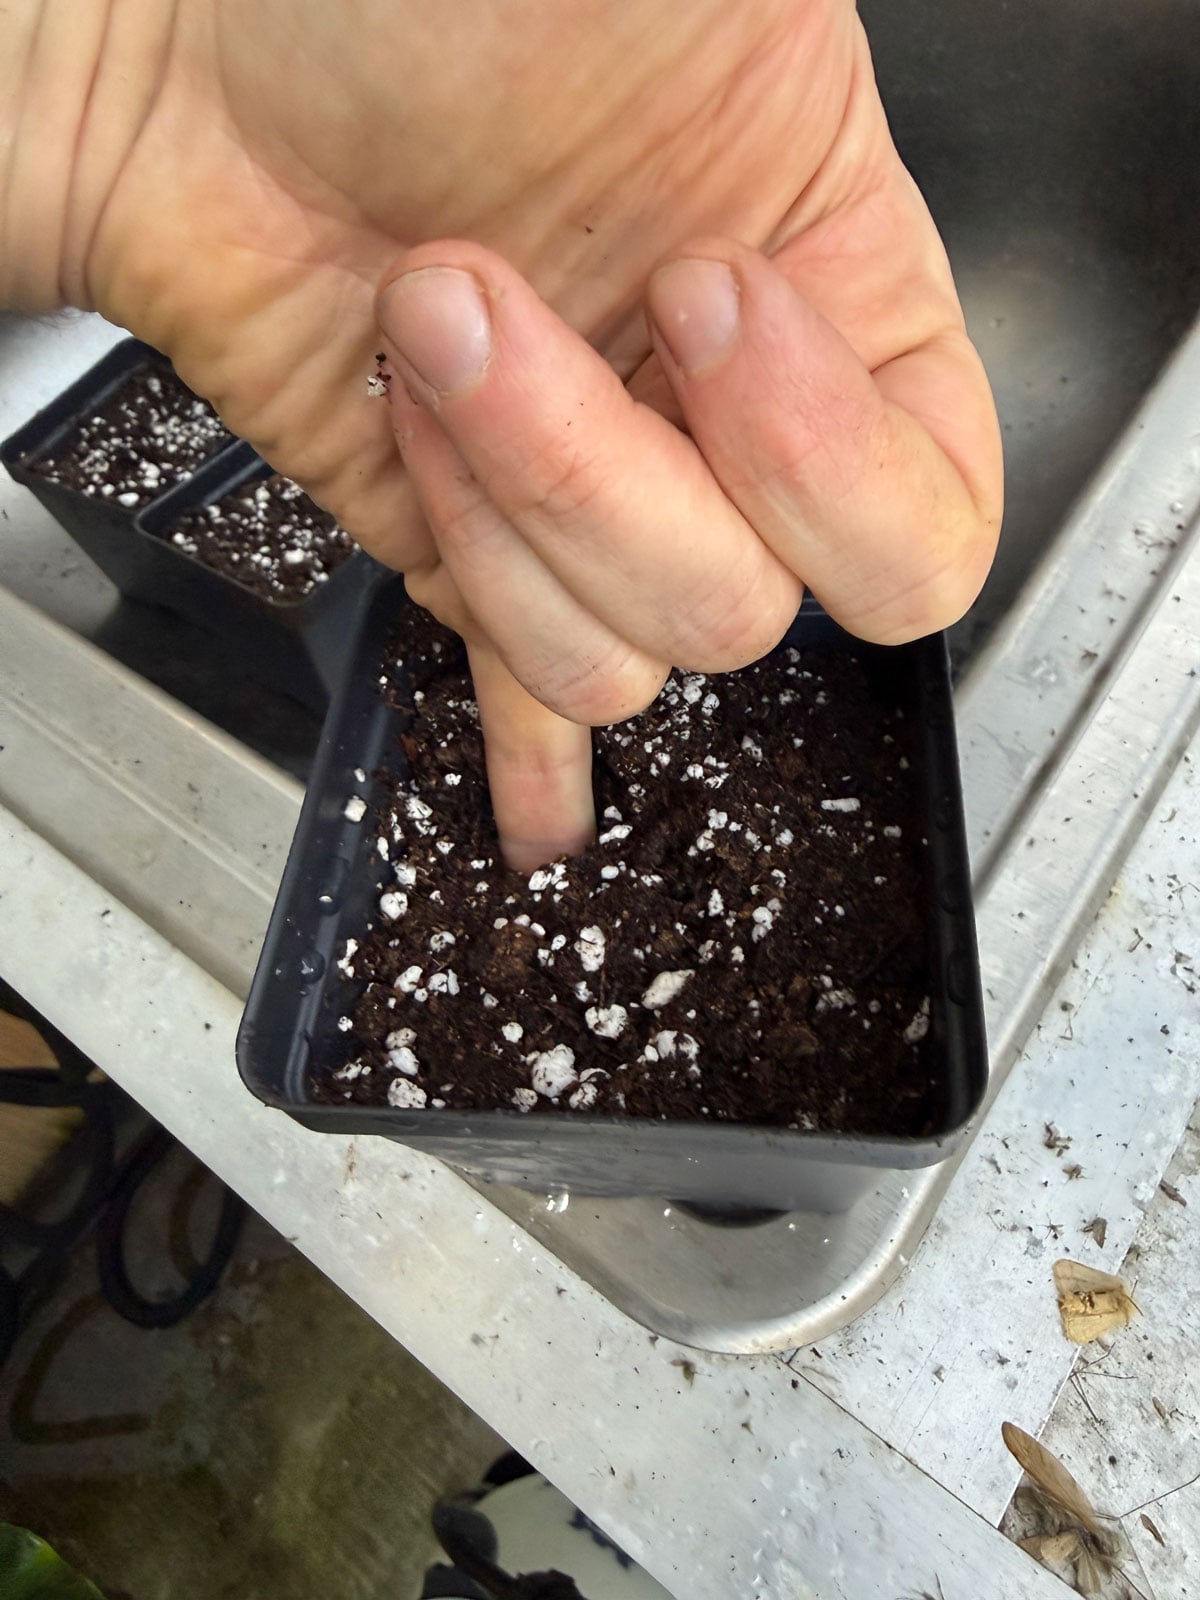
Moisten the potting mix with water and allow the excess water to drain. This is really important so don't skip it. Next, I used my pinkie finger to poke a hole in the soil.
Next, take your cutting, and dip the bottom of it into rooting hormone (link to Amazon). This will help speed up the formation of roots. It is inexpensive and very helpful for soil propagation. I use it just about everytime I soil propagate anything.
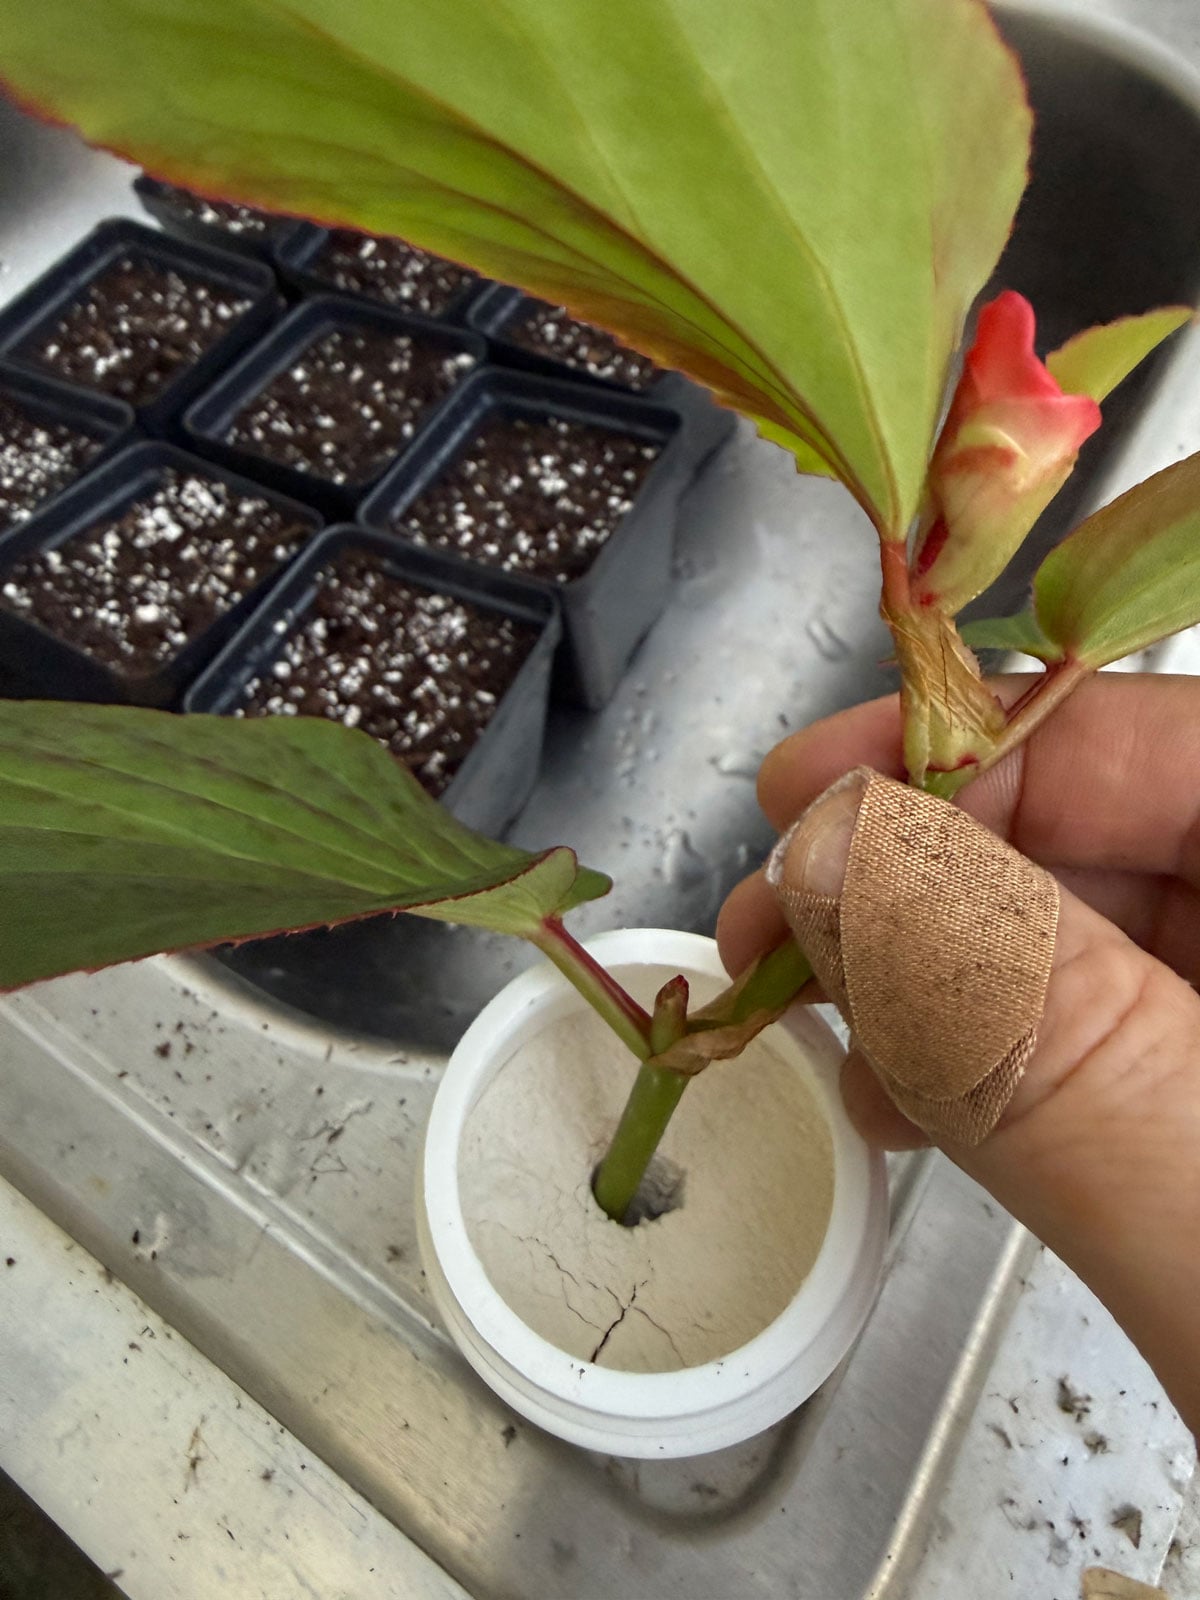
After dipping, your cutting will look something like this.
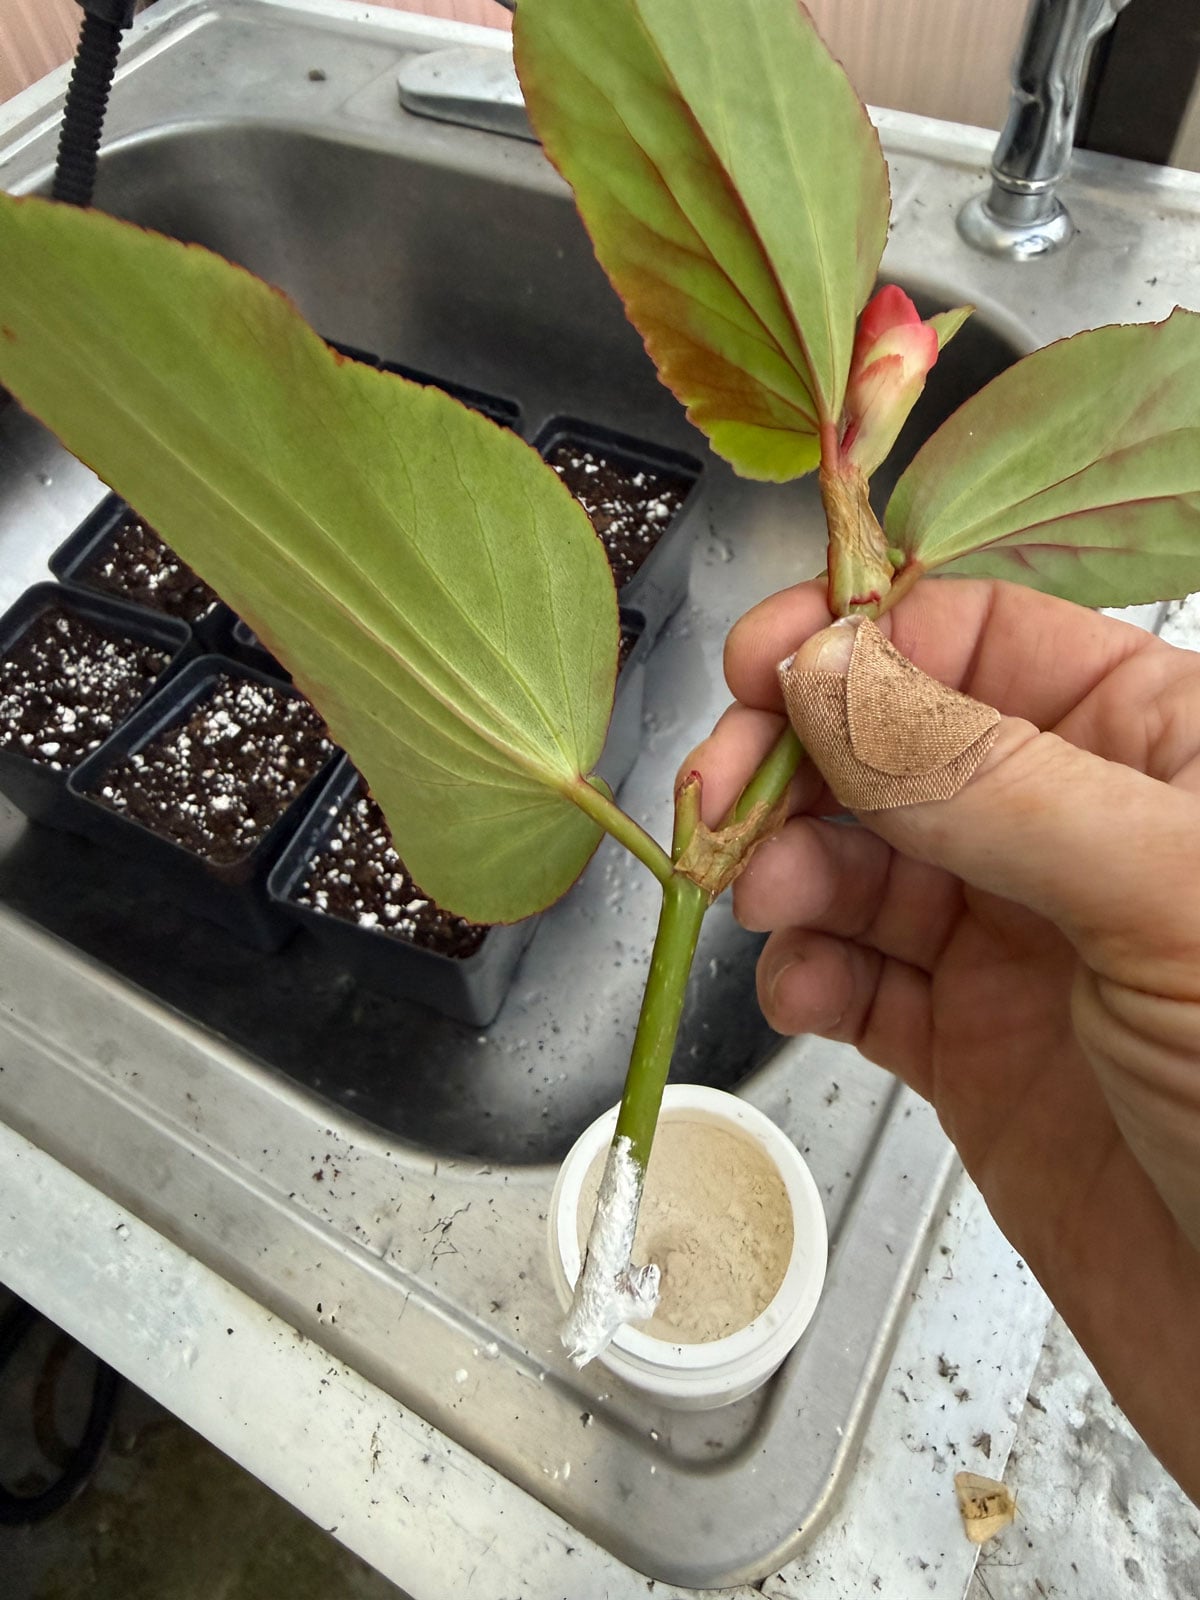
Then place the cutting right into the hole that you created with your finger, and very gently firm the soil down. I used two cuttings per pot, and here is my finished product.
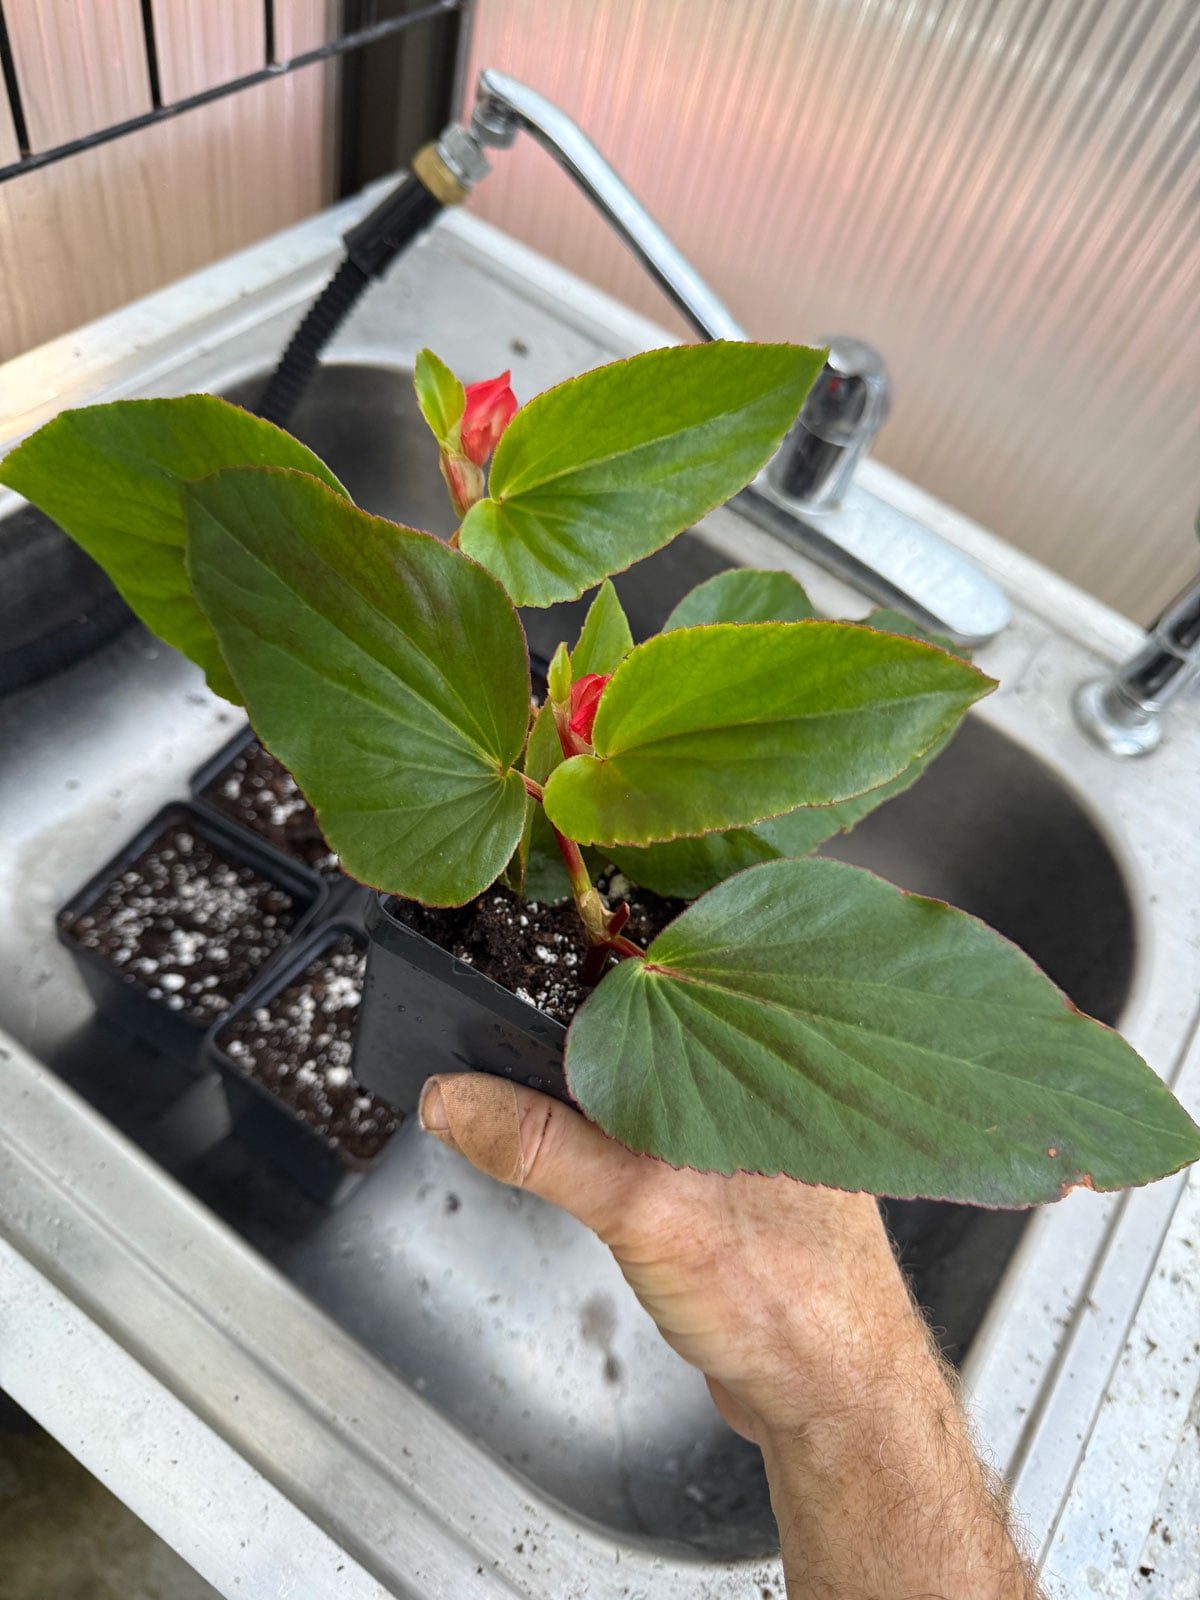
At this point, creating an ideal growing environment is very important. Begonias love warmth and humidity, and they need enough light. While the cuttings are rooting, keep them out of direct sun because it will create too much stress. Place them immediately in front of a window that gets no direct sun, or under a gentle grow light. If you place them in front of a window, place them as close as you can without the leaves touching the window). Light drops off dramatically even a couple feet away from a window, so don't think "oh it looks bright enough" because in many cases, it's not.
Increasing humidity will be very helpful as well in order to reduce the rate of water loss from the cuttings. Place the potted cuttings on top of a humidity tray filled with pebbles a little water, or make a clear plastic bag tent over the cuttings (without the bag touching the cuttings) while the cuttings are trying to root.
Don't be alarmed if the leaves look a little shiny within the first several days after propagation. This is just a result of losing moisture. These begonias are notorious for this. As the cuttings grow roots and are able to take in water, the plants will recover.
It is important that the soil does not dry out while rooting. As soon as the surface feels almost dry (but not completely), go ahead and water. After a few weeks, you should notice that the cuttings are starting to perk up and grow.
At this point, you can place the small plants in their final growing location inside your home. Give them a nice bright window indoors (direct sun is great for them indoors once the plants have roots) and care for them until you are ready to use them in your summer pots again the following season.
You can take cuttings of so many other plants too in order to save plants for next year's garden. If you enjoyed this point, check out my post on propagating impatiens and propagating coleus in water. Though you can also soil propagate both those plants using the same methods described in this post.